
What is Milky Way : First of all tell about milky way. Milky way is a group of stars, gas and dust. Milky way contains billions of stars like our sun. It seen in the dark sky area and white patch on bundle of stars so it is called milky way. You can see it only in very dark area and also in no moon light. This is my first Milky Way capture with my DSLR camera. I am going to tell you how to capture milky way in simple steps with your DSLR camera. Our solar system is a part of Milky way Galaxy and there are millions of milky way galaxy in universe which contains millions of solar systems and stars.
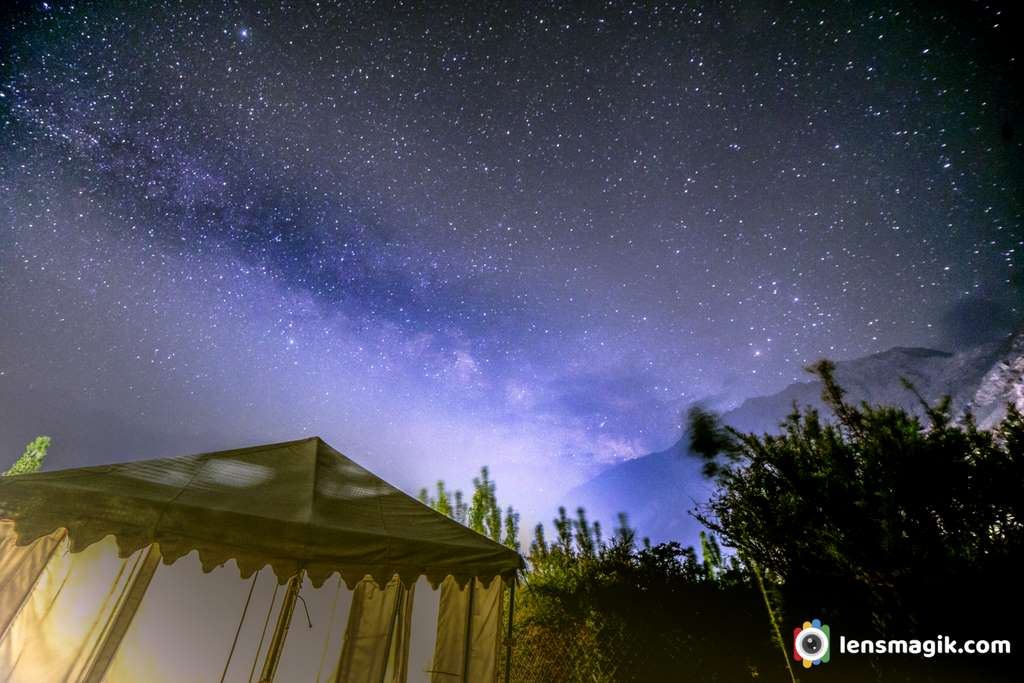
Milky Way Photography Guide :
- Find The Darkest location near to your area with using some mobile apps.
- Observe area in day light and find good spot for your camera.
- Use some good Foreground subject like electric pole, Tree without leaves, Mountains etc.
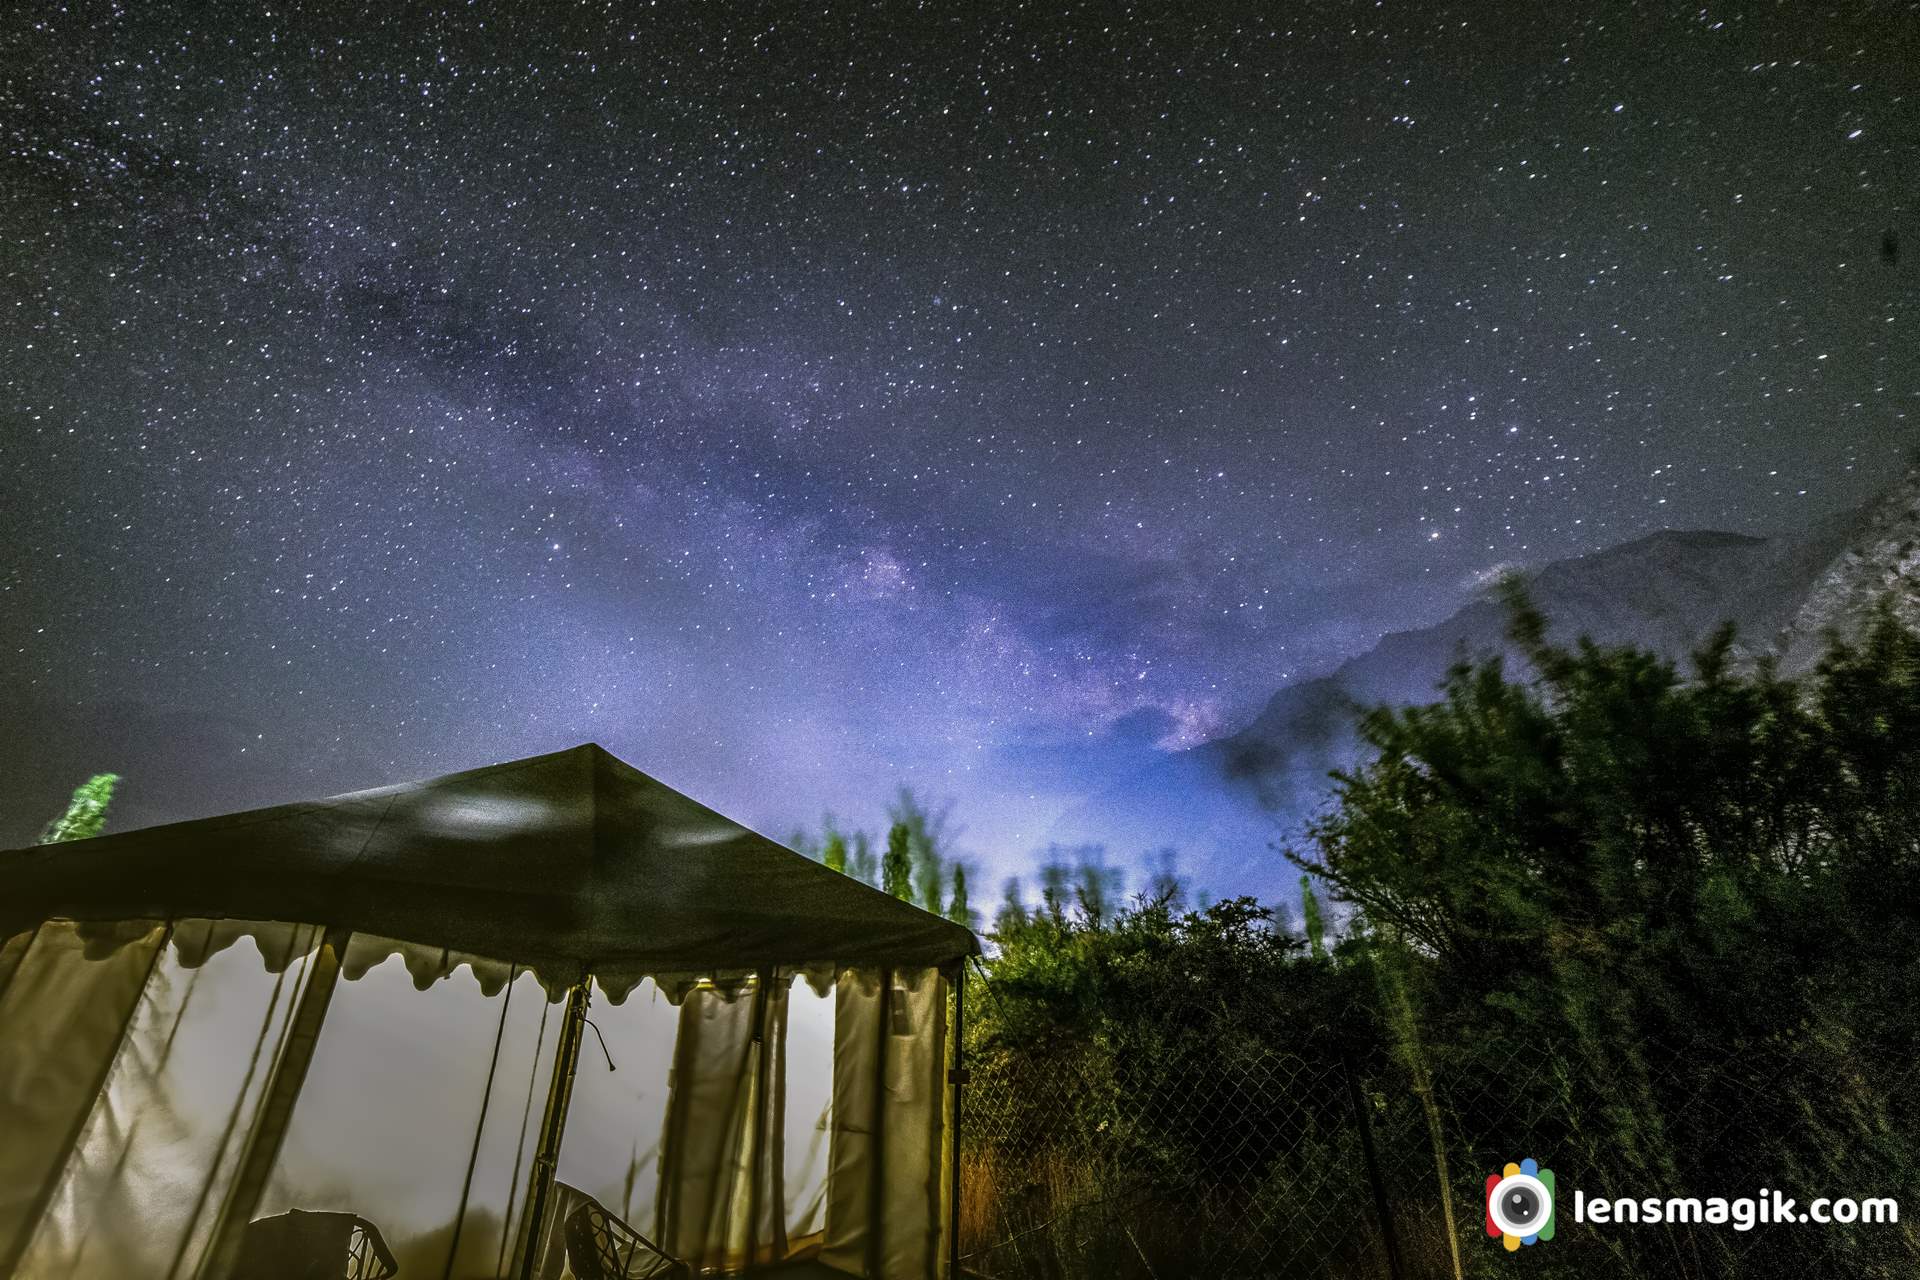
What you need for Milky Way Photography :
- Good DSLR Camera with Good Wide angle Lens
- Tripod
- Remote Shutter
Milky Way DSLR Camera Settings :
- Set Widest aperture of your lens f /2.8 is best
- Set shutter speed on 30 seconds or 20-25 seconds
- Use ISO at 3200 ( if your lens aperture f / 2.8 ) . ISO depends on your lens aperture so adjust according to your aperture.
- Use manual focus and set to Infinity
- In camera settings make Long exposure Noice reduction off.
- Use Tripod and Remote Shutter for taking a shot.
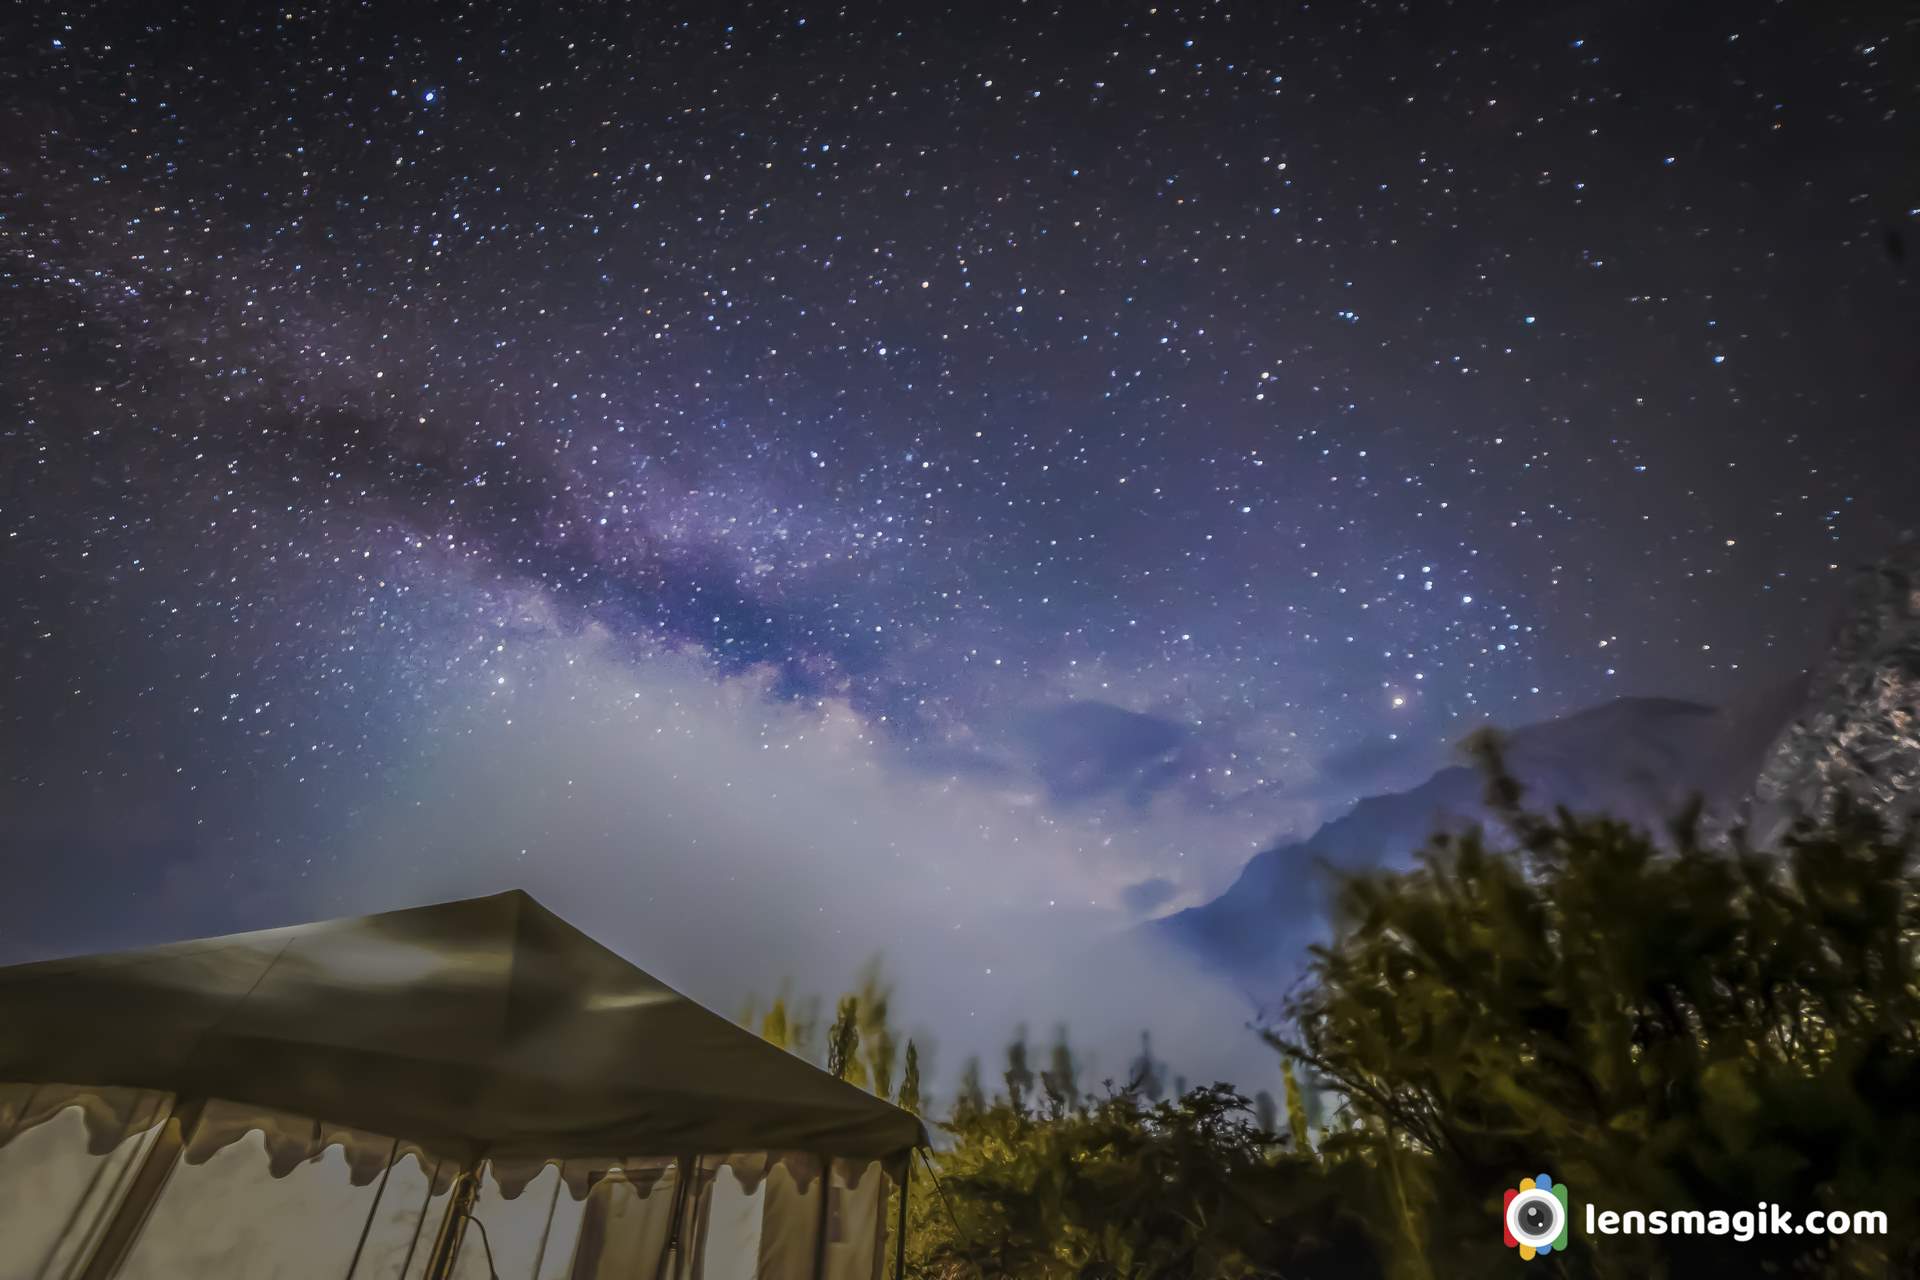
Here you go only few simple settings on your DSLR and you can capture milky way or Galaxy. It is amazing experience for me to capture milky way for the first time. I know i got not a good shot but i am happy to capture it. Well every time it is not easy to capture milky way. To photograph Milky way you will have to go at dark areas only. It is not visiable in every areas. Also you have to find Milky way by mobile apps. Then you put your camera on that direction and capture milky way. Also moon phases are very important because moon light destroy your milky way photos. So plan on dark or no moon day for milky way photography.
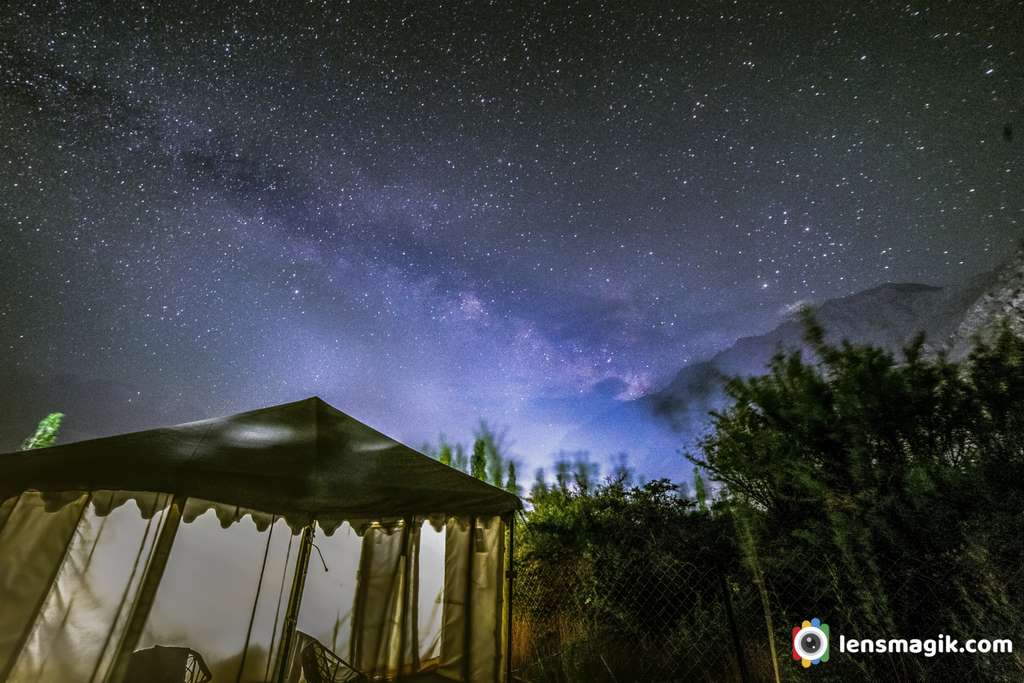
Mobile Apps For help in Milky Way photography : There are many apps for star gazing and milky way finding also for informations about stars among them i use belows.
- Light Pollution Maps ( you can find dark areas from this app ) I use this app for moon directions and moon rise and set timings and also for night events too.
- Star Tracker ( This app is for location of Stars and also planets , it also shows milky way direction too )
- Sky safari ( it is simillar to star tracker but more effective for find deep sky objects and also info and distance of stars and comets , meteors, moon phases, astroieds info etc.)
Milky way photography Tips / Things to keep in mind for milky way photography :
Most important thing you shoud know about Milky Way photography is location. Find the darkest area by using app so you can get better results. Also look about Moon Phases too. In one of my recent trip Moon phases destroy my whole milky way photography during entire trip. So plan during no moon days if possible. Another important thing is you do not sleep. Milky way rises after 9 -10 pm but at that time milky way is at horizons so may be local lights and pollutions may show in your frame as i capture there are lots of tent lights and also some desert pollution in Nubra Valley. Take atleast 20 shots in different ISO and shutter speed and aperture too. Sometimes different value helps in post processing in photos. One thing you note that you have to shoot in RAW format only. Night photos , Star photos, Galaxy photos, Milky way, Star trail shoots only in RAW format only.
Best Camera for Milky Way Photography :
I suggest for Full Frame cameras for milky way photography. You can use any DSLR or Mirrorless Cameras and get also good results. I use canon 6D for this milky way photography.
Best Lenses for Milky Way Photography :
Any wide angle lens can capture milky way photos. Also wide aperture lens is more helpful in milky way photography. I suggest for F / 2.8 lenses makes awesome results. I also suggest 10 mm lens or 14mm lens if you have. I borrow 14 mm rokinon lens for my canon 6 D from my cousine. You can use also 18-55 mm , 50 mm , 35mm etc any wide angle lens below 50mm is good for it. You have to change ISO and shutter according to your lens focul length. Result may different in each lens and each camera body. But you can post processing in photoshop after capture Milky Way.
I want to shoot Milky Way and Time laps photography at Pangong Lake but my bad luck weather is not good their. Mostly cloudly weather when i wake up at night for photography so i did not take milky way shots. In Nubra valley weather is clear but some city lights of Hundar village disturbing in my frame. Pangong lake is best place for night photography because there is not a single light after 10 pm in entire area. So if sky is clear you can see millions of stars from here. But also Its very cold at night and also too much windy.
Gear used : Canon 6 D, Rokinon 14mm f/2.8 lens, Using remote shutter, Tripod
Location : Nubra Escape Camp, Nubra Valley , Hundar.
Read more
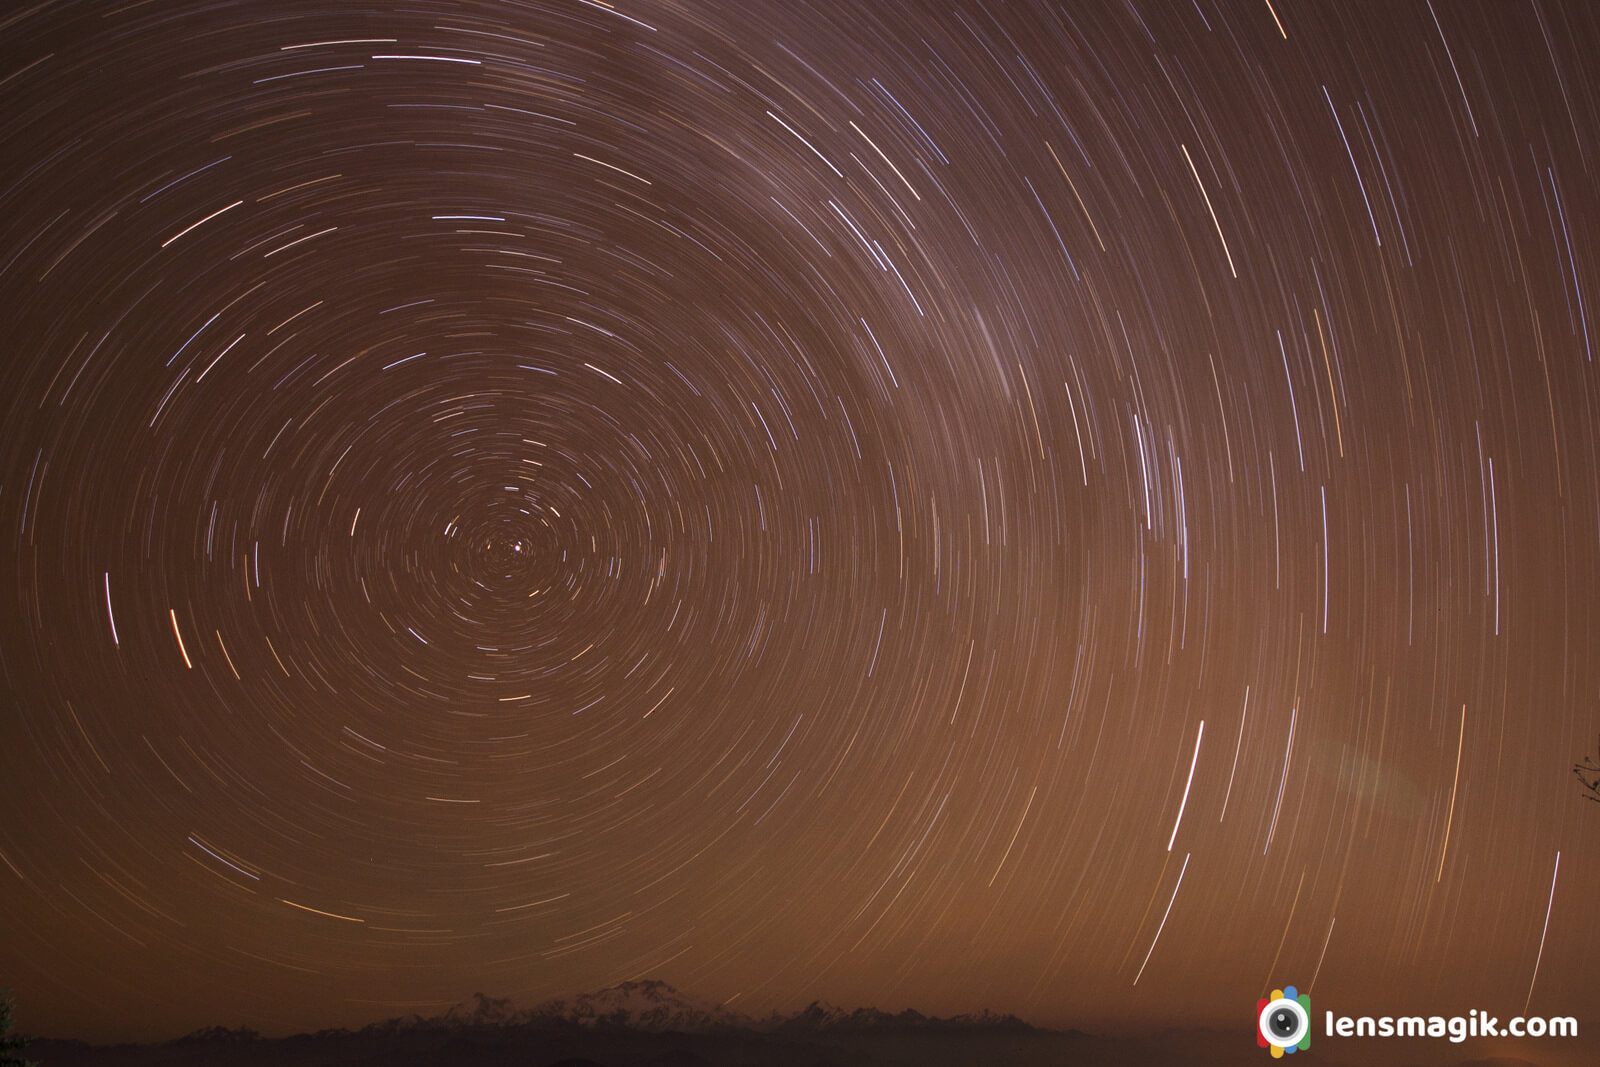
What is star trail photography : Star Trail photography means capturing the moving stars. Actually stars doesn't move its moving of Earth. A picture which shows motion movement of stars called star trail photography. It is also a Long exposure photography too. Star trail photo shows individual stars as a streaks. Generally bulb mode in DSLR camera is used for star trail photography. Also you need shutter release cable for open and shut your shutter.
How to shoot star trail photo ??
Bulb Mode Photography of Stars
There are two different way to shoot Star Trail
- Taking multiple shots at interval of 30 sec and merge them all
- Take a one shot of long interval approx 45 minutes
From above two methods frankly say i never use first method of merge multiple images. I use one shot of long interval in different exposure like 10 minutes, 20 minutes, 45 minutes. But before shooting star trail you must know such things that need in star trail photography.
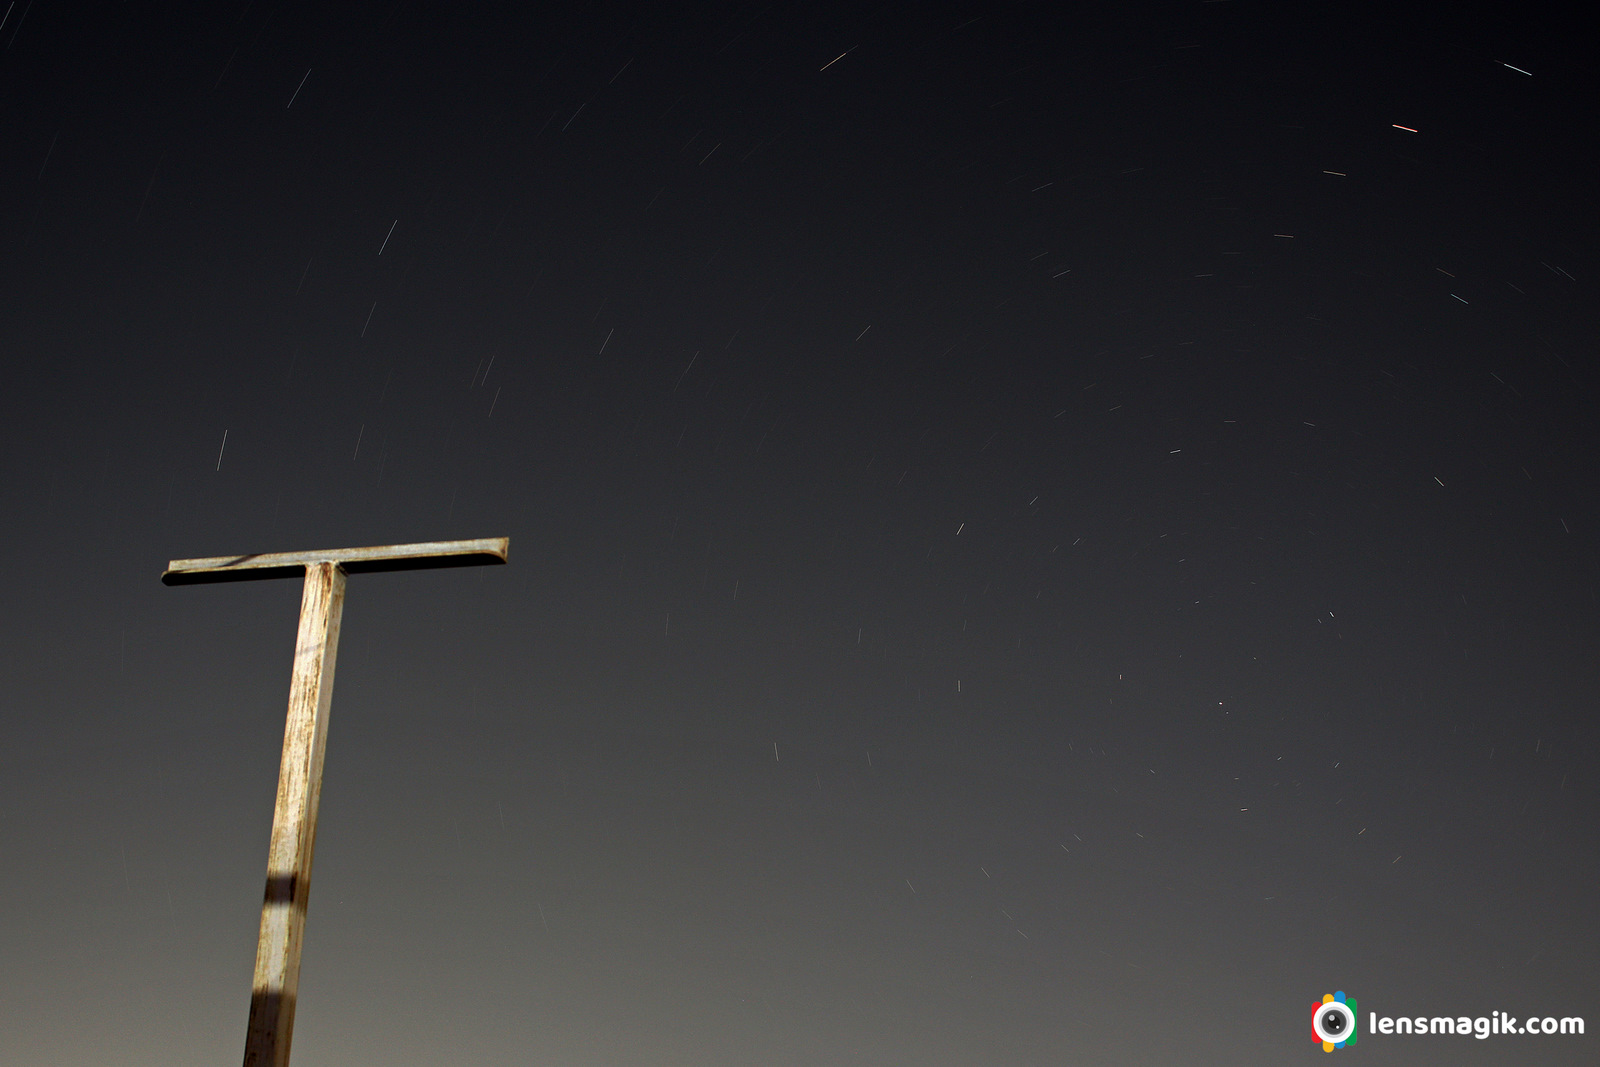
Star trail photography camera equipment :
- For capturing star trail photography you need good DSLR camera or Mirror less Camera. Now there are many point and shoot camera which can take good long exposure photographs. So choose best one or choose whatever you have..... But i prefer Full Frame DSLR camera for star trail photography or long exposure photography. Camera which support bulb mode and manual focus can be used in star trail photography.
- After taking good DSLR body you need best lens too. Best lenses for star trail photography i prefer focal length F/1.4 or F/2.8 or F/1.8 as you camera body supported. Generally i use canon 50 mm and 18-55 mm with canon 6 D body for star trail. Best lens for star trail is 10-20 mm lens and 14-20 mm lens.
- Also you need good tripod, remote shutter or shutter release cable supported to your camera body for long exposure photography.
Get good location for star trail photography :
- For star trail photography you need good location too. Generally you can use mountains, trees, electric pole or building etc. Location and subject boost your star trail photo. So take a good location for star trail and reach at least before sunset so you can set up your camera gears in proper location at day light. You need also determine moon phases for your location to get dark sky. Also you need to shoot in RAW or RAW+JPEG format in star trail.
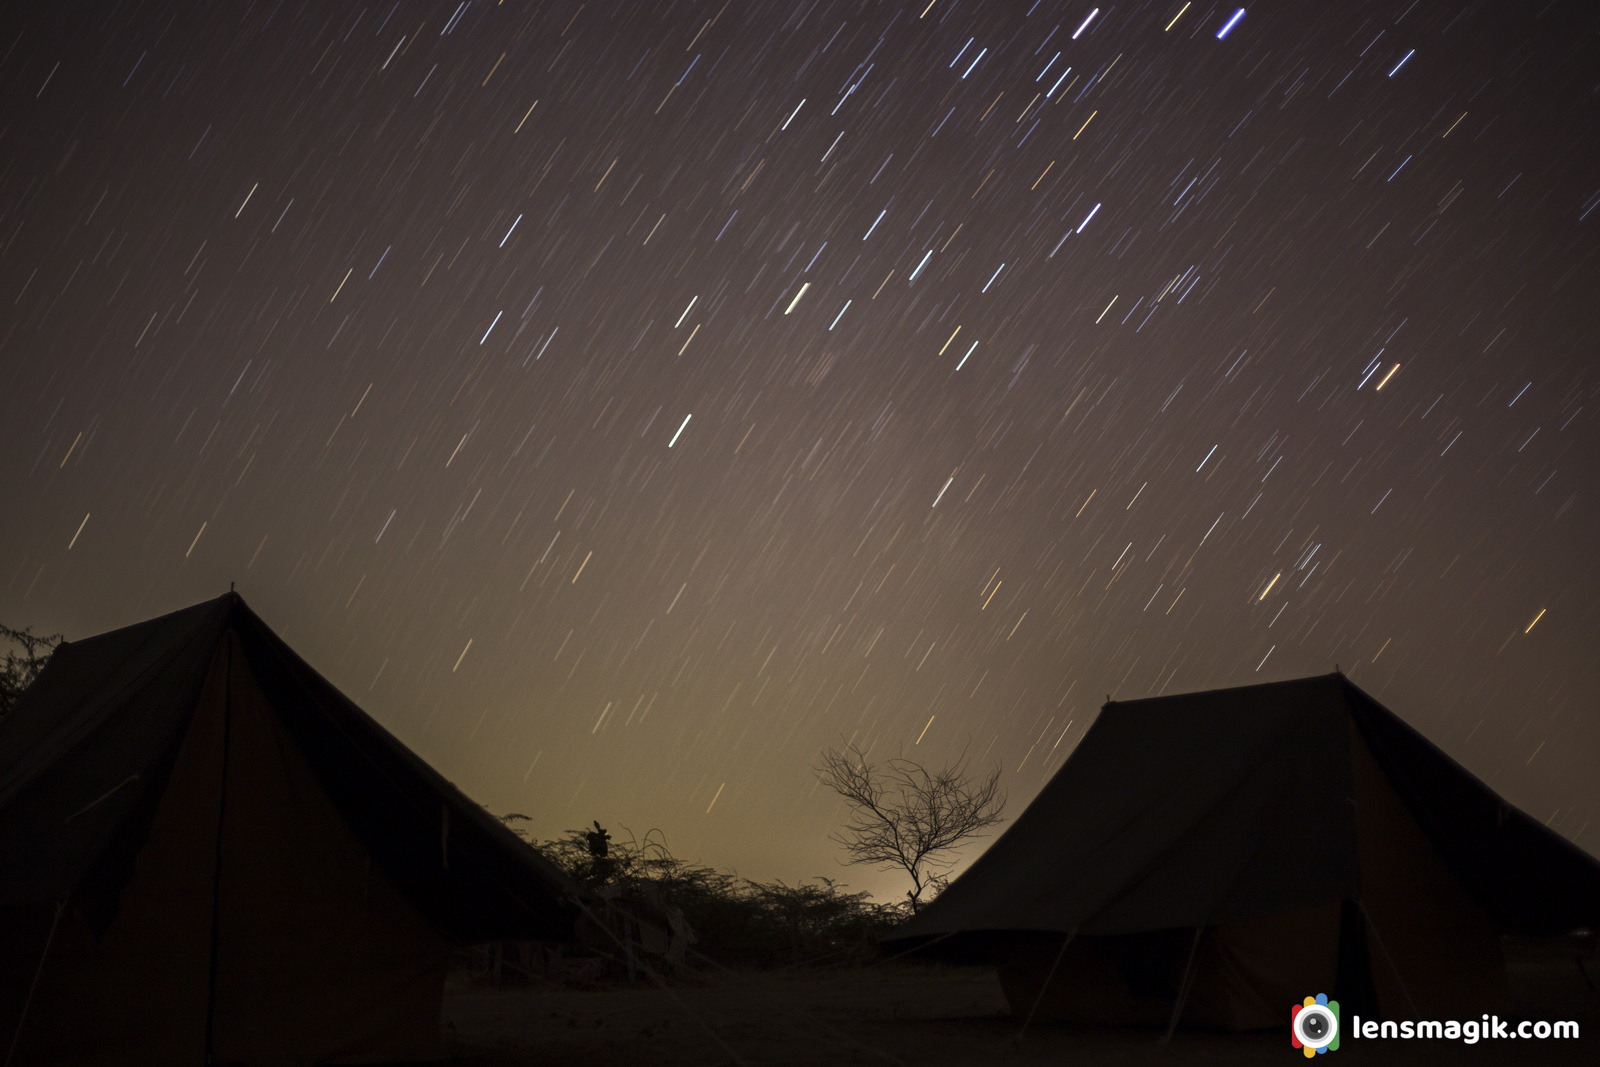
How to star trail photography with DSLR camera :
Star trail photography settings of DSLR camera :
Well i use only single shot start trail, i never take multiple shot start trail and merge it so i don't know about multiple shot star trail photography. Here i can give you settings for star trail photography in single shot.
- First you need to set your camera and compose your shot.
- Use manual focus to your lens and Bulb mode in your camera.
- Set your lens to infinite focus as marked on lens and focus foreground subject.
- Set aperture minimum or widest as your lens supports. F/1.8, F/2.8 is better aperture for star trail photography. Or set aperture F/3.5 to F/5 is good enough. If you are using 45 minute exposure then set F/22 or F/32 for reduce noise ( as per darkness of area ).
- ISO setting for star trail is depends on your exposure but generally i set on 100 ISO. It helps in less grains in you star trail photo. High ISO make higher noise in photo. so keep it on 100 or 200 max. But if you using multiple shot for star trail then ISO value may be 3600 and shutter speed of 30 seconds.
- Set exposure of minimum 30 minutes or 45 minutes is the best for star trail photography. I also set different value for exposure from 10 minutes to 45 minutes. My first star trail photo taken at sandakphu singalila national park west Bengal. I use 45 minute exposure with 10-20 mm lens and body canon 1000 D ( basic model ). So it is not necessary to get high price camera .
- For exposure setting you need Remote shutter or shutter release cable and in your camera you have to set on remote mode.
- I suggest to set your camera on North side for star trail photography. A Polaris star is good identification for direction or you can use some mobile apps for direction North like Compass app and also SkySafari App for mobile. Also need to know low pollution areas ( Use light pollution Map App) which helps you better guide.
- You need to full charge your camera battery because in star trail photography you need full charged battery. Also take 1-2 extra charged batteries for taking multiple shots. For 30-45 minute exposure star trail photo one battery required.
- At the end Process your RAW image of star trail in Photoshop software with some contrast and shadow and exposure settings. I suggest you that for star trail photography shoot in RAW format. In JPEG you need to select long exposure noise reduction on and it wasting your battery. Also post process in RAW image is better than JPEG image.
- Note that with long exposure noise reduction on mode if you use 45 minute exposure then your photo may take atleast 45 minutes for process so do not turn off your camera until your photo process.
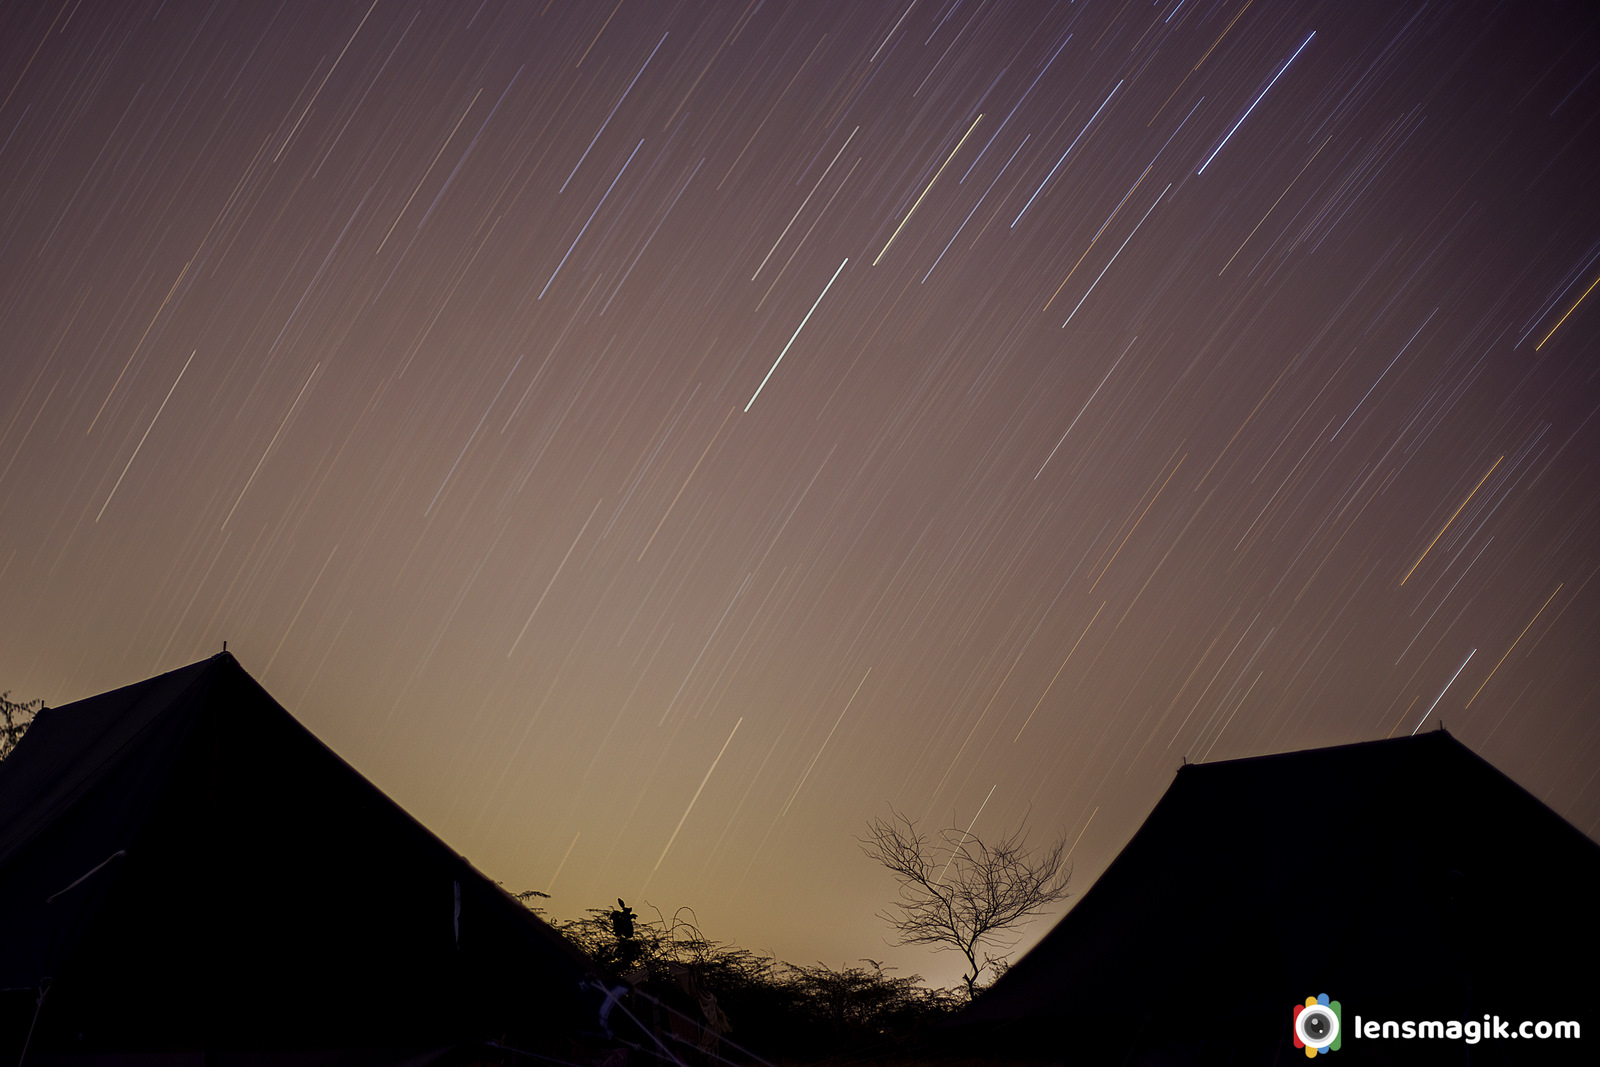
Star Trail photography is one of my favorite subject but it need too much patience to shoot Long exposure photography because it take too much time for shoot and also for process your image in camera.
Star trail photography Android Apps :
- Dark sky finder ( for light pollution )
- Nightcap Camera ( for iPhone camera )
- Go sky watch ( for identify stars )
- Star tracker ( For identify stars and locations of moon sun )
- The Photographer's Ephemeris ( For best milky way finder )
- Compass ( for direction )
- Sky safari ( for stars finder )
At last i talk about my shots of star trail. First shot is my first star trail taken at singalila national park west Bengal at sandakphu. It was my first star trail under guidance of master of wildlife photography Shivang Mehta sir and Tejas Soni sir . I also thankful to Shantanu Prasad who arrange trip to sandakphu with naturewanderers. The second image taken at my home rooftop during lockdown period in year 2020. So that image is not clear because of pollution at cities. The third and fourth image taken at Little Rann Of Kutch during children awareness program. The foreground of that images are our tents and both images are taken at different exposure .
So thanking you to read my post about star trail photography guide. You can write comment if you like and also send suggestions if you have about my blog. And also like and share if you really like it and get information if you get from my post.
Read moreAccentor is a small bird of prunellidae family. In India it is generally found in East Sikkim area. It built its nest low in a bush. When i was on a trip to Singalila National Park. I found at sandakphu area. Sandakphu is high altitude place in Singalila National Park located in West Bengal. From here you can see Mt. Kanchenjunga very clear which is highest peak of West Bengal. Lots of Birds here. To visit Singalila Park November to February you can found lots of snow and good landscapes too with snow on Mt Kanchenjunga. Also if you are going for birding you can visit March to May/June Month is the best . It is very cold weather during winter November to February at Singalila National park.
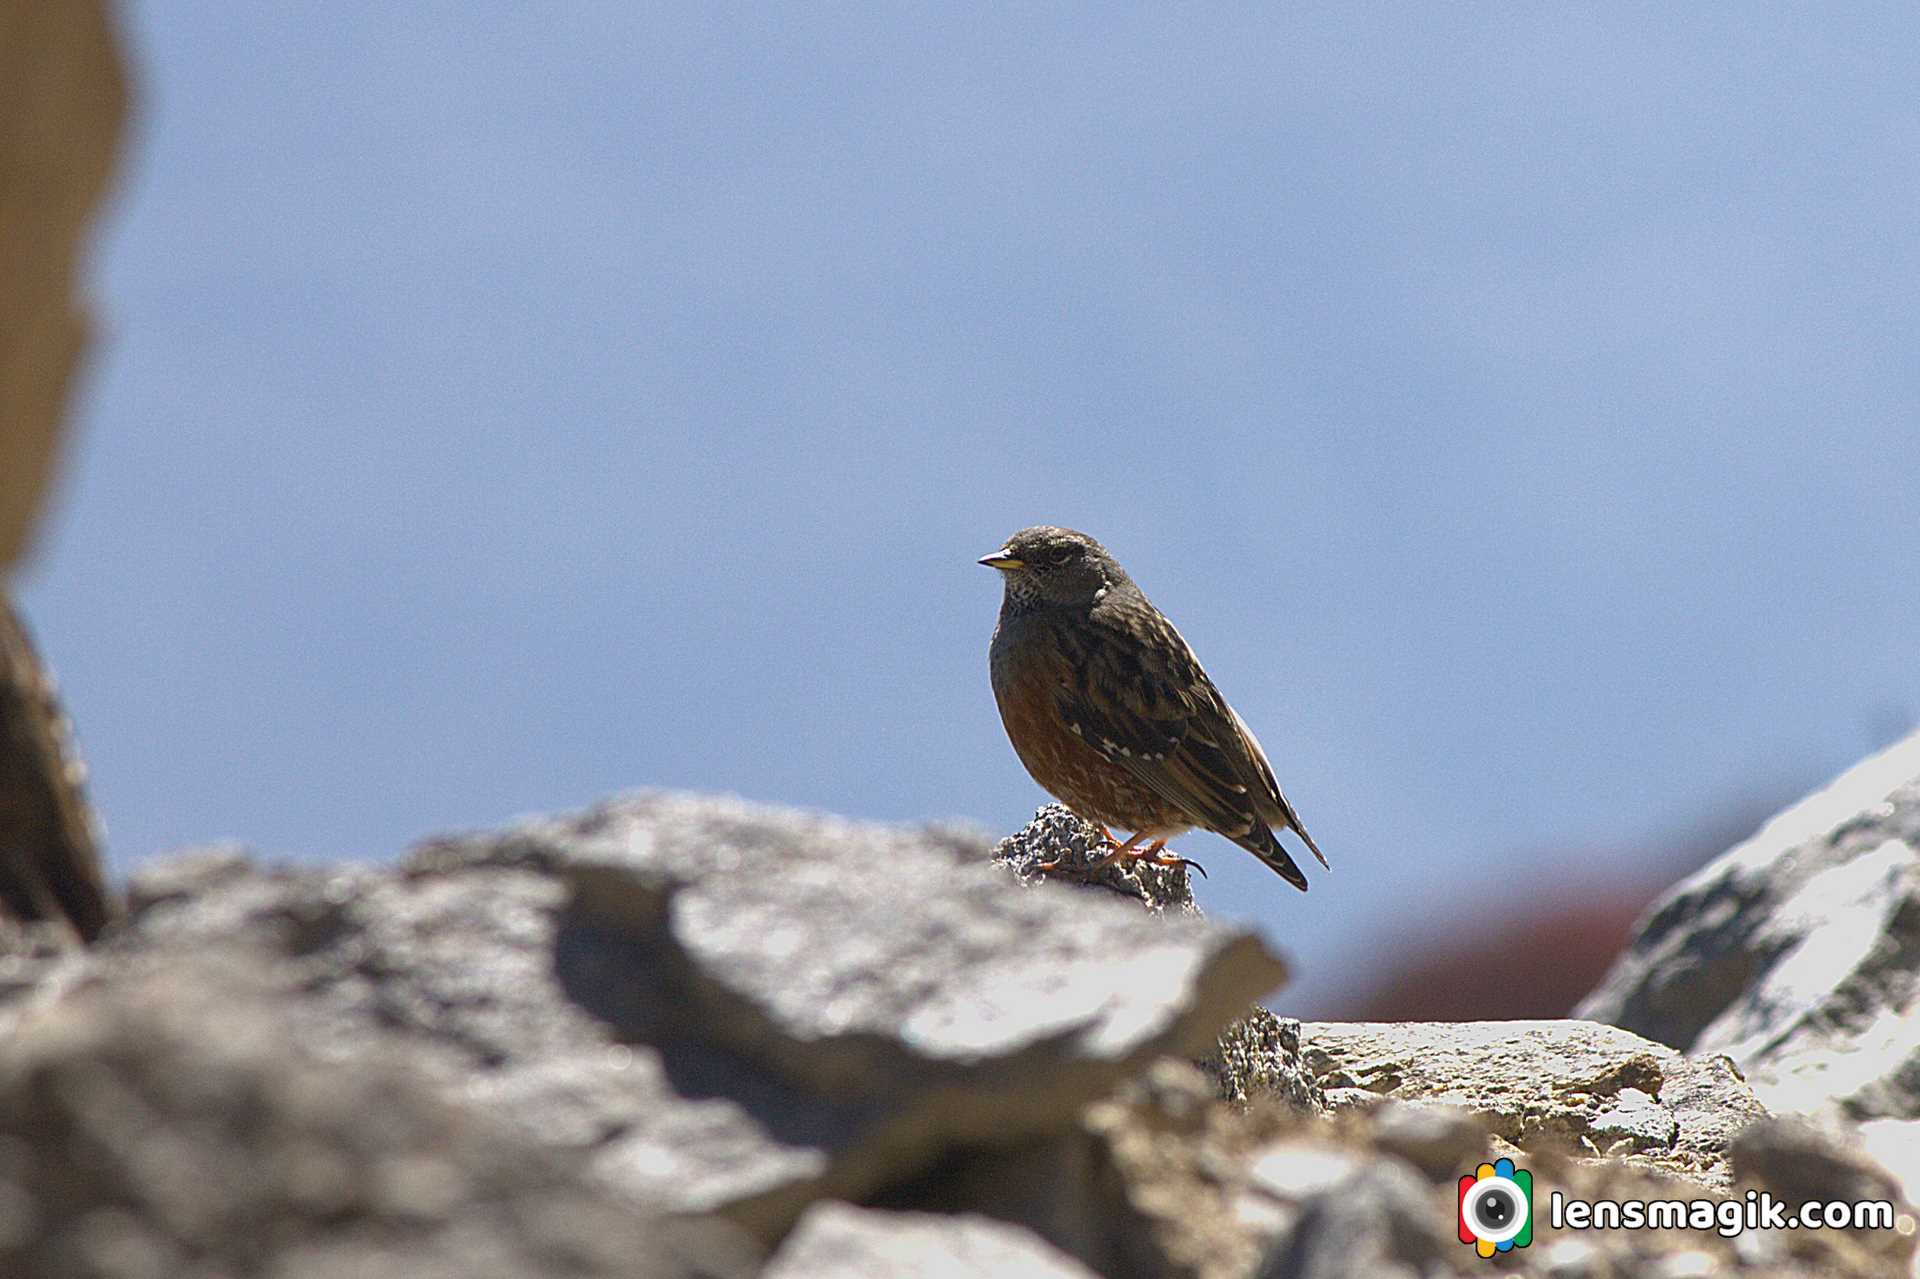
About Alpine Accentor Bird :
- Alpine Accentor bird is robin size bird. Length of bird is around 15 -17 cm.
- Bird just like similar to house sparrow in color with brown back streaked.
- Adult Alpine Accentor have red brown spotting on underparts
- Also adult have grey head too.
- In Asia Accentor found at 2000 m above height. Specially at Himalayas.
- It build nest in bush.
- It laying 3-4 plain (not spotted) eggs of sky blue color.
Singalila National Park :
Singalila national park is located in West Bengal. There are lots of birds in this sanctuary. Also its good for trekking at Sandakphu. From here you can see Mt. Kanchenjunga easily and very closely. Also a beautiful Himalayan Mountain range with snow. Amazing weather very cold in winter and moderate in summer. Summer season is the best for birding at sandakphu.
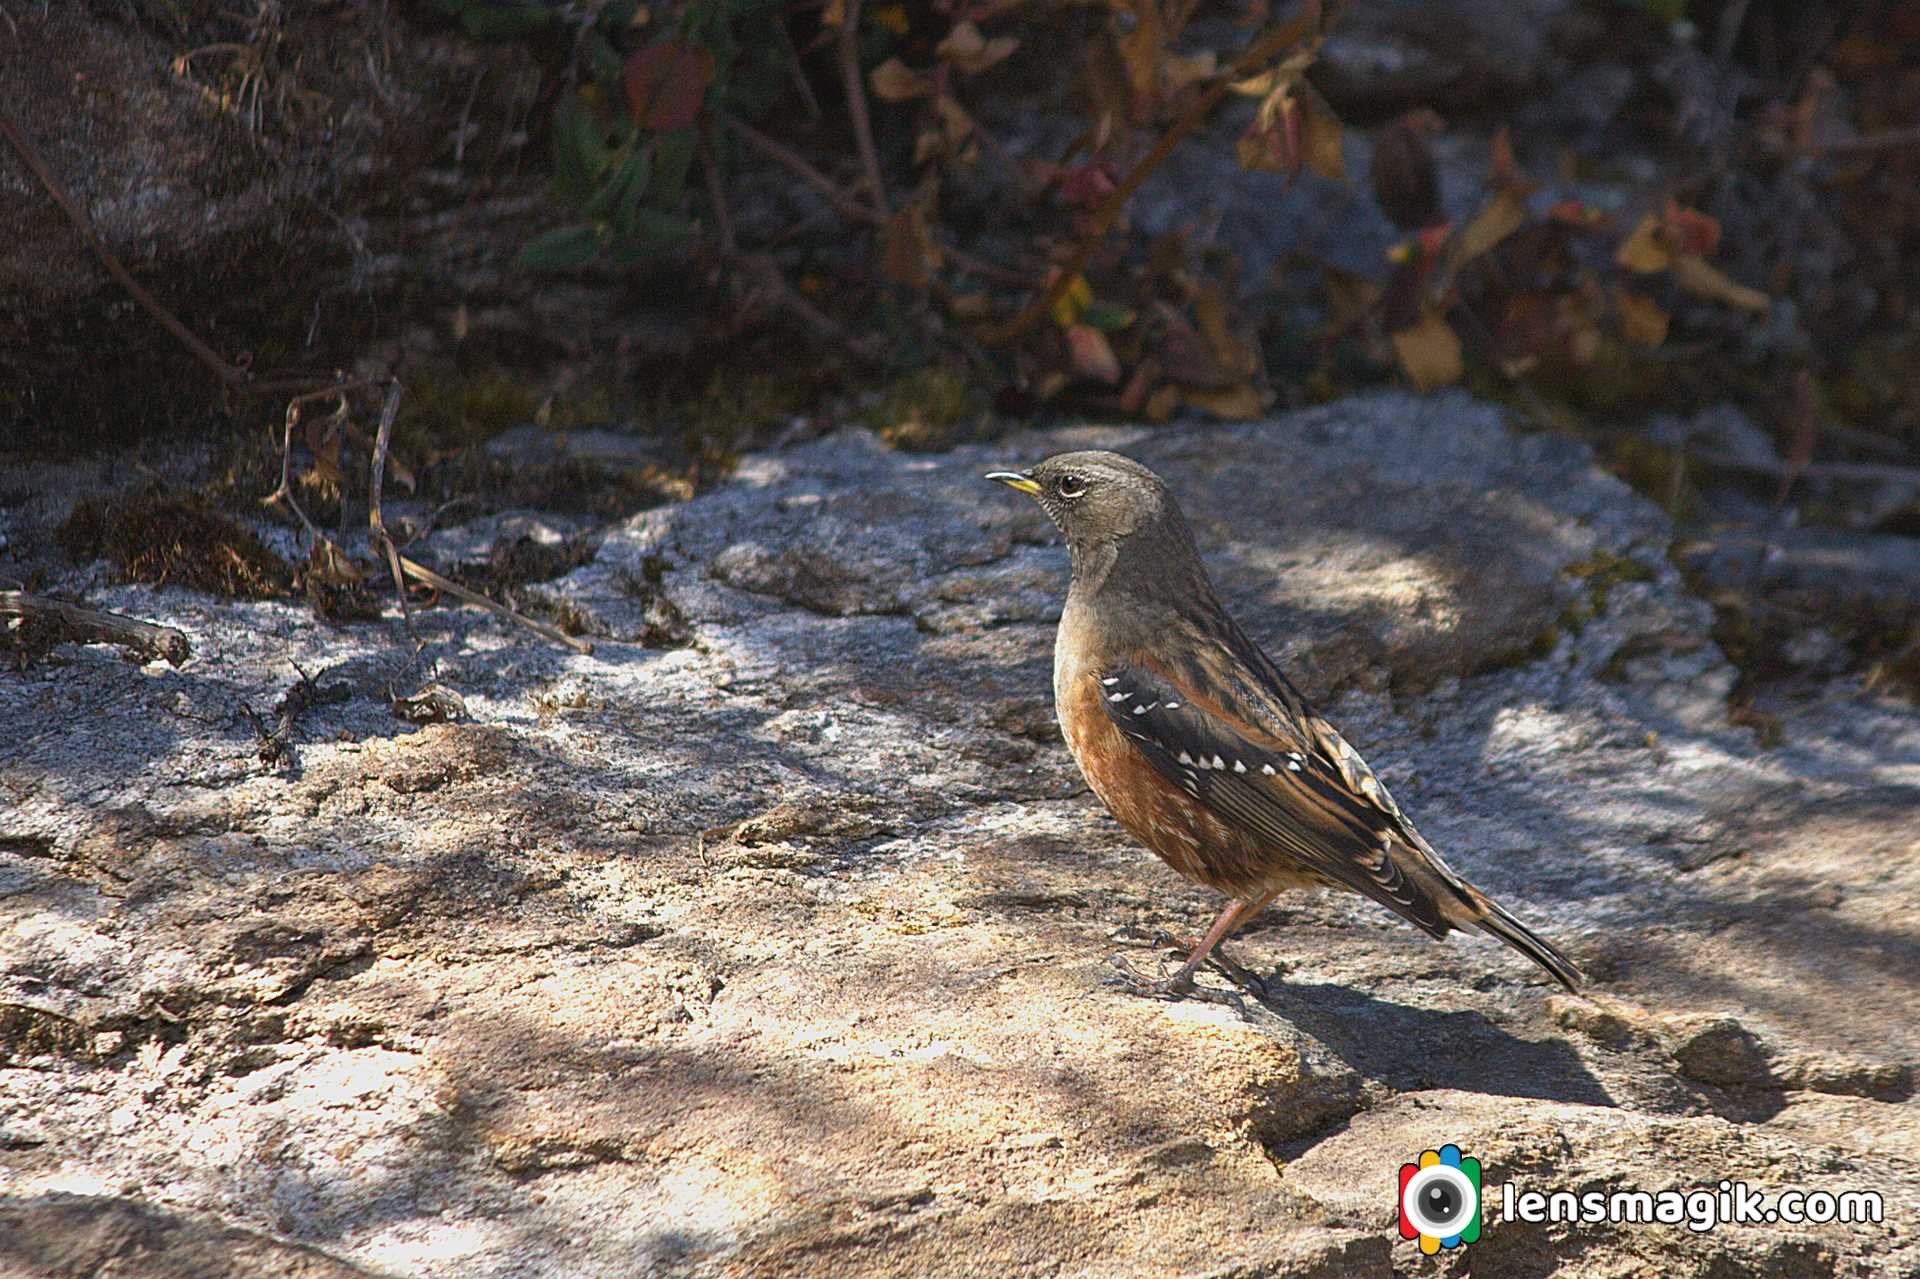
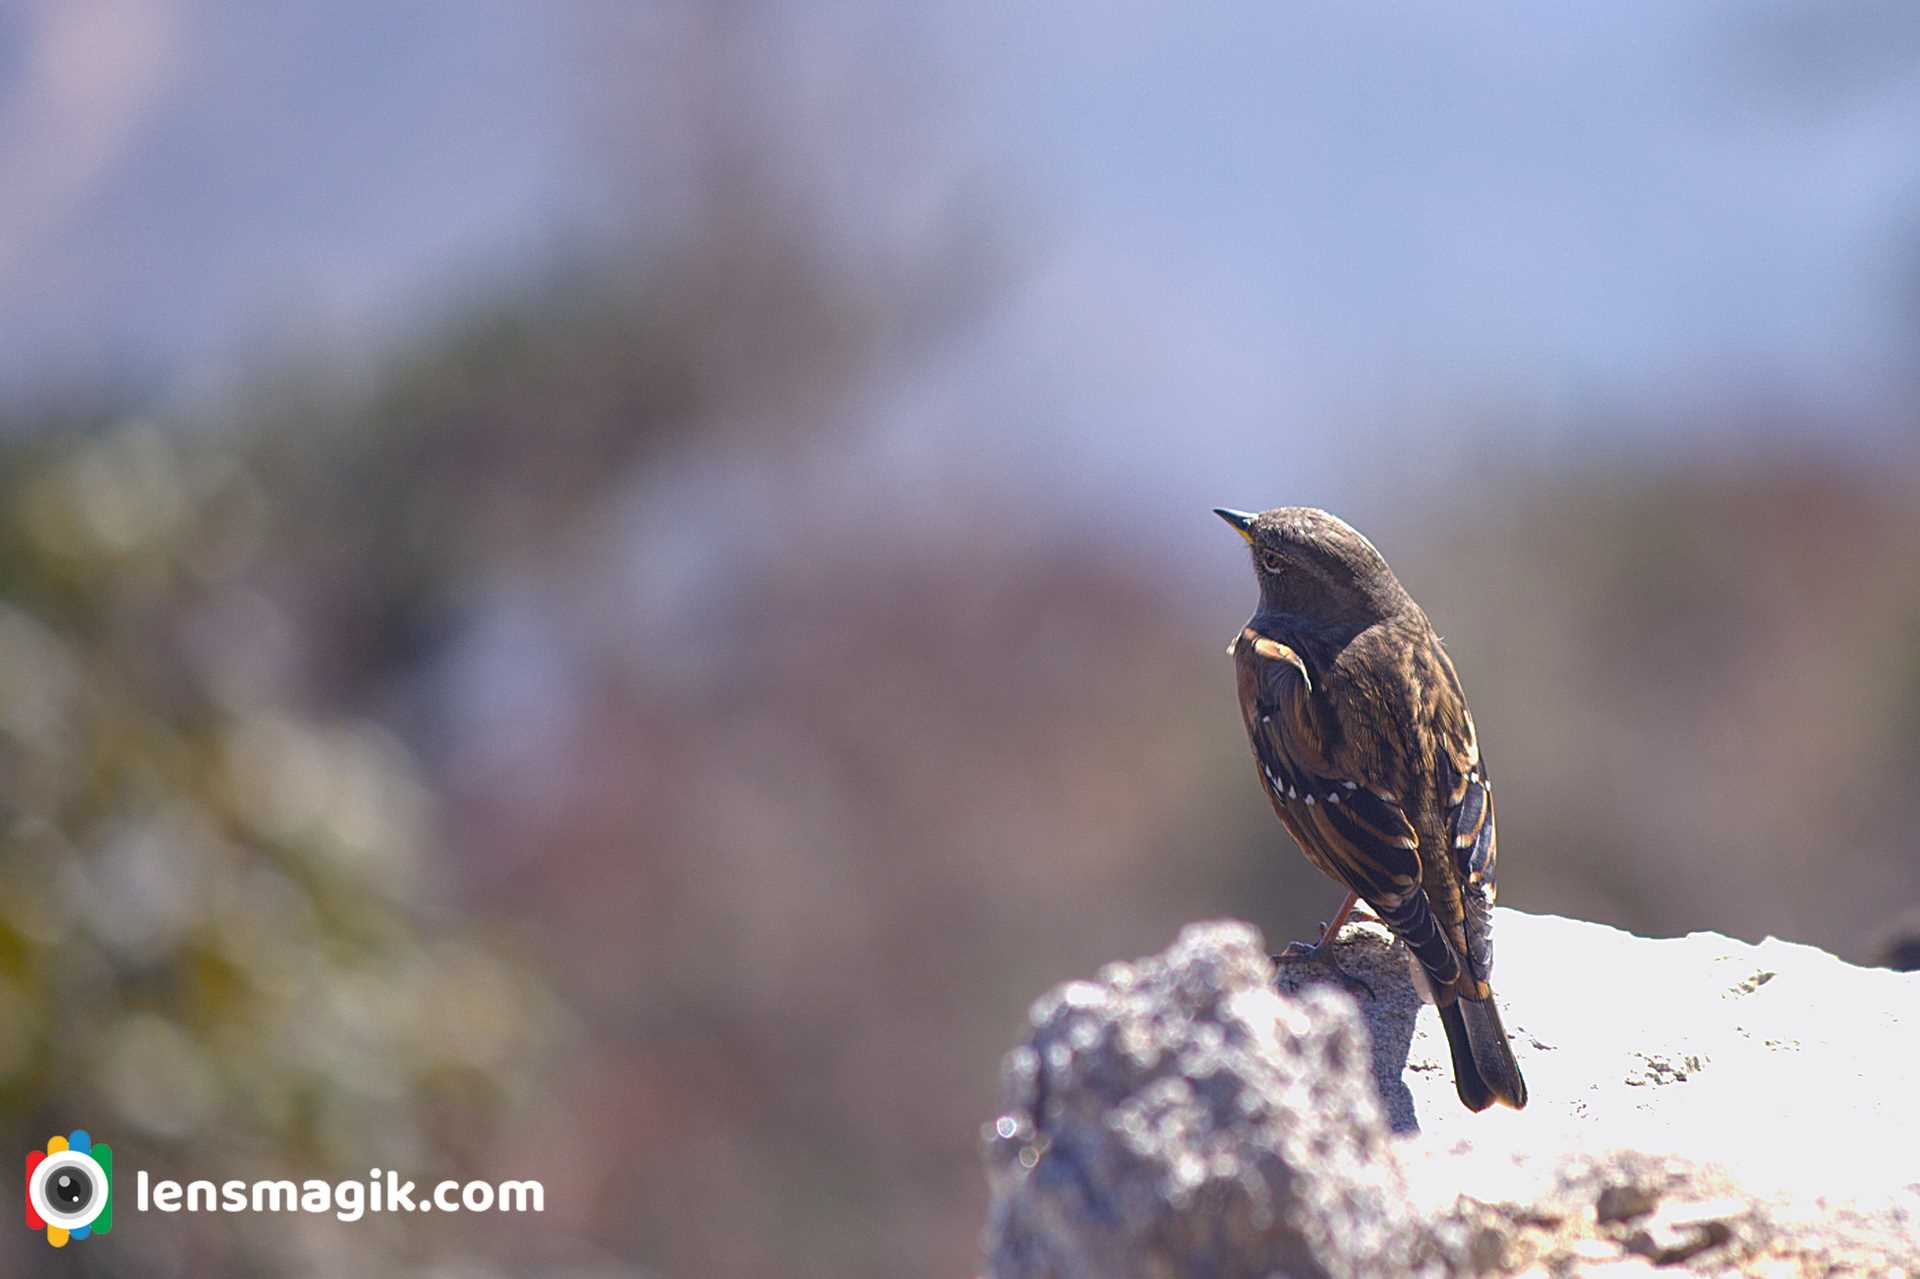
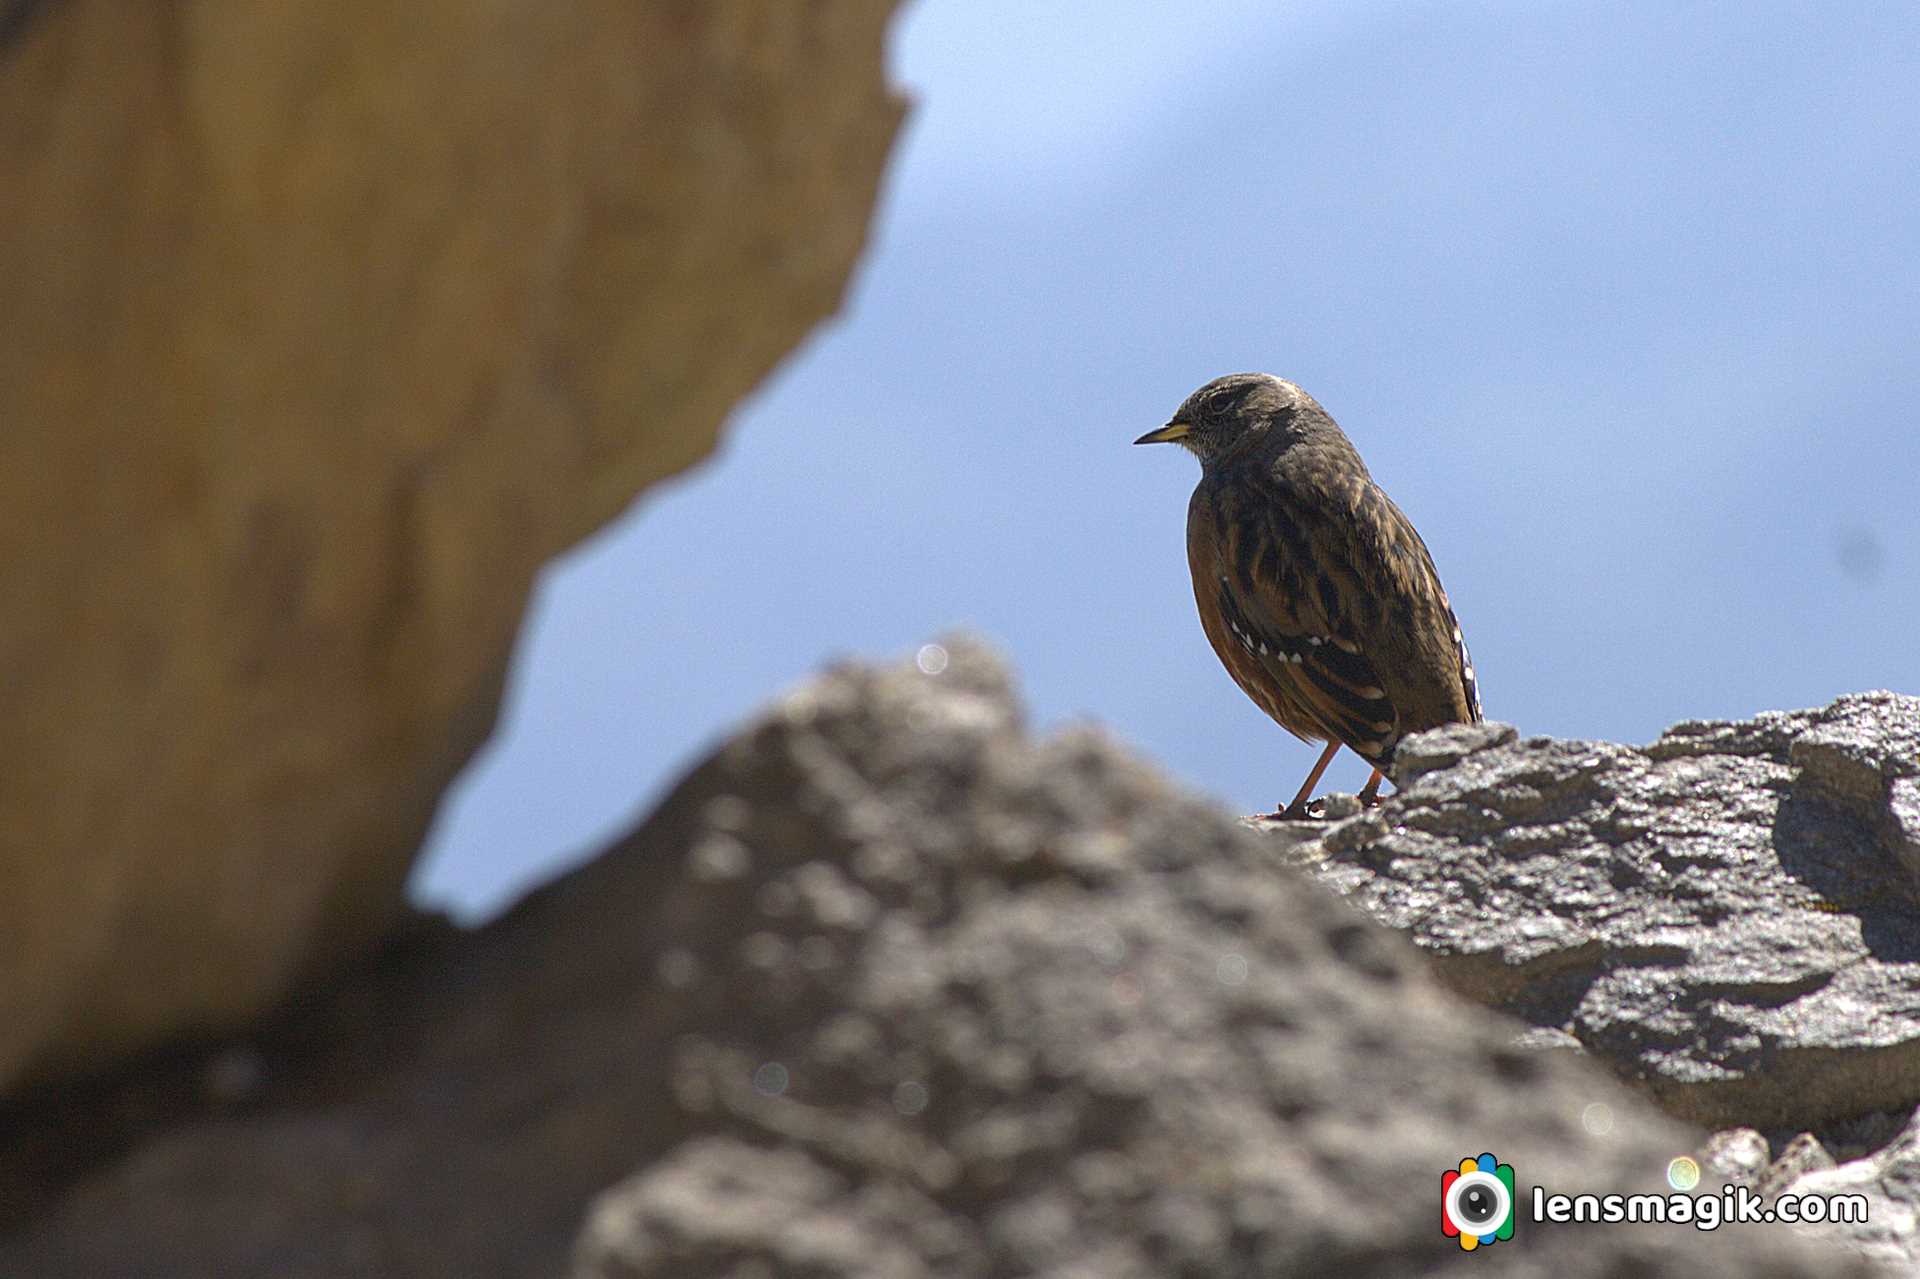
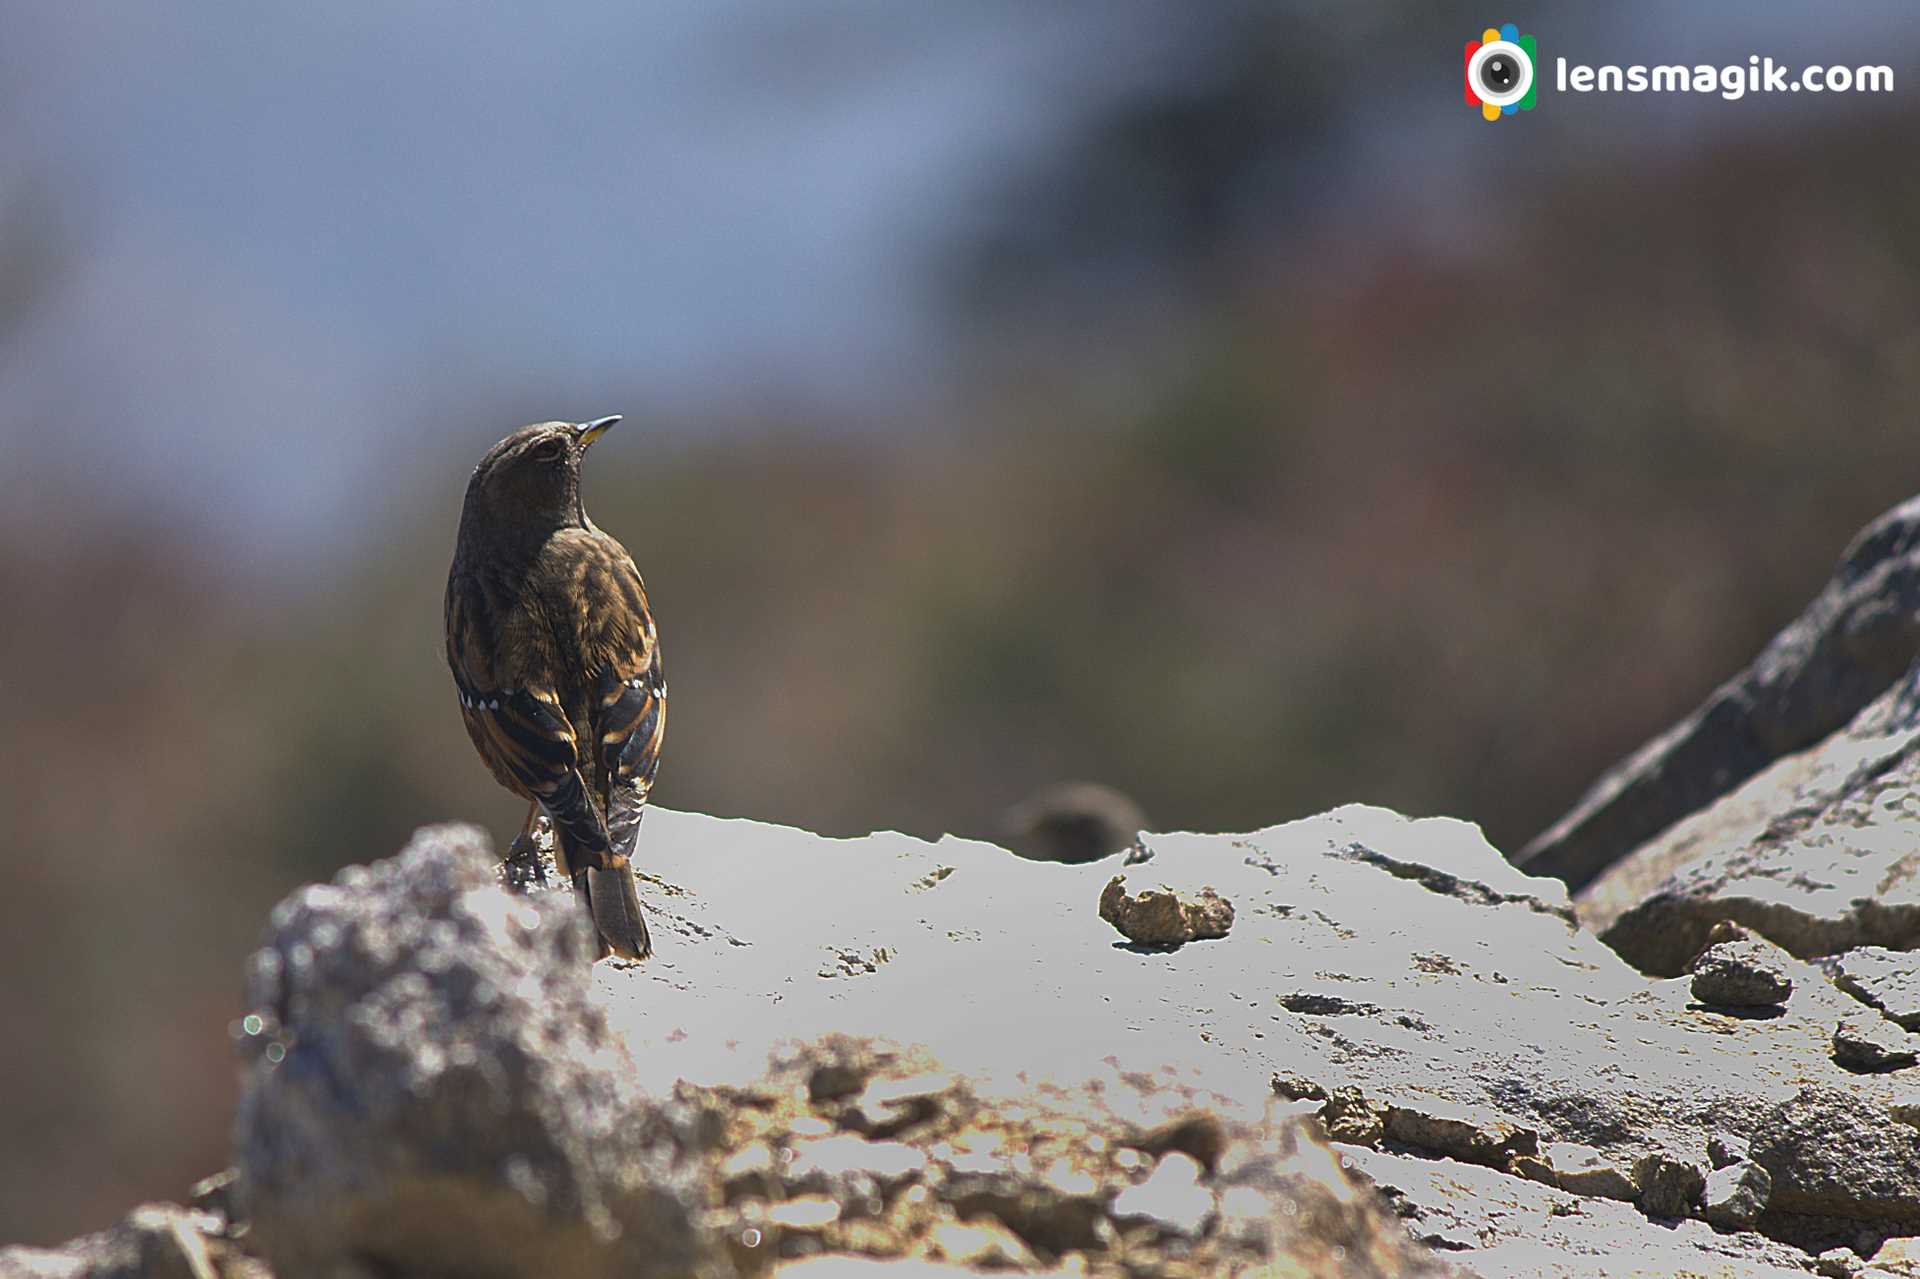
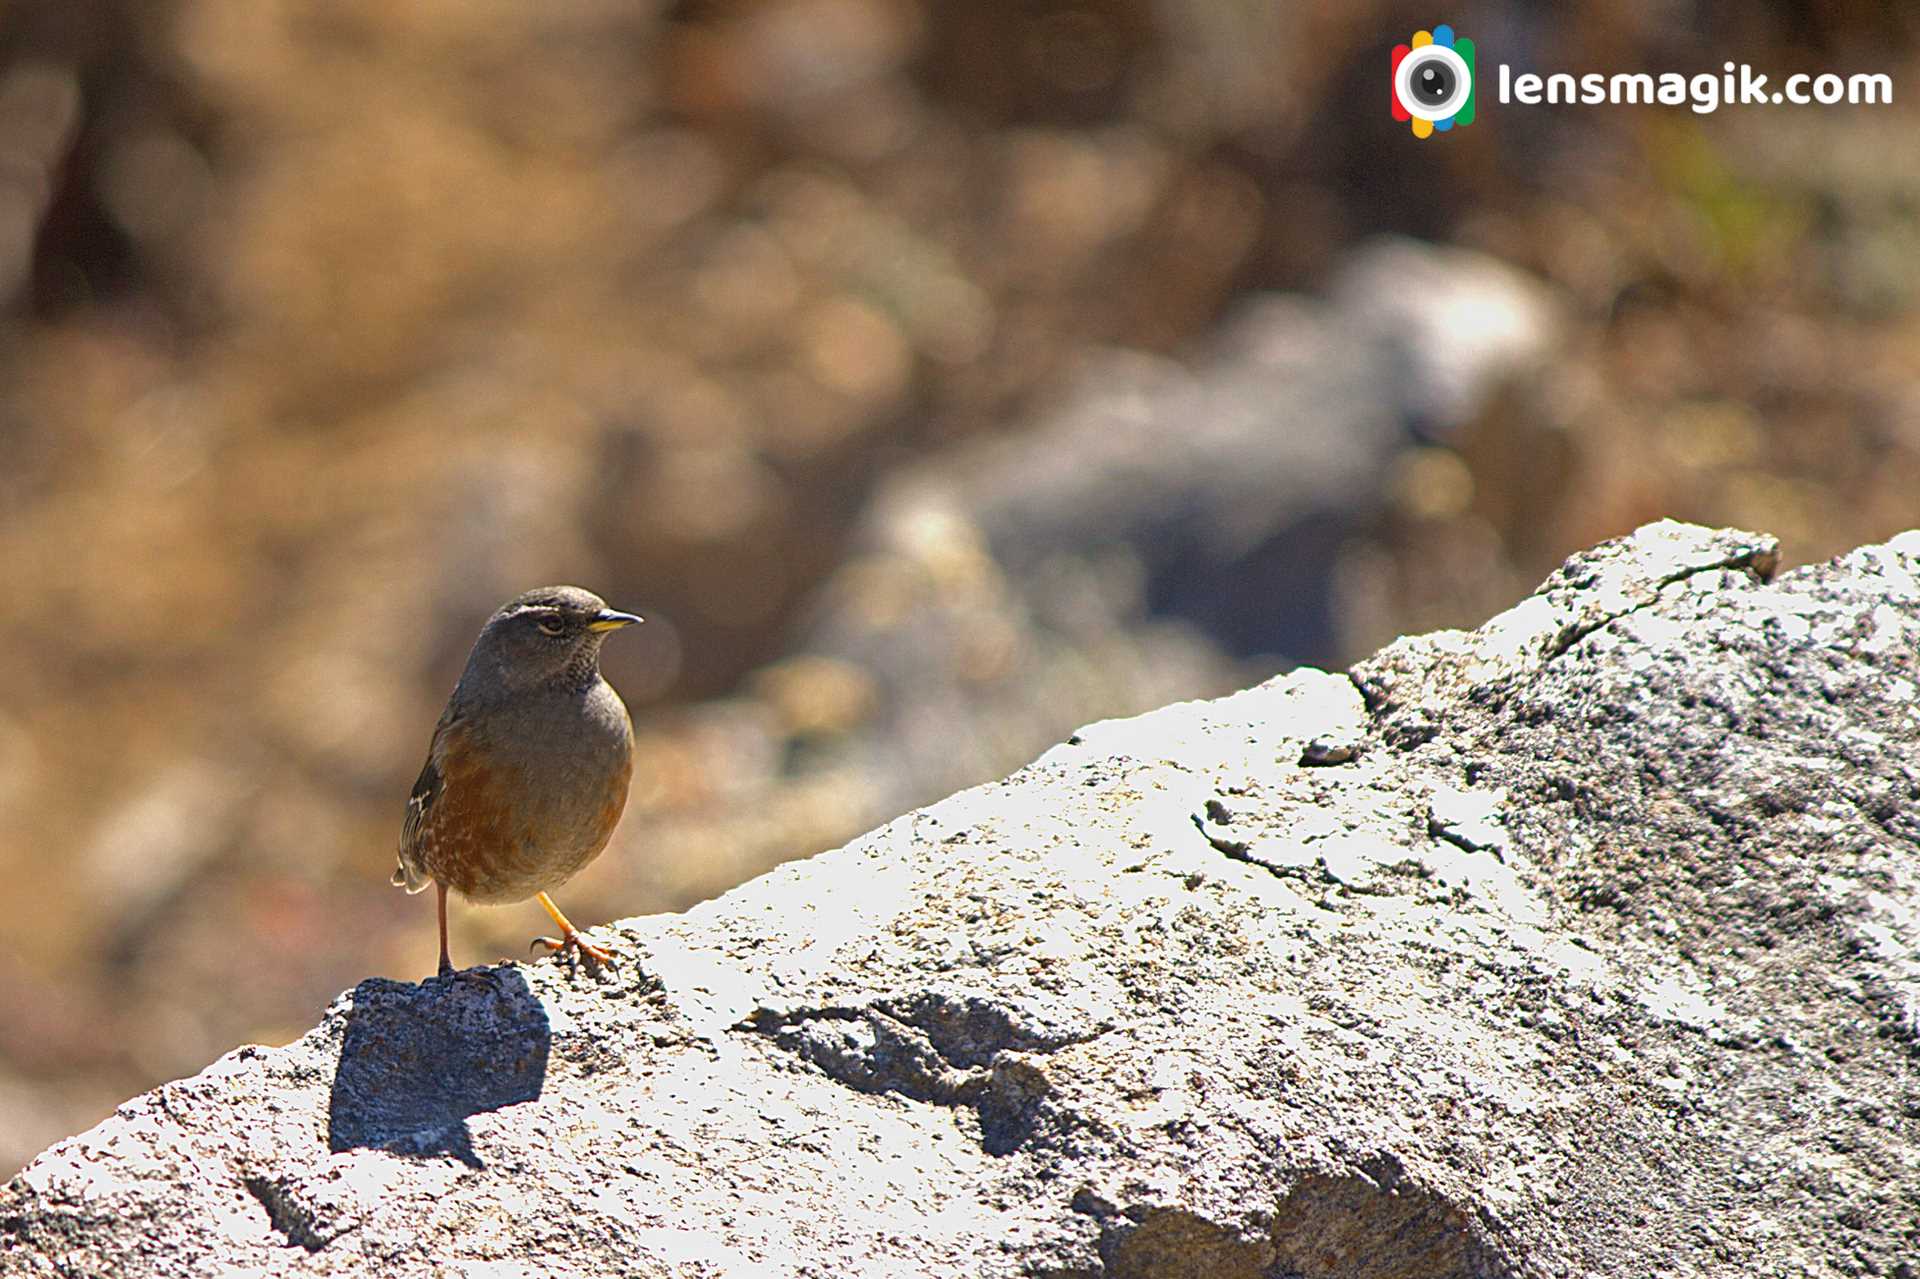
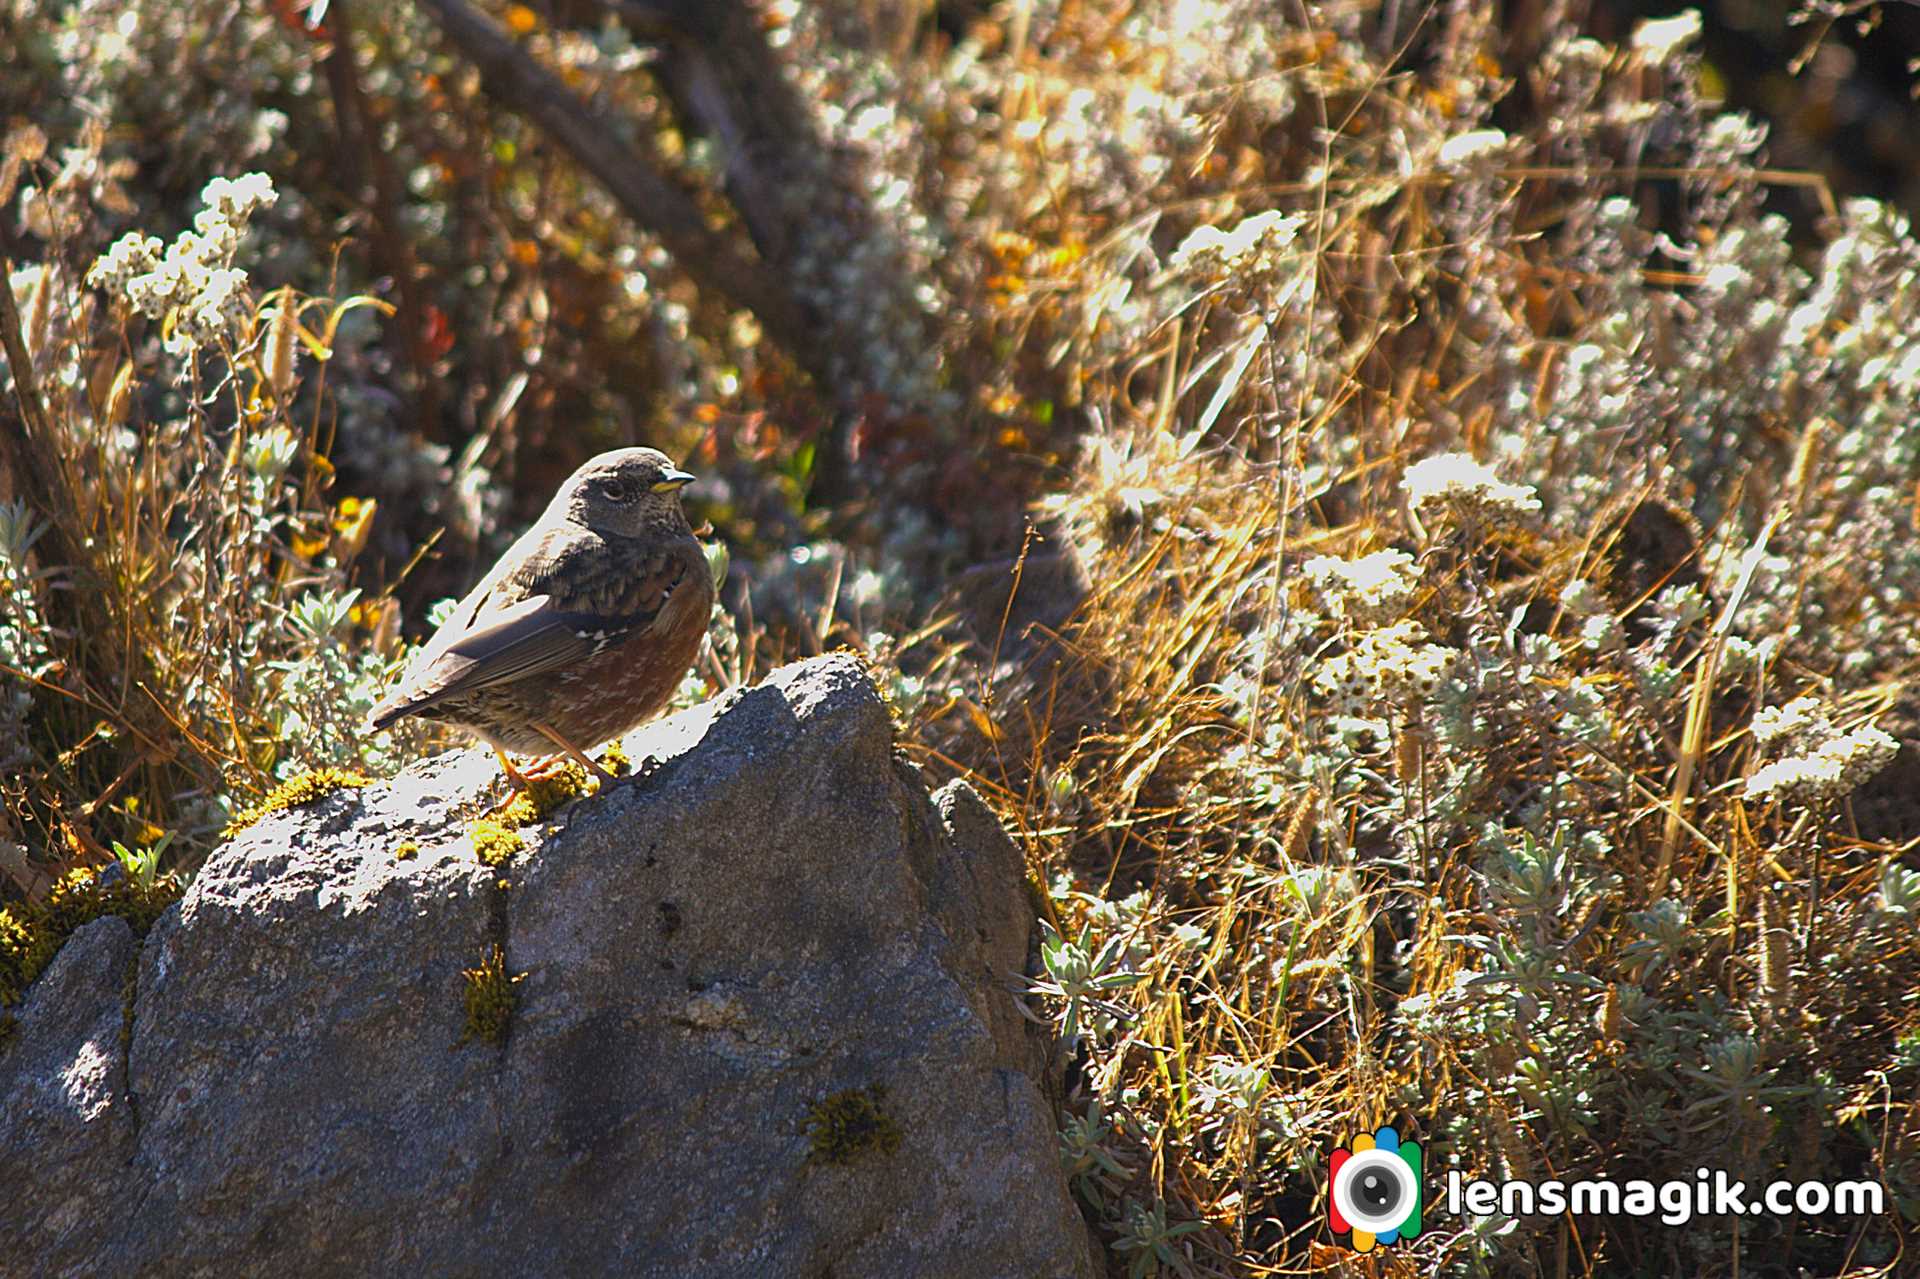
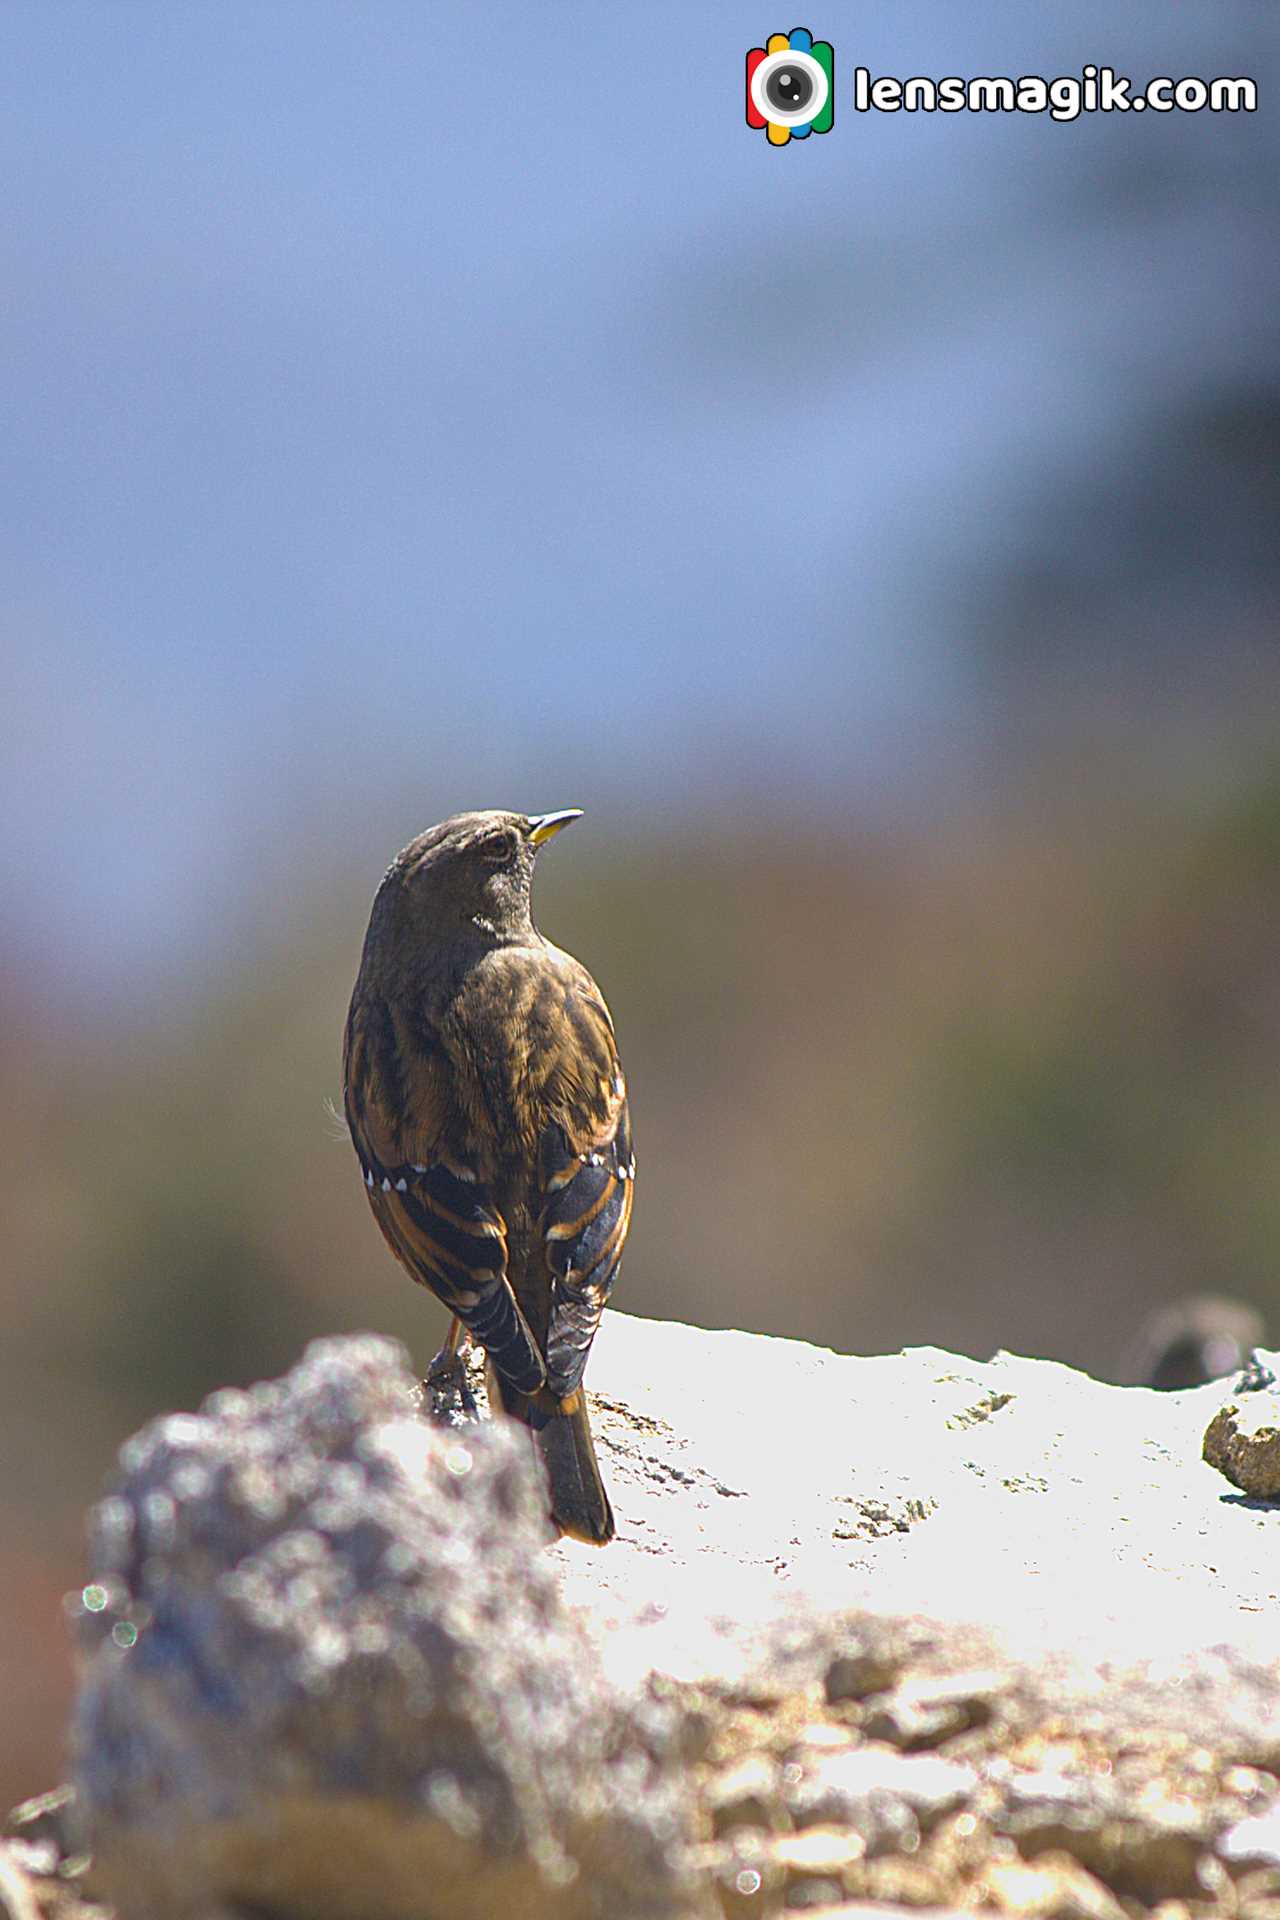
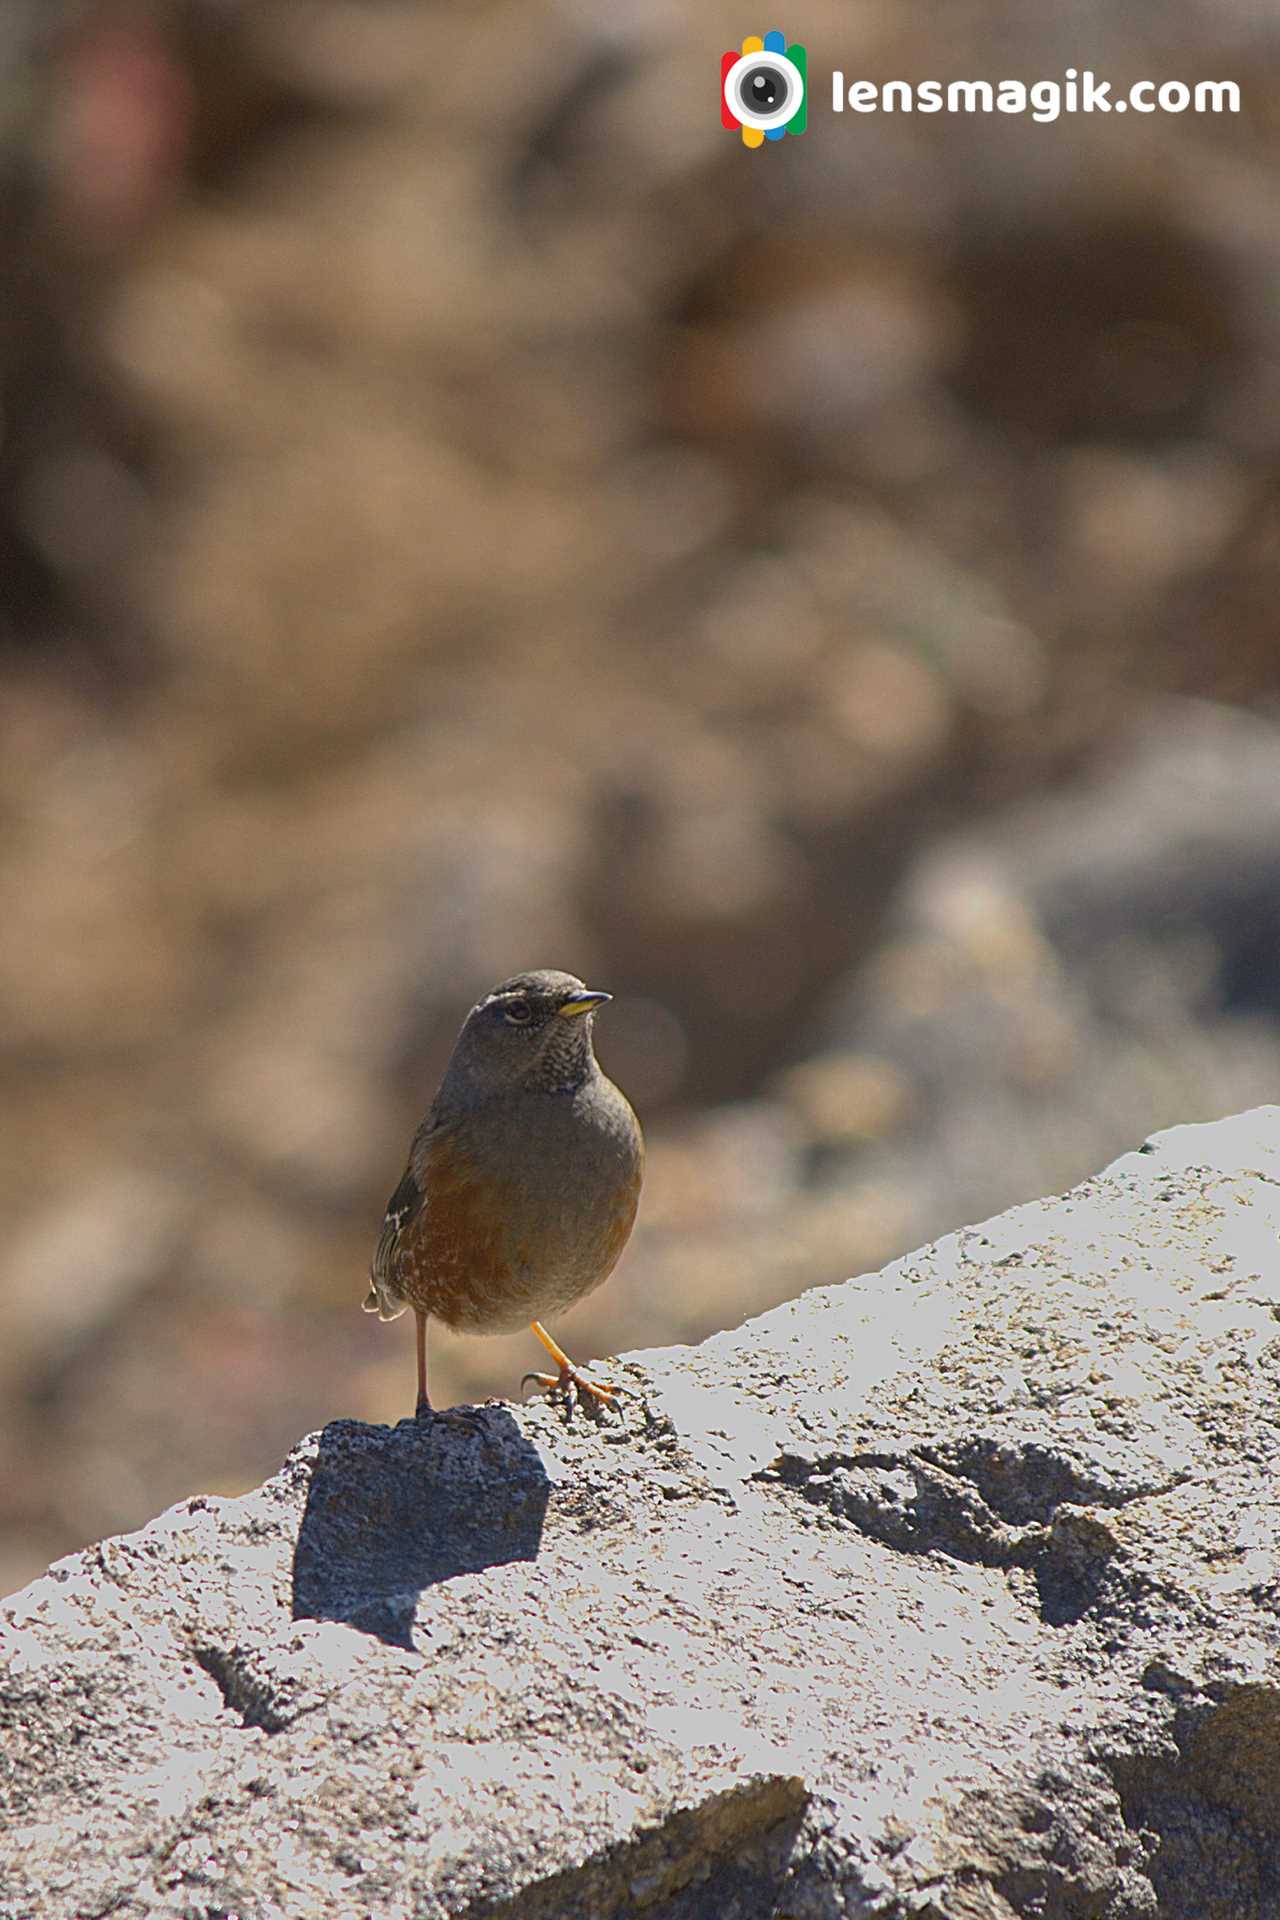
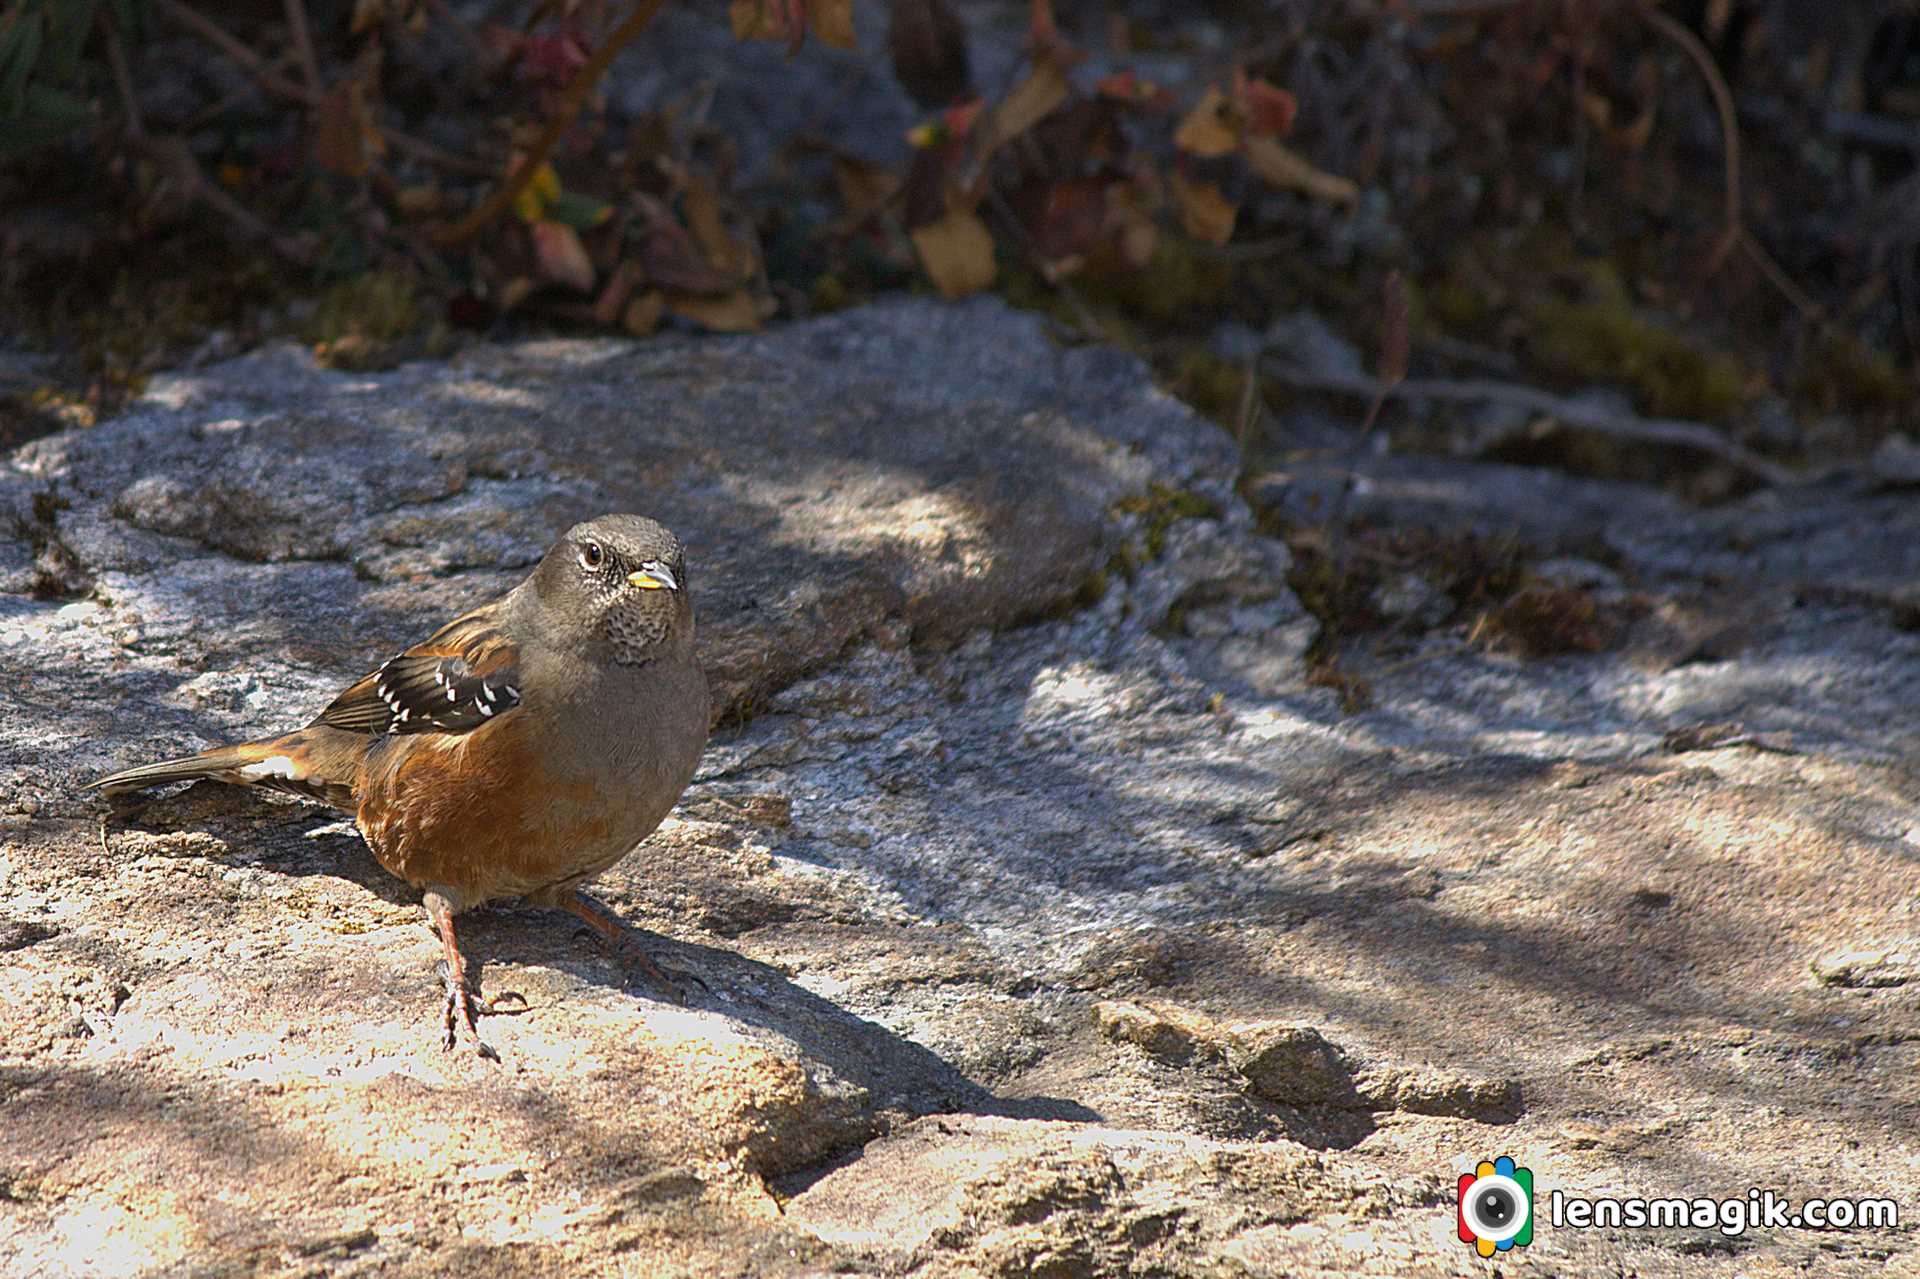
Alpine Accentor bird Binominal Name is Prunella Collaris . Total 9 subspices are recognised of Alpine Accentor bird.
Gear used : Canon 1000 D, Canon 55-250 mm Lens.
Road To Heaven is named to the road from Khavda to Dholavira in Kutch Gujarat. The road is so wonderful and scenery so it known as Road to Heaven . Khavda to Dholavira distance is around 58km but from Khavda there is a single line narrow road passes through small villages around 15-20 km approx. The main road starts after it and it is around 30-35 km approx. strait to Dholavira. Road is under constriction but almost 70-80% work done. The road heading to the city of Harappan Civilization Dholavira which is one of the largest site of Harappan Civilization and Indus valley Civilization.
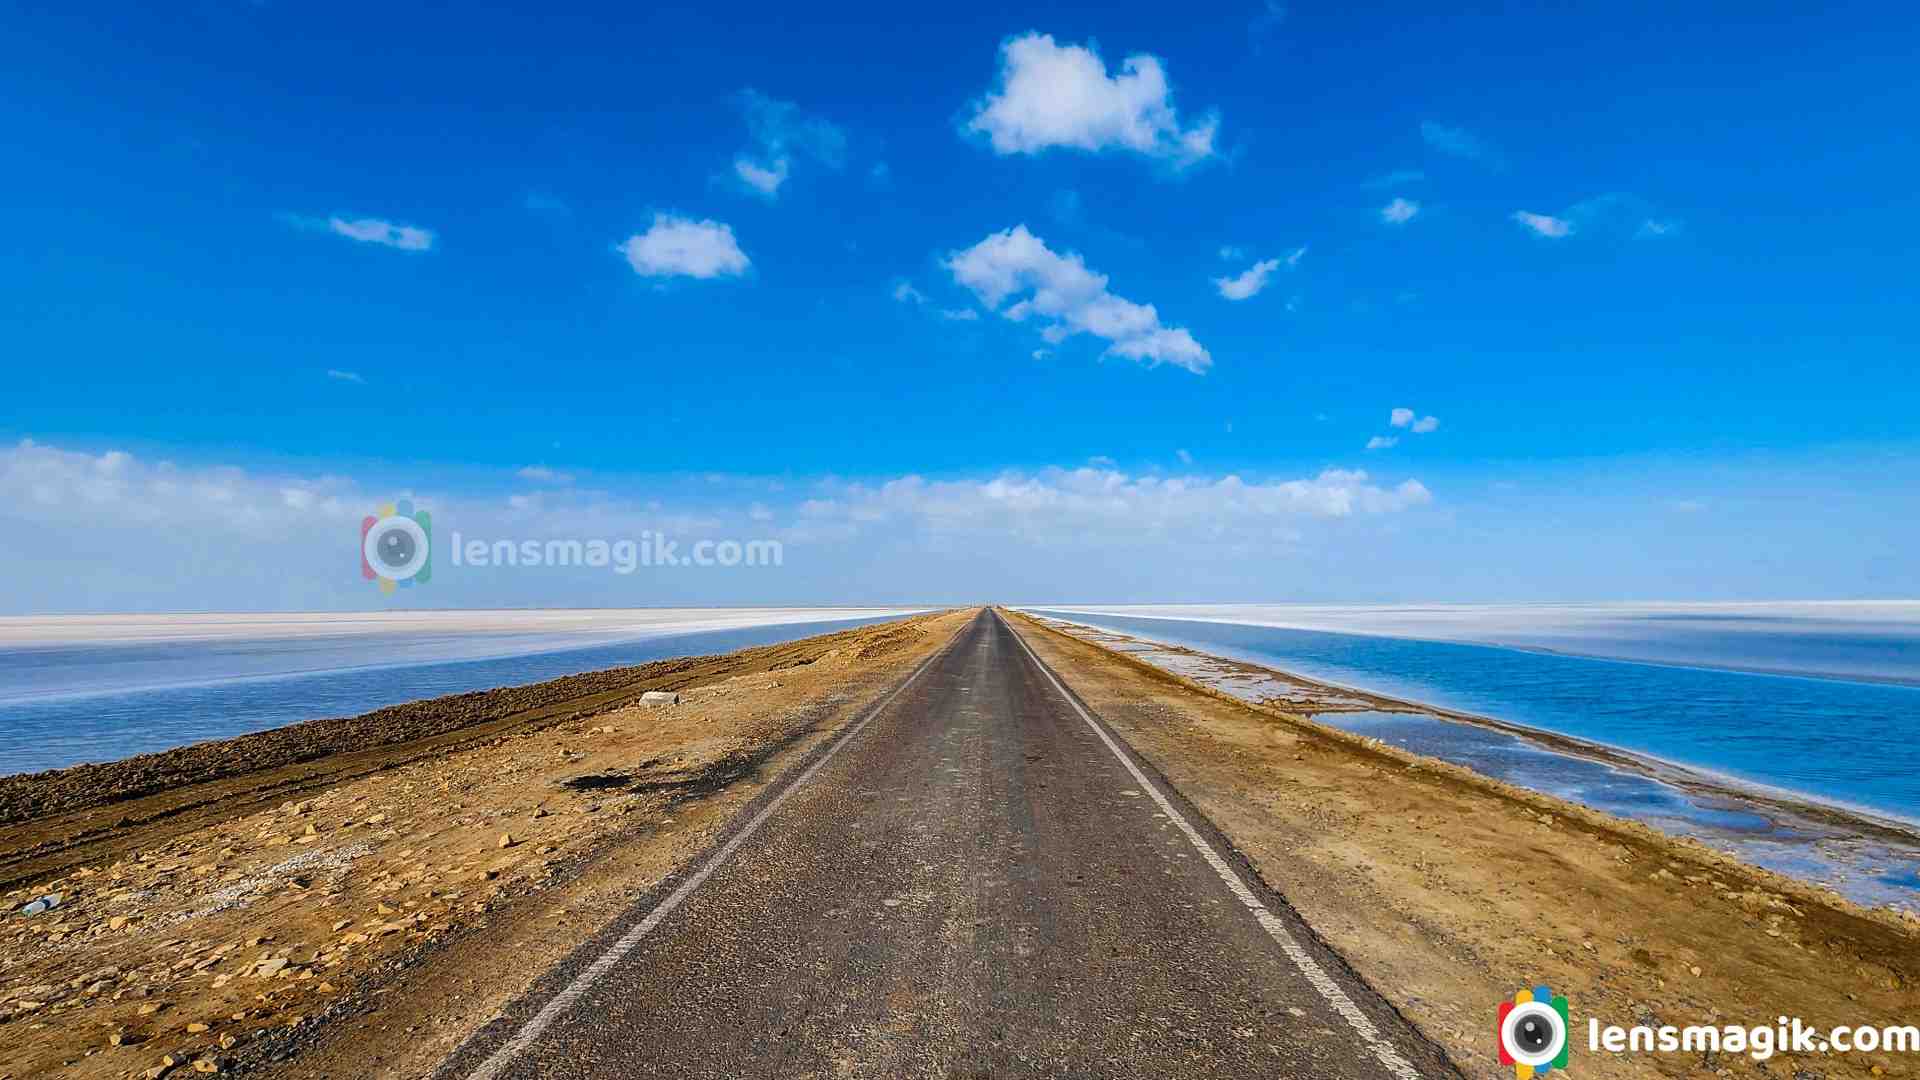
Kutch is a largest district of Gujarat and also of India. Main City or Headquarter of Kutch District is Bhuj. Kutch is famous for White Desert or White Rann. In Every winter season from December to February celebrate “ Rann Utsav “ to attract foreigners and also locals. Tent City made in white desert to stay and also cultural programs arranged in it. The main Rann Utsav held in Dhordo of Kutch.
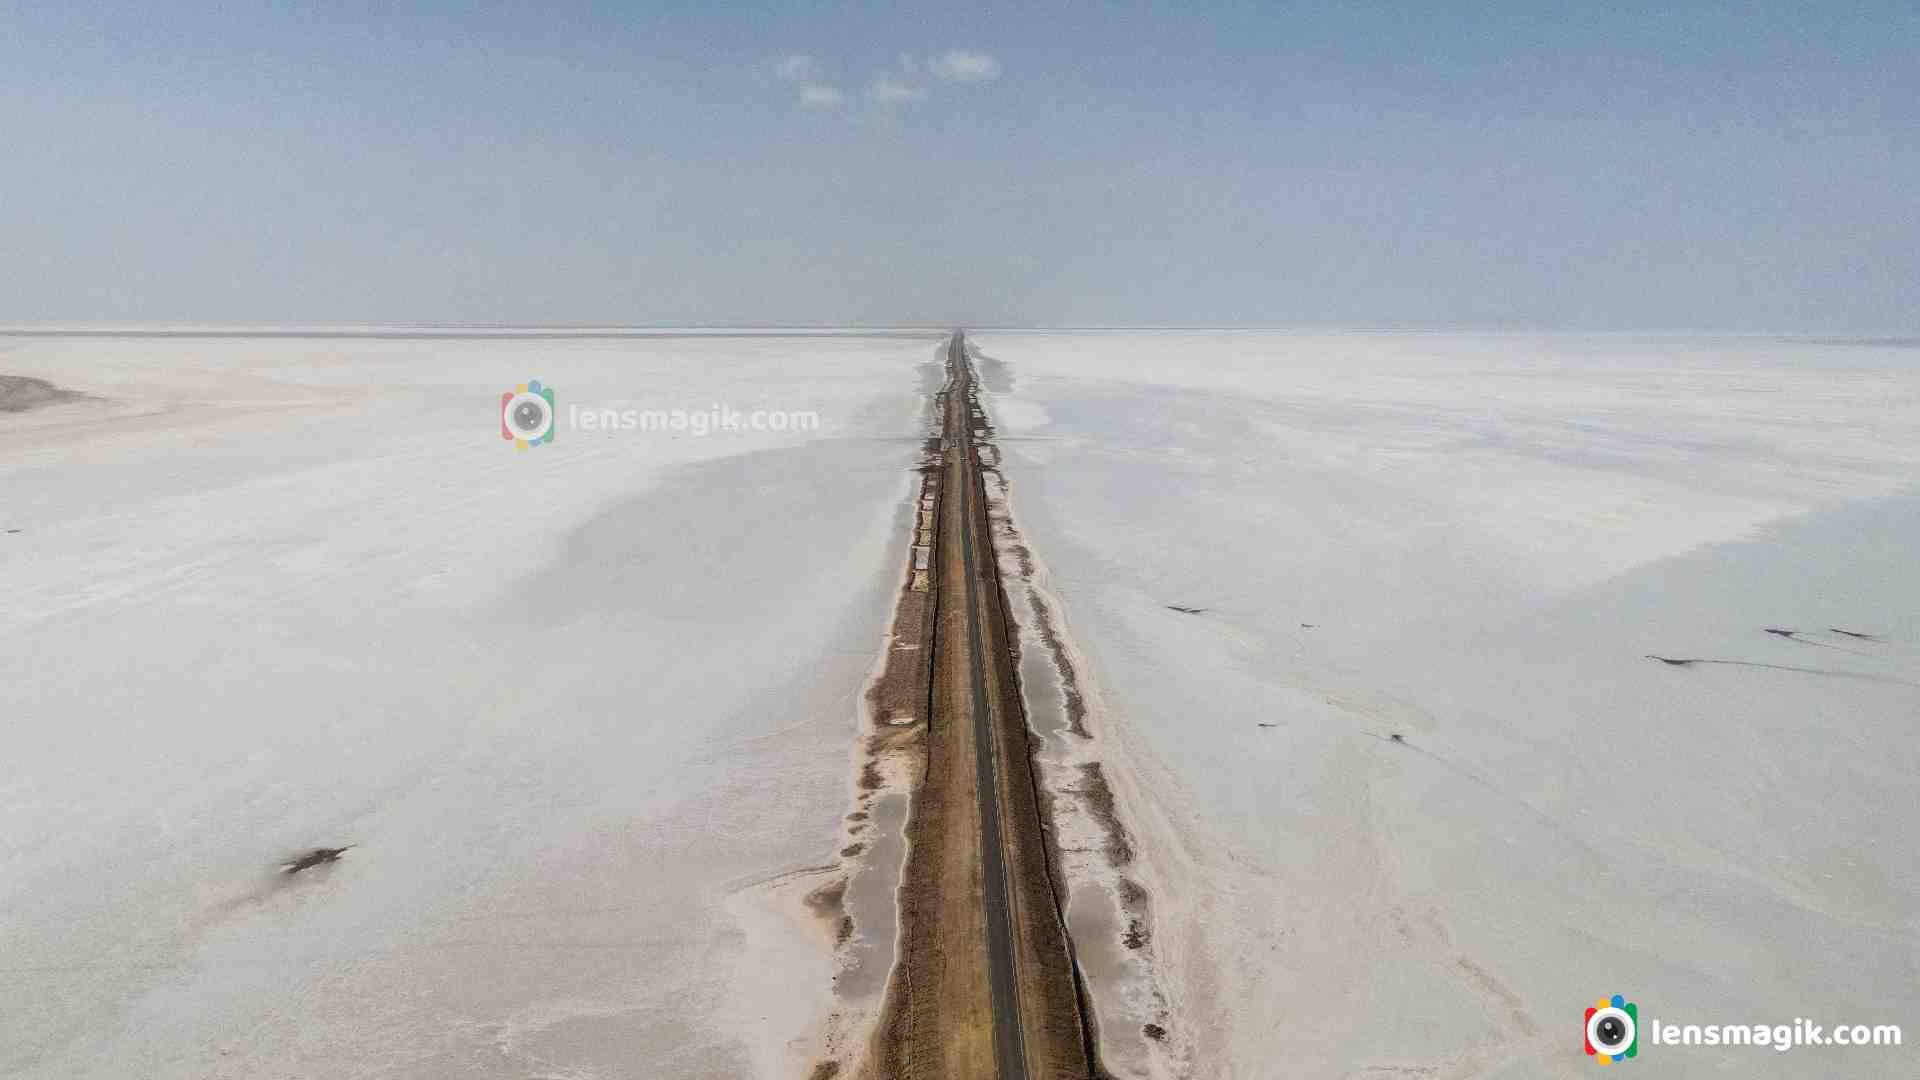
After visit White desert people also visit Dholavira which is nearest destination from Dhordo and also Kalo Dungar in between. From Dhordo you will have to go Khavda first and then from Khavda to Dholavira which is connected through “ Road To Heaven “. Dholavira is located at Khadir Bet. Khadir bet is separated because after monsoon the water filled outer side of bet. So the Road To Heaven is the way to connect Khadir bet to main city Bhuj.
About Road To Heaven Dholavira / Road to Heaven in Kutch :
- · It connected from Khavda to Dholavira.
- · Road to heaven distance around 30-35 km.
- · After monsoon the rain water on the both side of the road. You can see beautiful Greater Flamingo birds in between. Water level is low but muddy.
- · After winter in January –February the water on both side of the road is evaporated and turn into salt. Not all water but some areas during the road.
- · Water on the both side of the road or Salt/ white layer on both side of the road make the beauty of the road and that’s why it name as “ Road To Heaven “
- · When you are on the road there is hardly some traffic you face the open road with both side water or salt at morning or evening make the scenery like a Heaven.
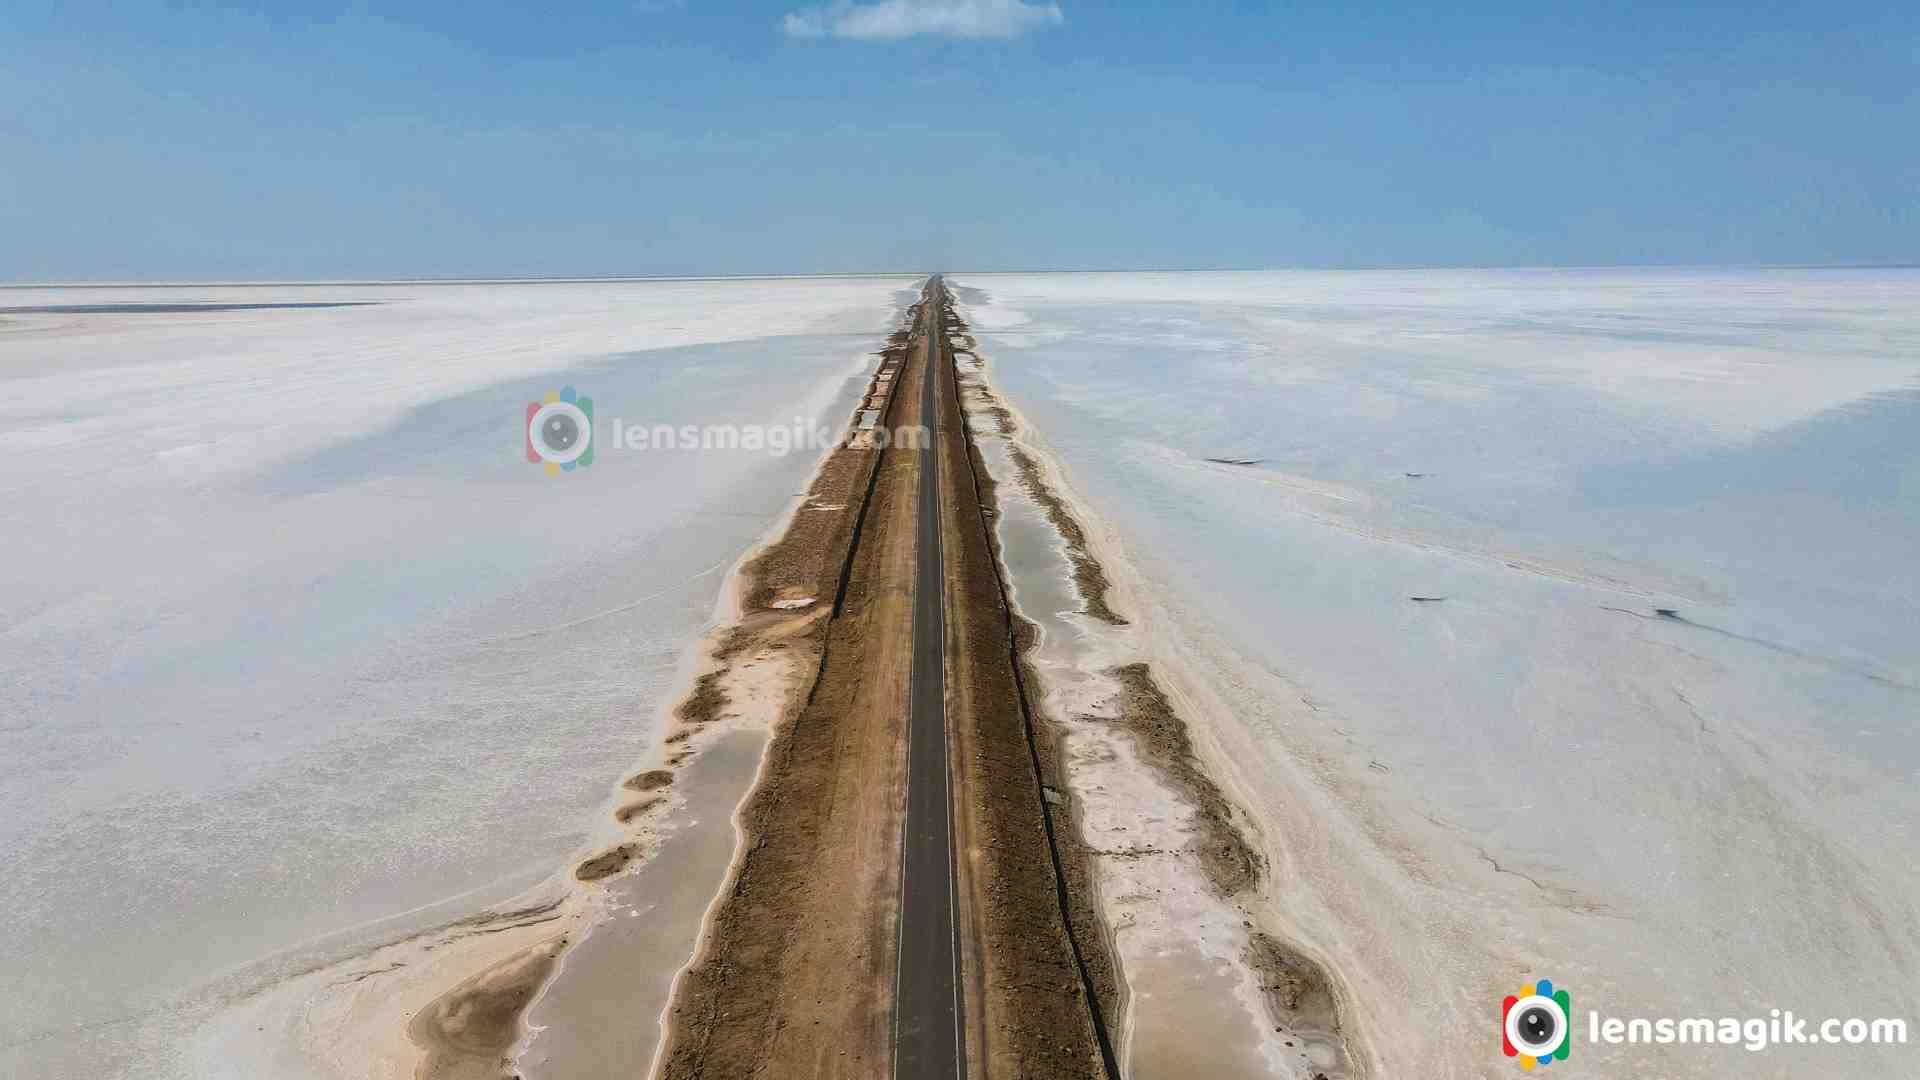
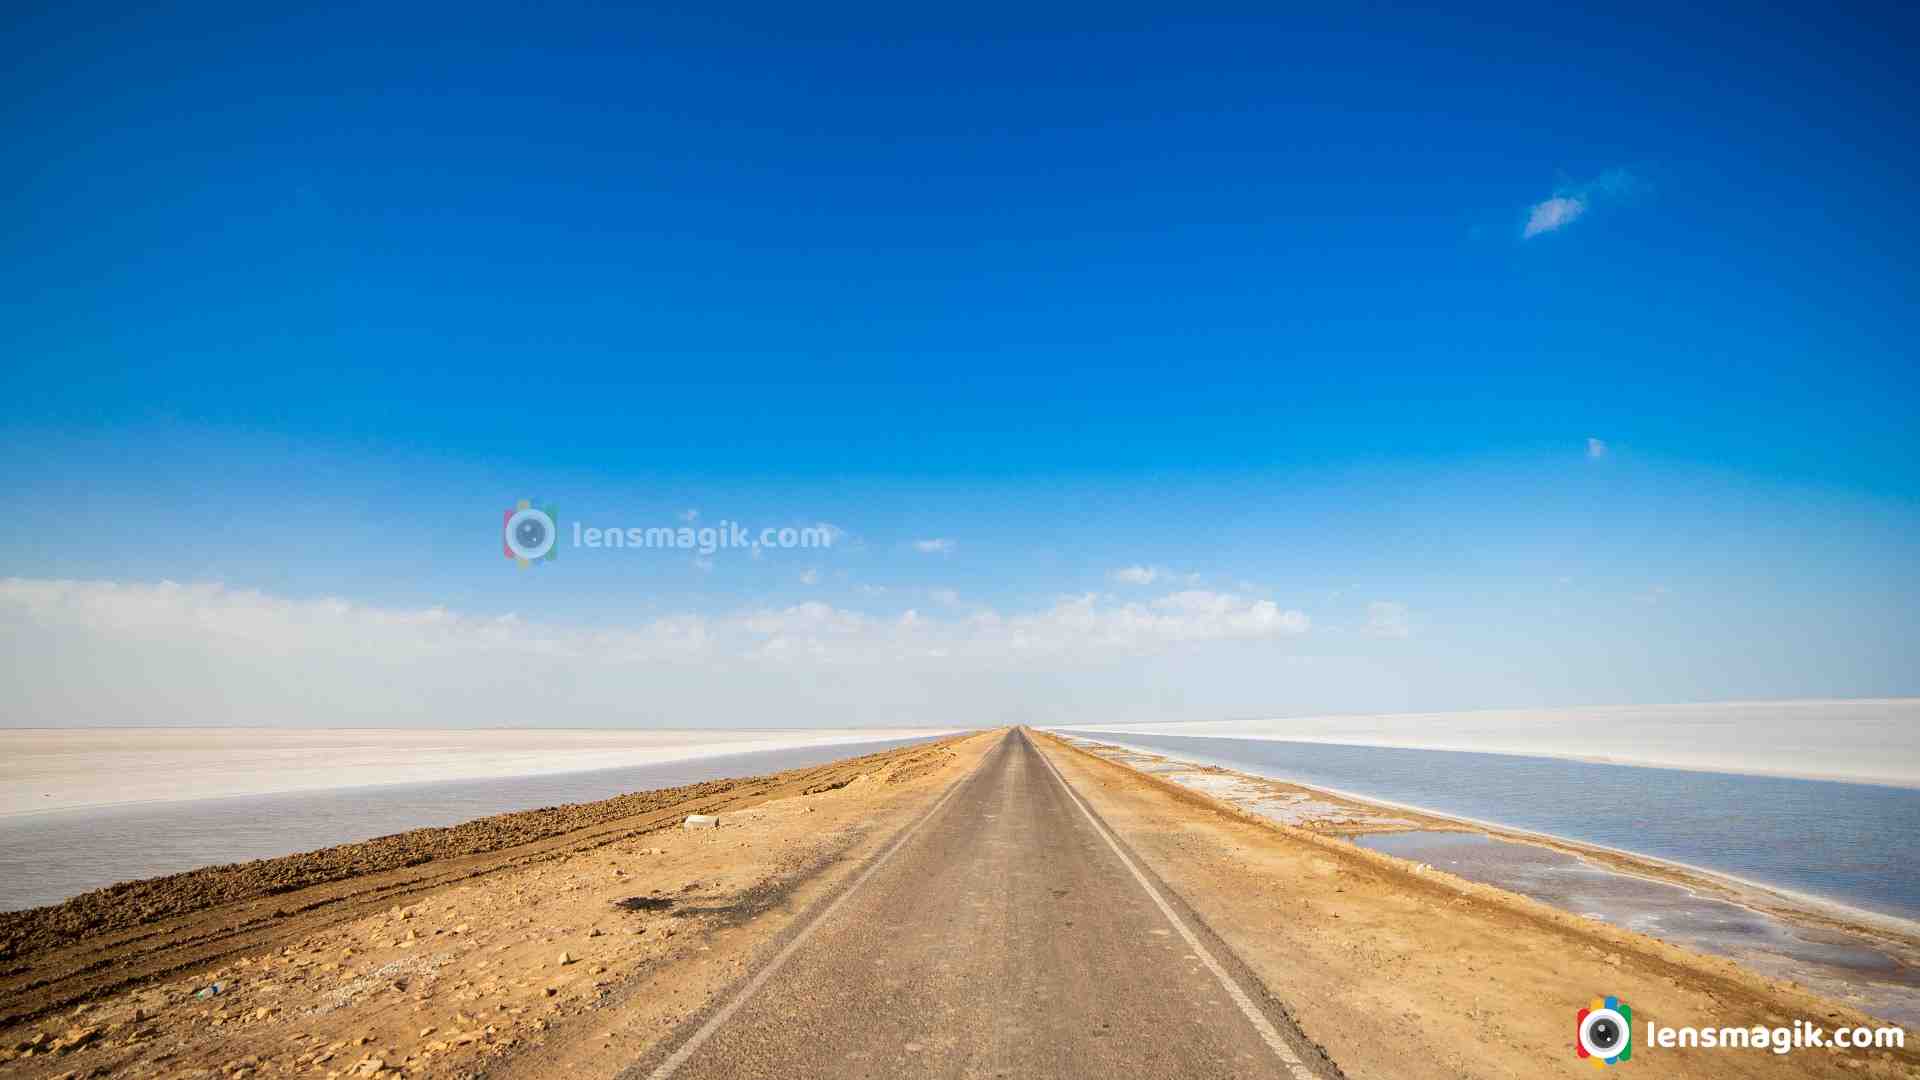
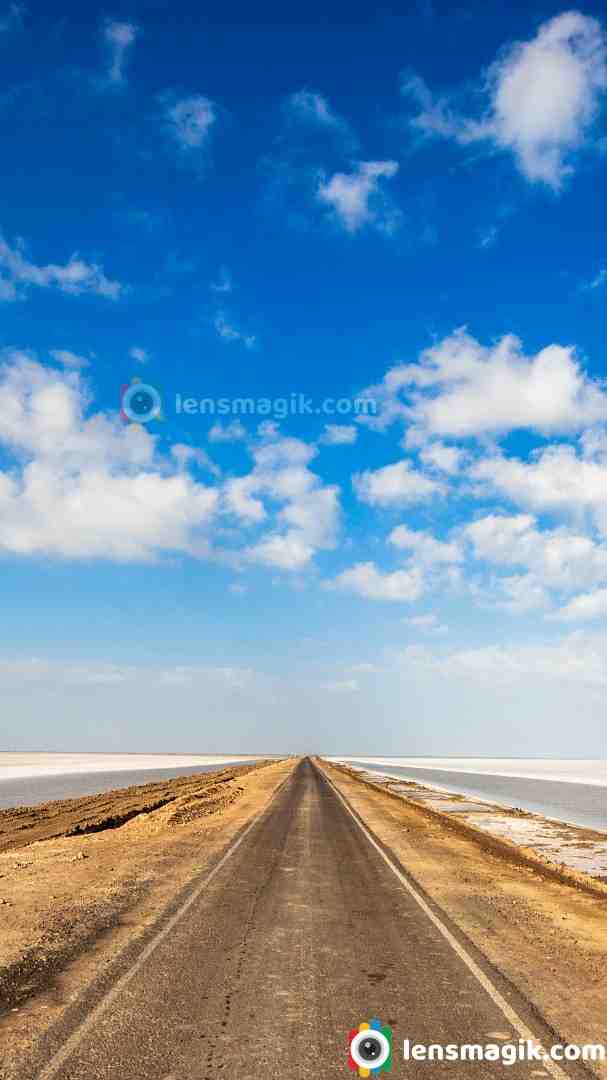
I must suggest to visit Road To Heaven in Kutch while you visit Kutch. Also Visit Dholavira which is one of the largest Harappan Civilization site.
Places to visit near Road To Heaven :
Dholavira, Kalo Dungar, Dhordo, White Desert
Places to Visit near Bhuj : White Desert , Kadiya dhro, Chhatardi, Mandvi beach, Vijay vilas palace, Bhujyo Dungar, Smriti Van, Vande matram memorial
Camera Used : Canon 80D, Canon 6D, DJI Mavic Air2
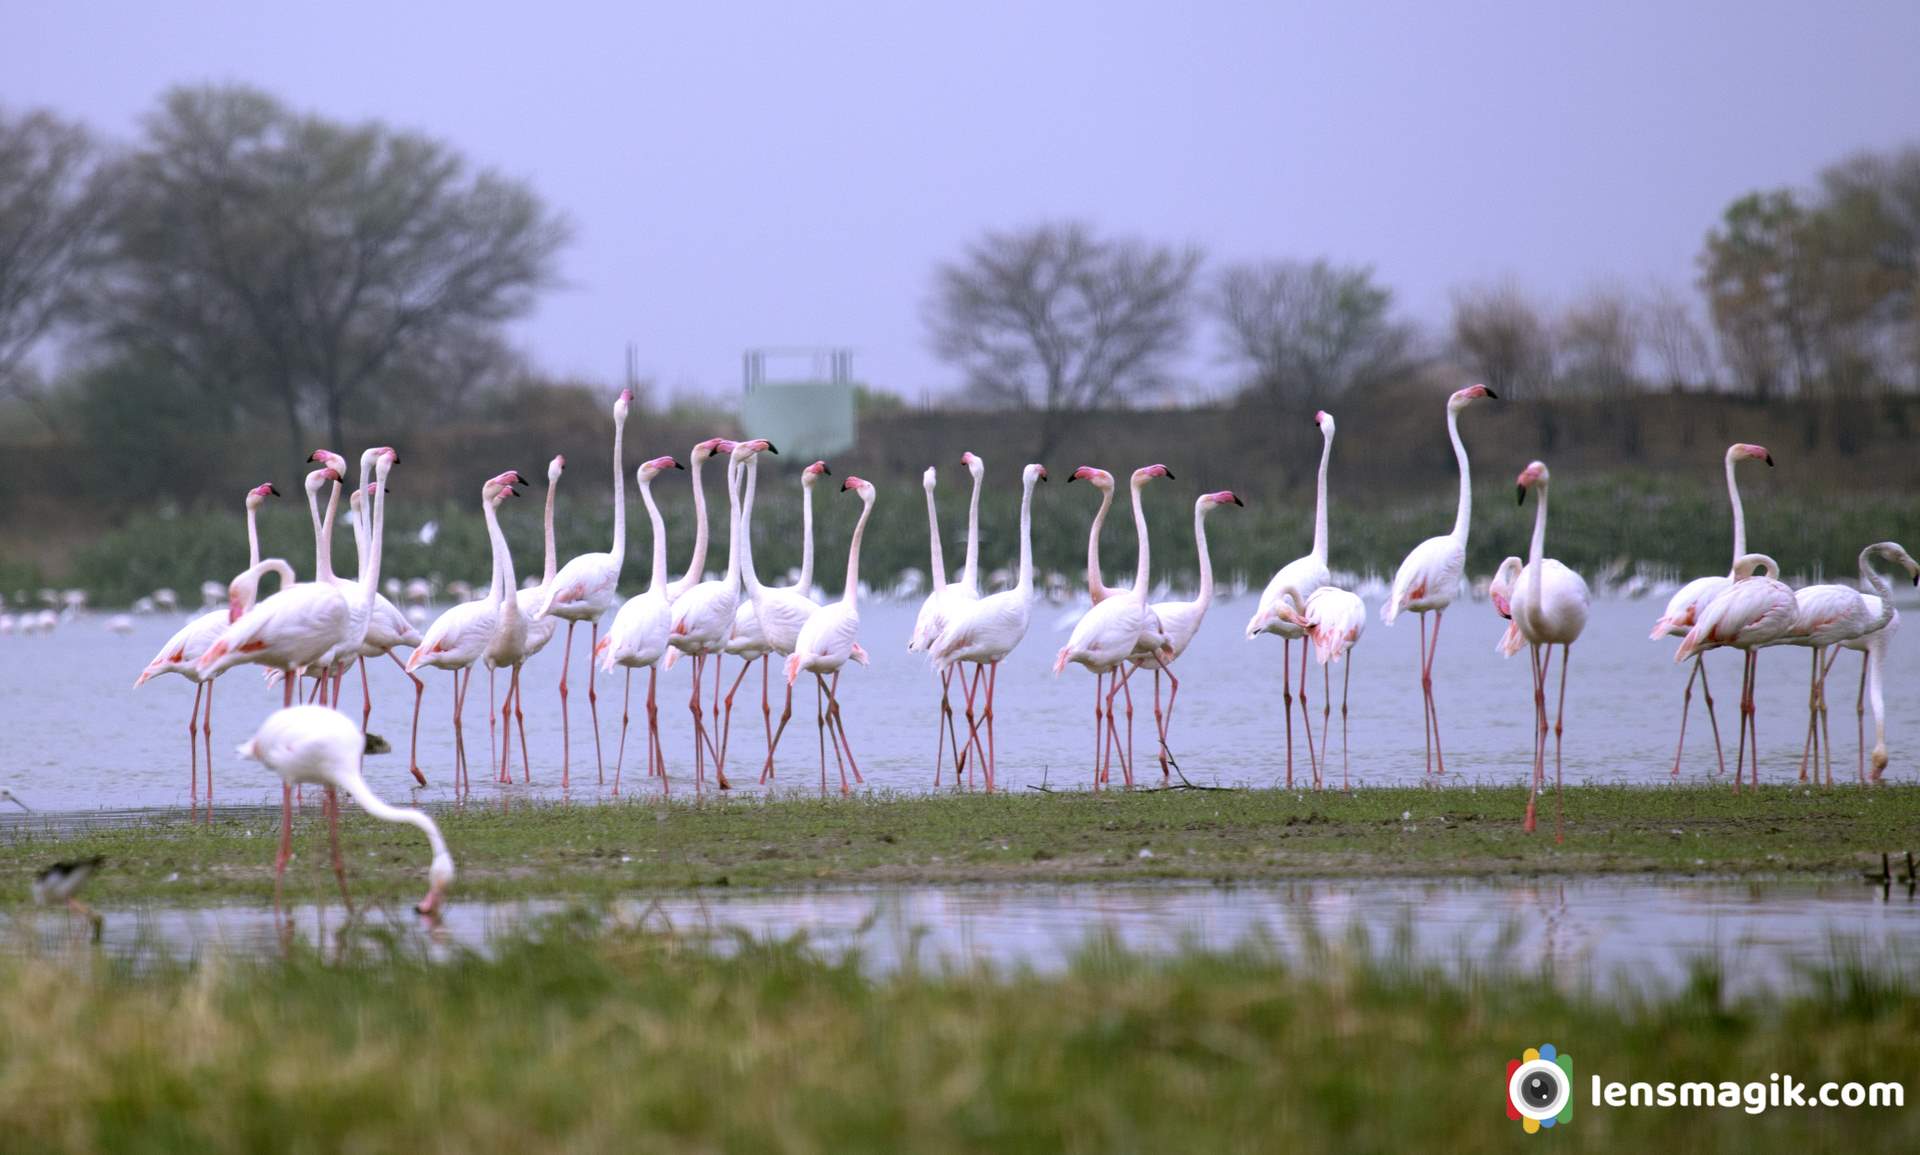
It is the largest species of Flamingo bird family and also a most widespread species of flamingo family.It is found in India ,south east , middle east and Africa. It is migratory bird. They also breed in India. In Gujarat they breed in Rann Of Kutch , Little Rann of Kutch also found in Thol Bird Sanctuary. I often visit Thol sanctuary so got good shots of them. Best time for shoot them is may-Jun at Thol bird sanctuary bcz of water level is too low . It is been recorded that some flamingo birds are resident in Gujarat at many places like LRK, Khijadia sanctuary, Nalsarovar and Thol Sanctuary. They also breed here and stay for all seasons. So you can find greater flamingo birds in all seasons in Gujarat at many places.
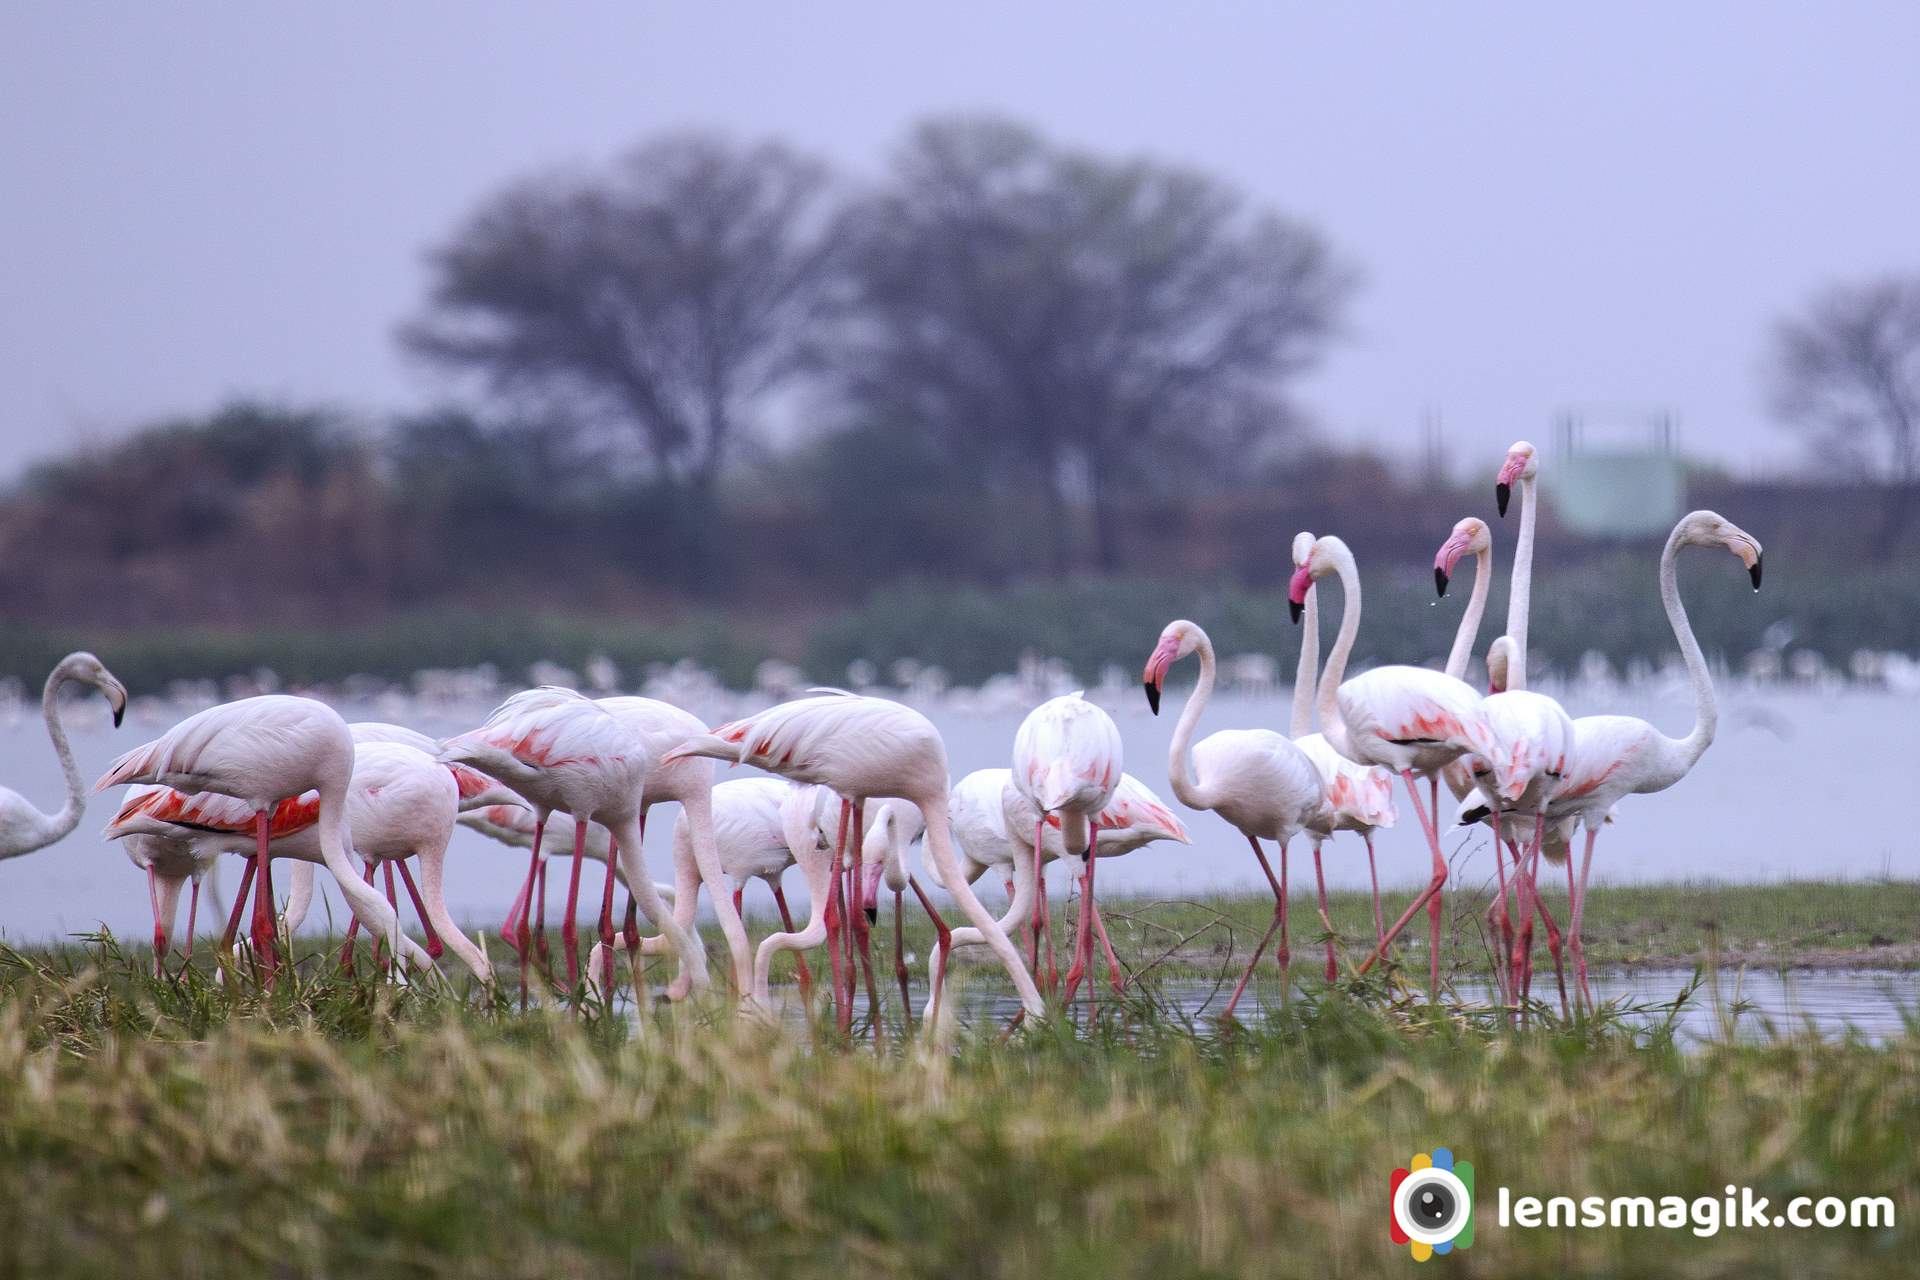
Flamingo bird facts and description :
- Greater flamingo bird is the largest living spices of flamingo.
- Greater flamingo has no subspices.
- Flamingo color most of pinkish white in plumage. Wings are red and feathers are black in end.
- Greater Flamingo bird call is like honking.
- The average lifespan of flamingo bird is 30-40 years.
- Main Difference between Greater flamingo and lesser flamingo is height . Lesser flamingo is shorter than greater flamingo. Also Greater flamingo has pale pink bill and black tip. In other case lesser flamingo has dark crimson bill. Lesser flamingo is also more red in color than greater flamingos.
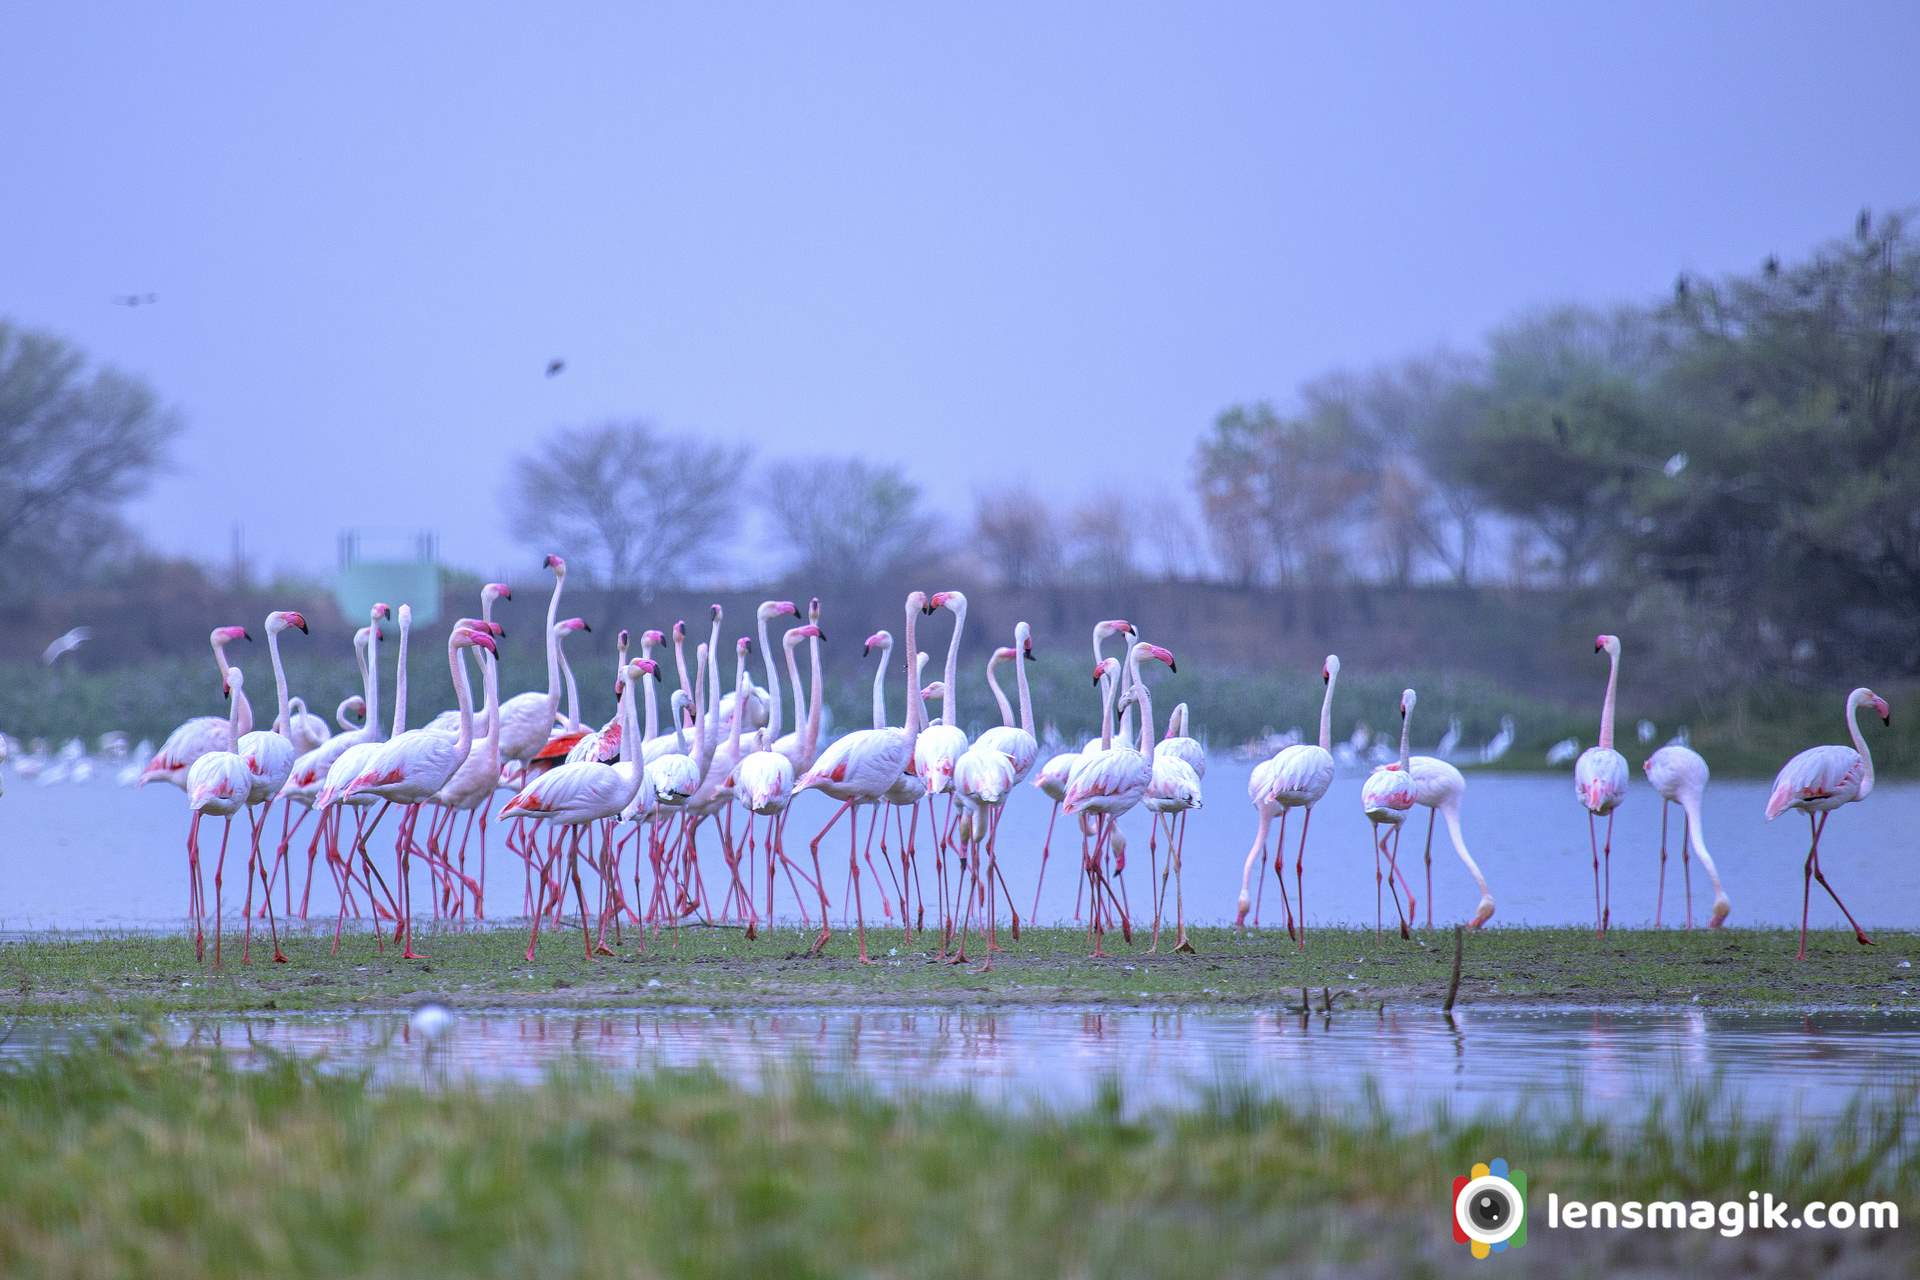
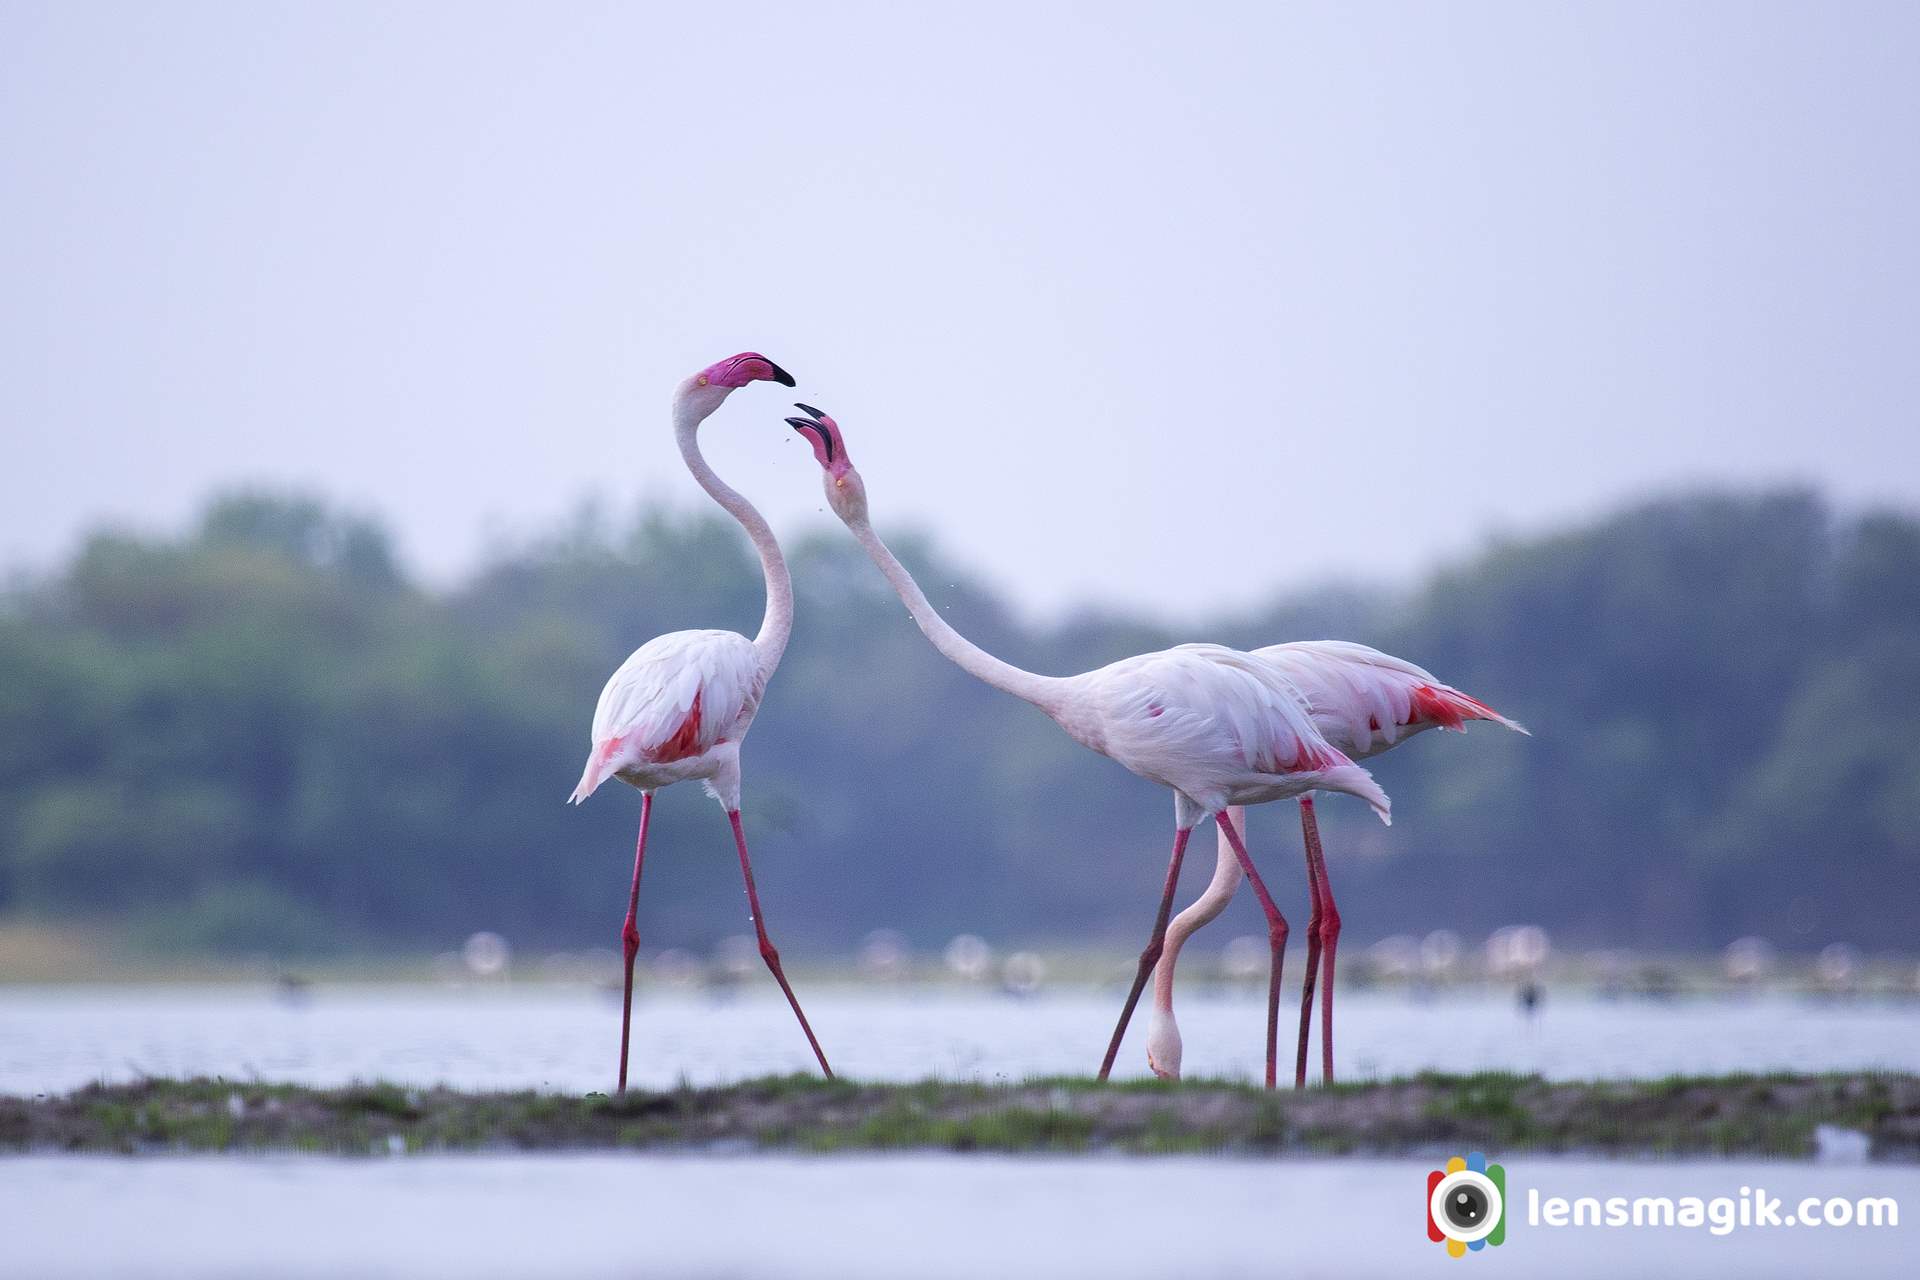
Greater Flamingo birds In Thol Lake : Thol sanctuary is often i visit. Flamingo birds are stay here all seasons. I got good numbers of Greater flamingo and lesser flamingo bird images in a group when i visit Thol. This is my best time with flamingos. Also i got some beautiful pictures of flamingo birds with group and also in duo with some masti. Flamingos looks very good in frame bcz of their color. Thol lake is good place for birders because more than 150 birds spices found here. Also some mammals like Blue bull and black buck also found here. Lots of water birds and tree birds found here. Also sanctuary is not so big so you can find all birds in around 6 sqkm area. Best time to visit thol lake is November to March. All migratory birds are visit in winter so that is best time. Early morning is best for birders.
Timing And Fees of Thol Sanctuary :
Thol Sanctuary open at 6 AM in morning and close at around 5 PM
Fees of Thol Sanctuary is 50 INR per person and camera fees are 200 INR. Car fees are 500 INR.
Weekend fees may change that actually i don't know about it.
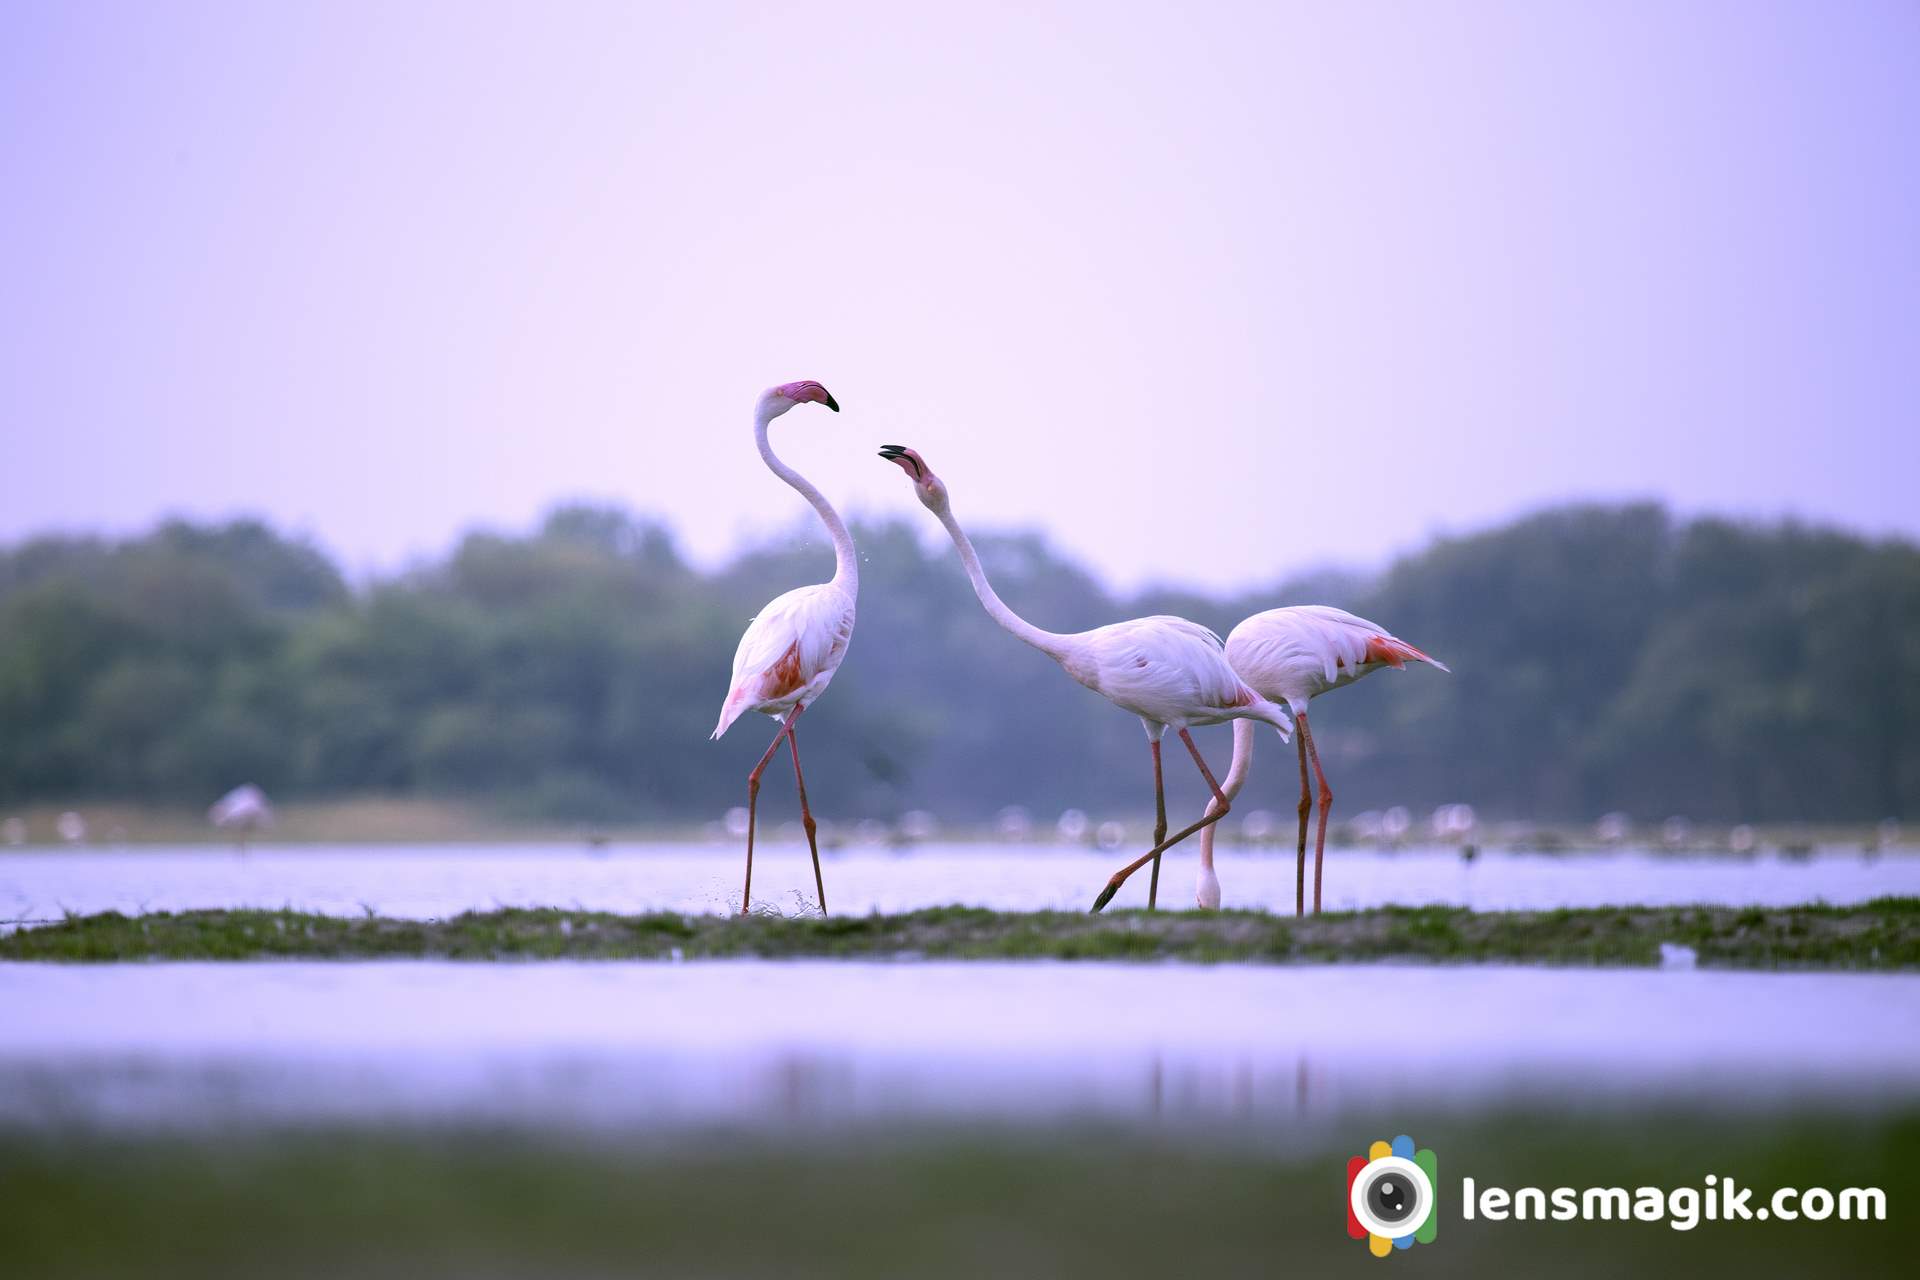
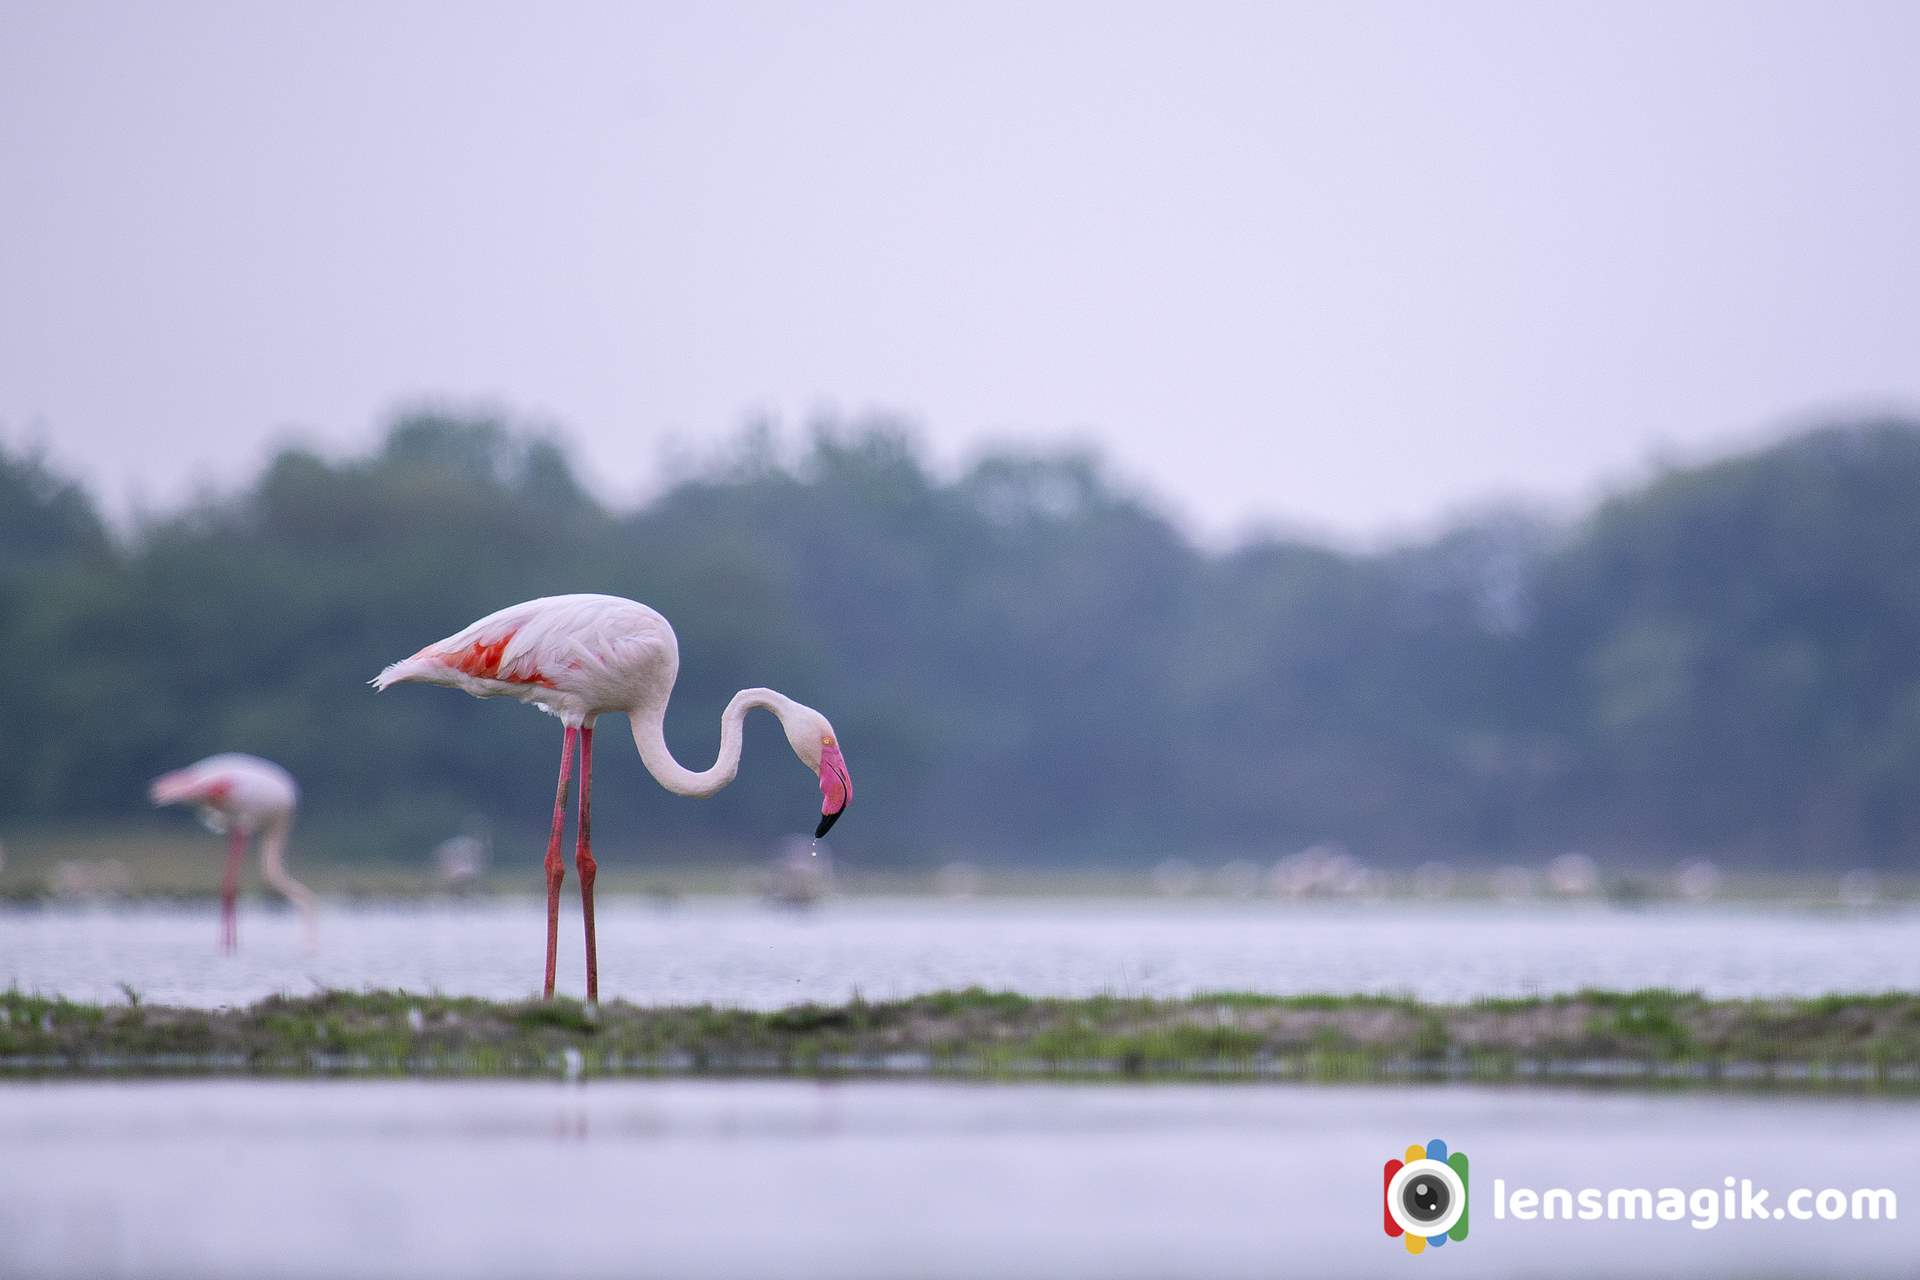
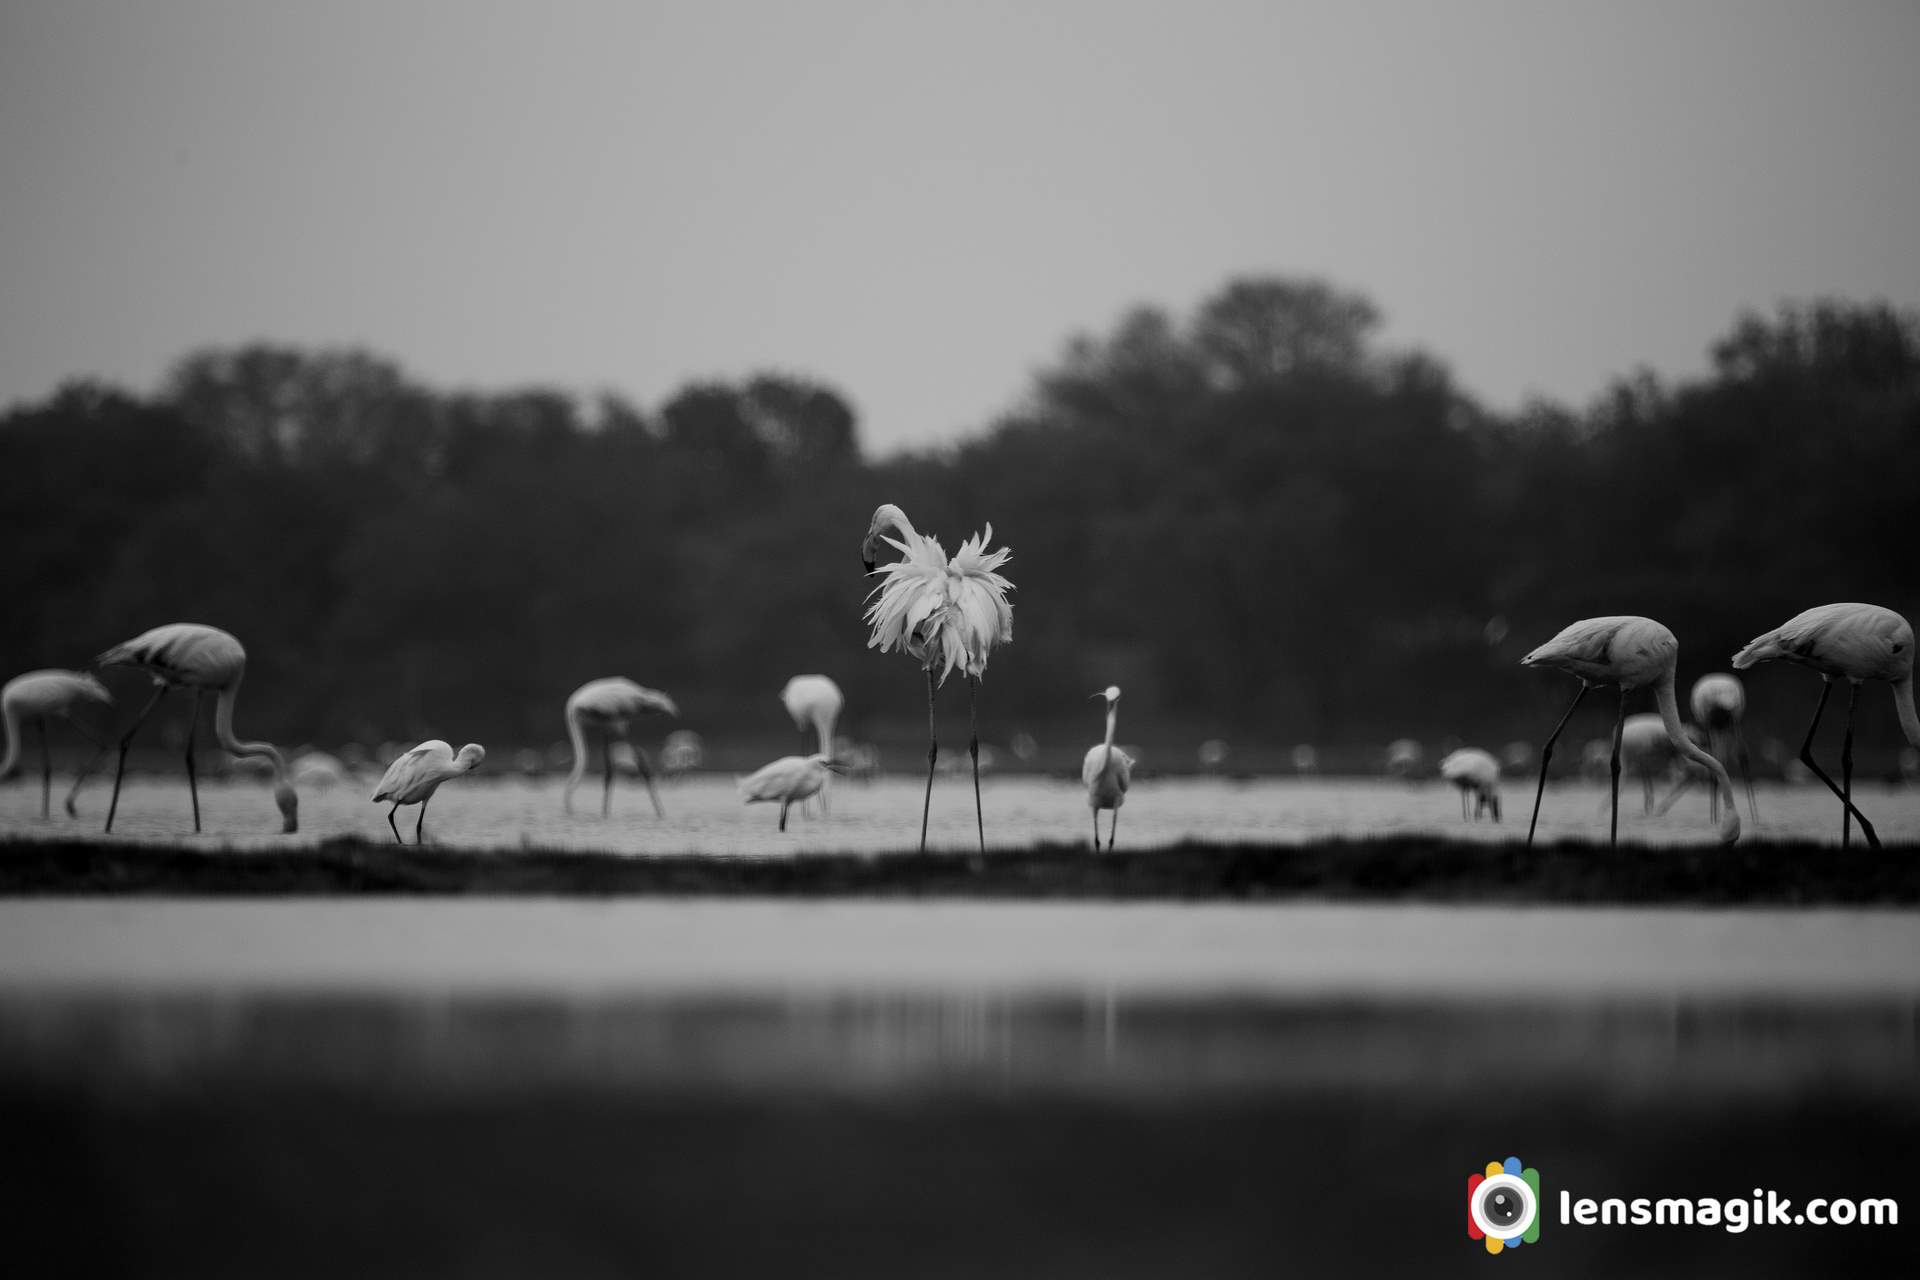
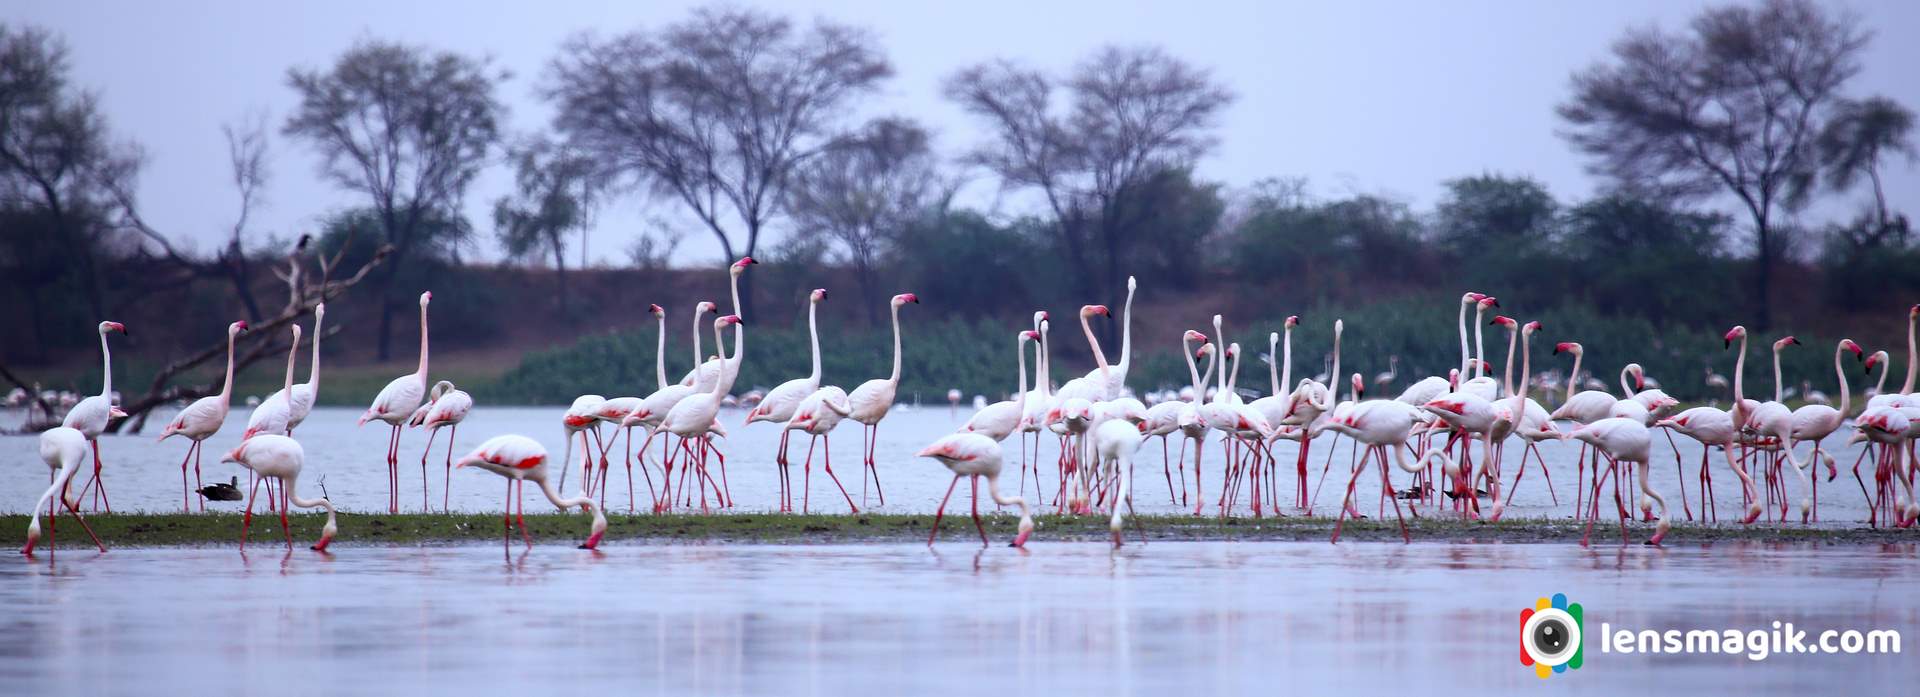
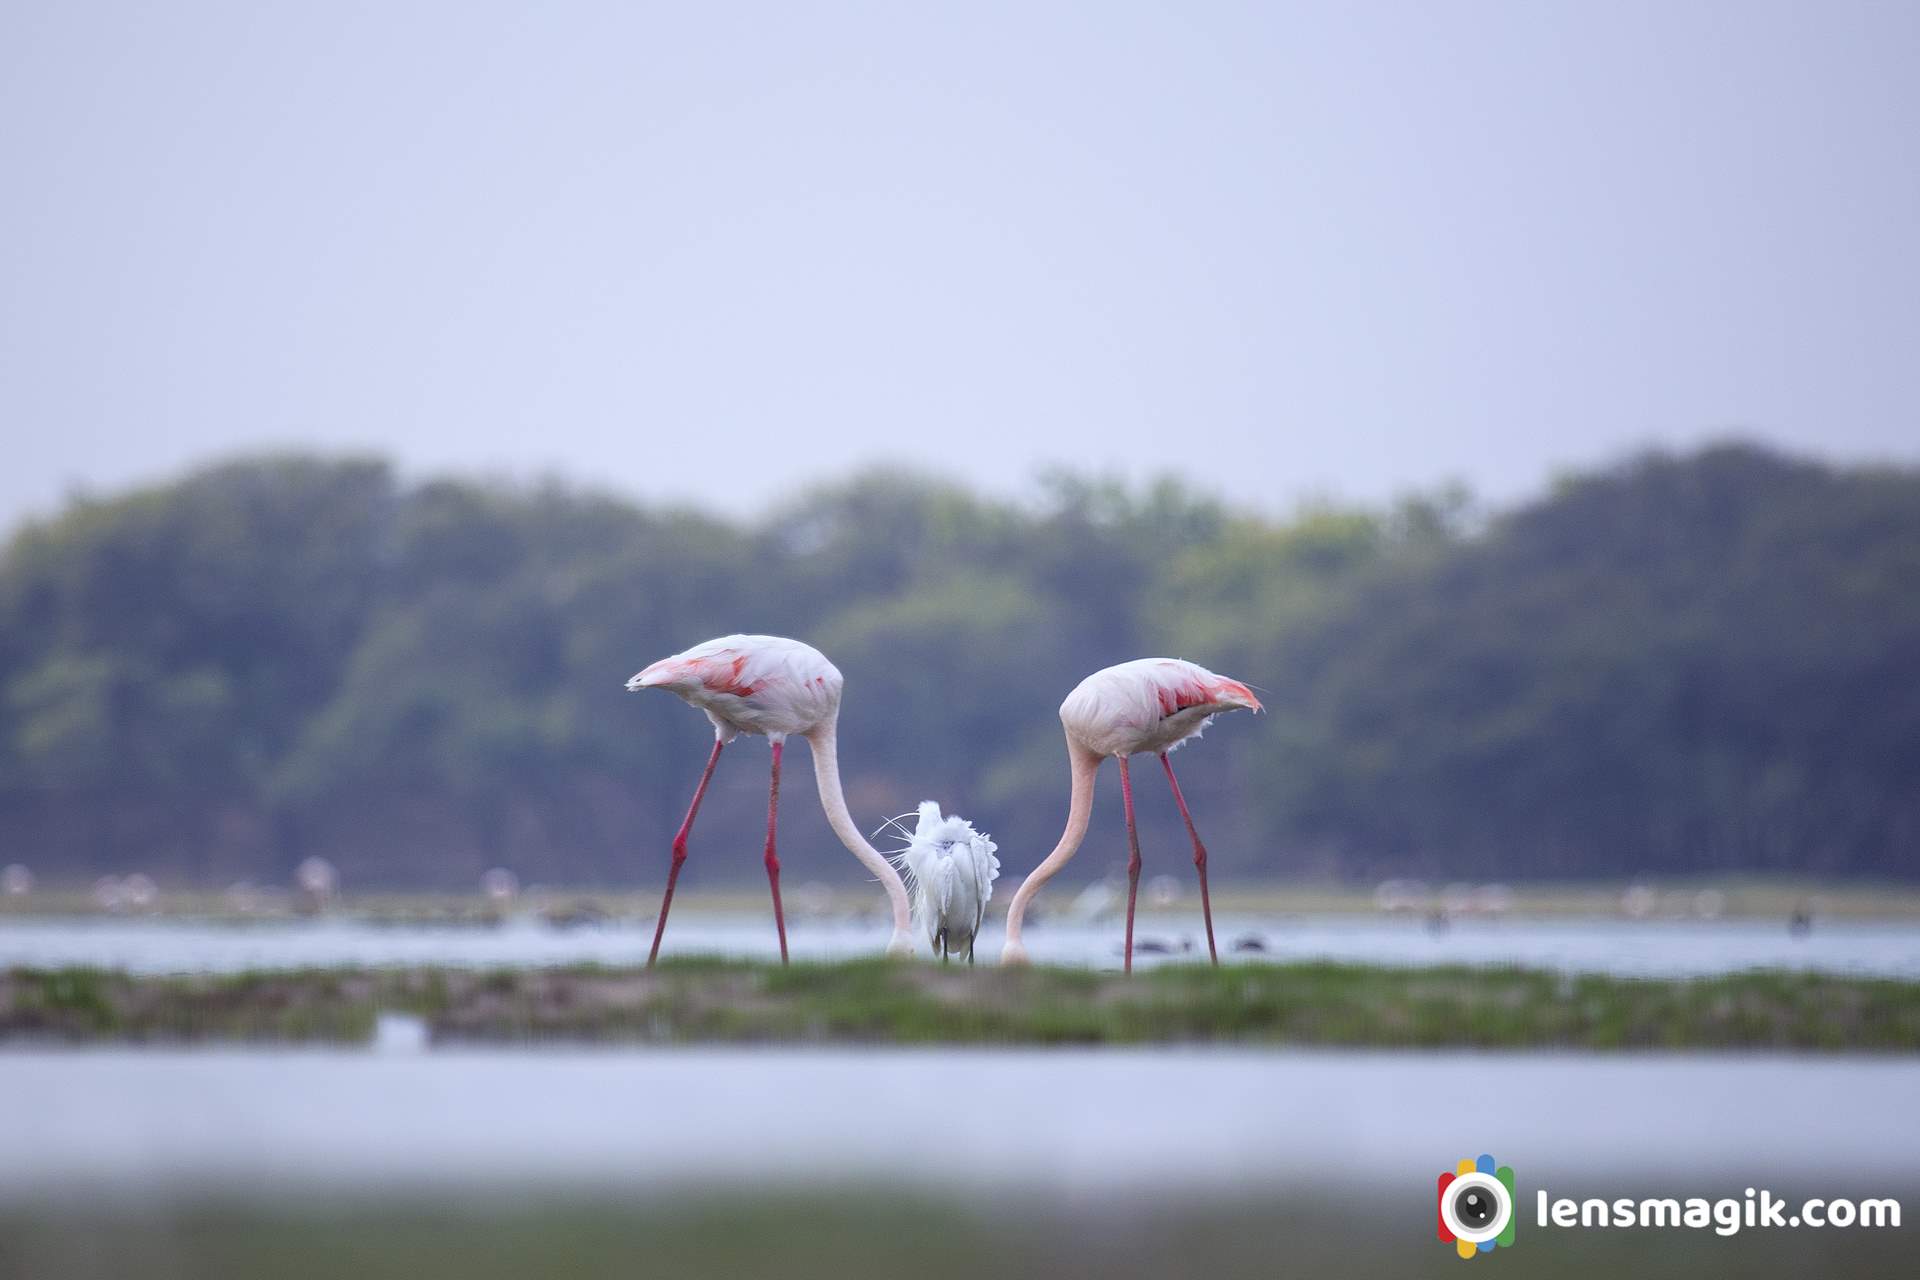
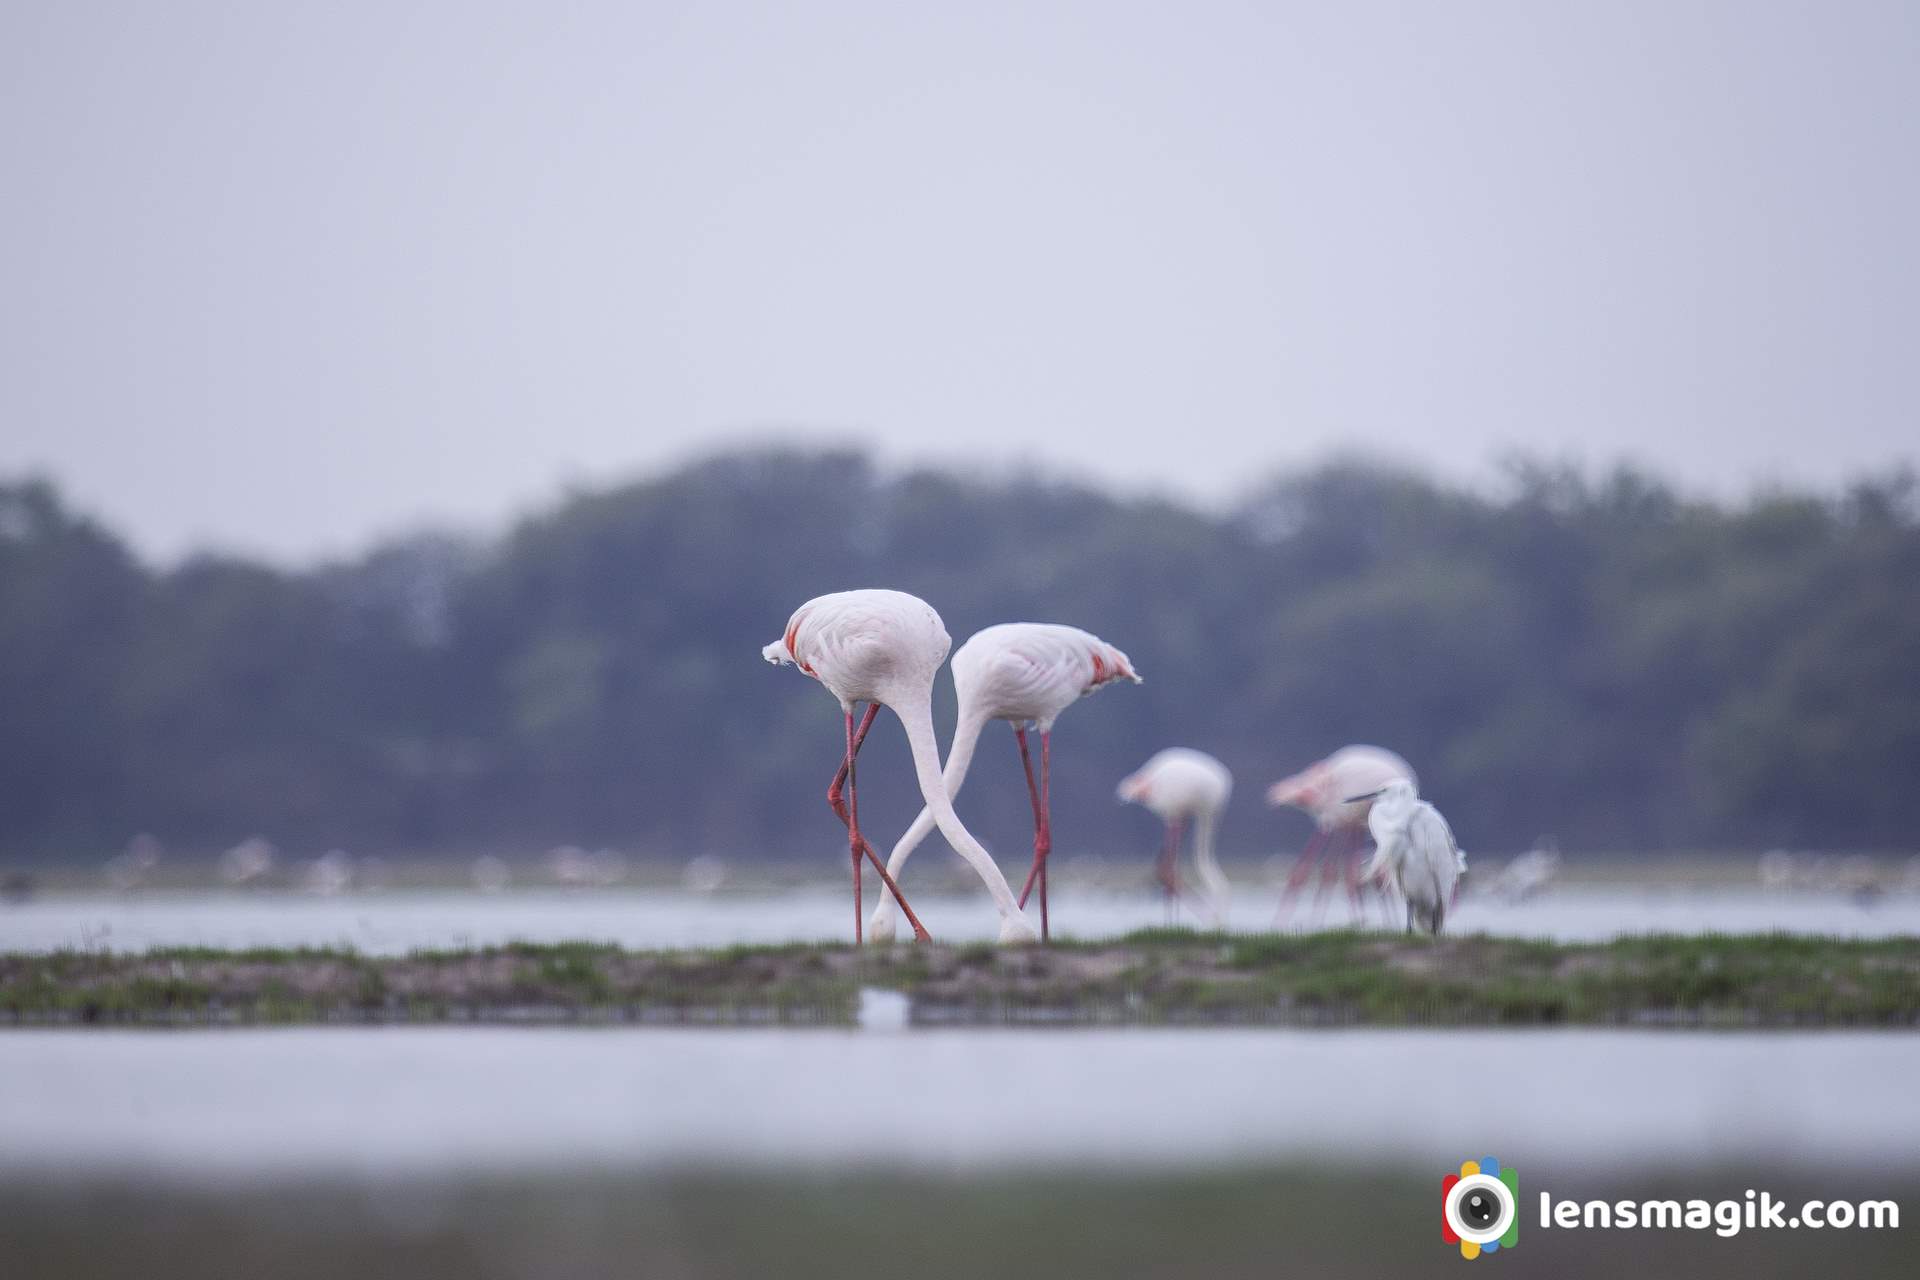
Two flamingos with little egret in between of them with down head all. The images of flamingo bird making a good frame. Because of its color flamingo birds images are very attractive and also their grouping make a perfect frame of flamingo bird picture.
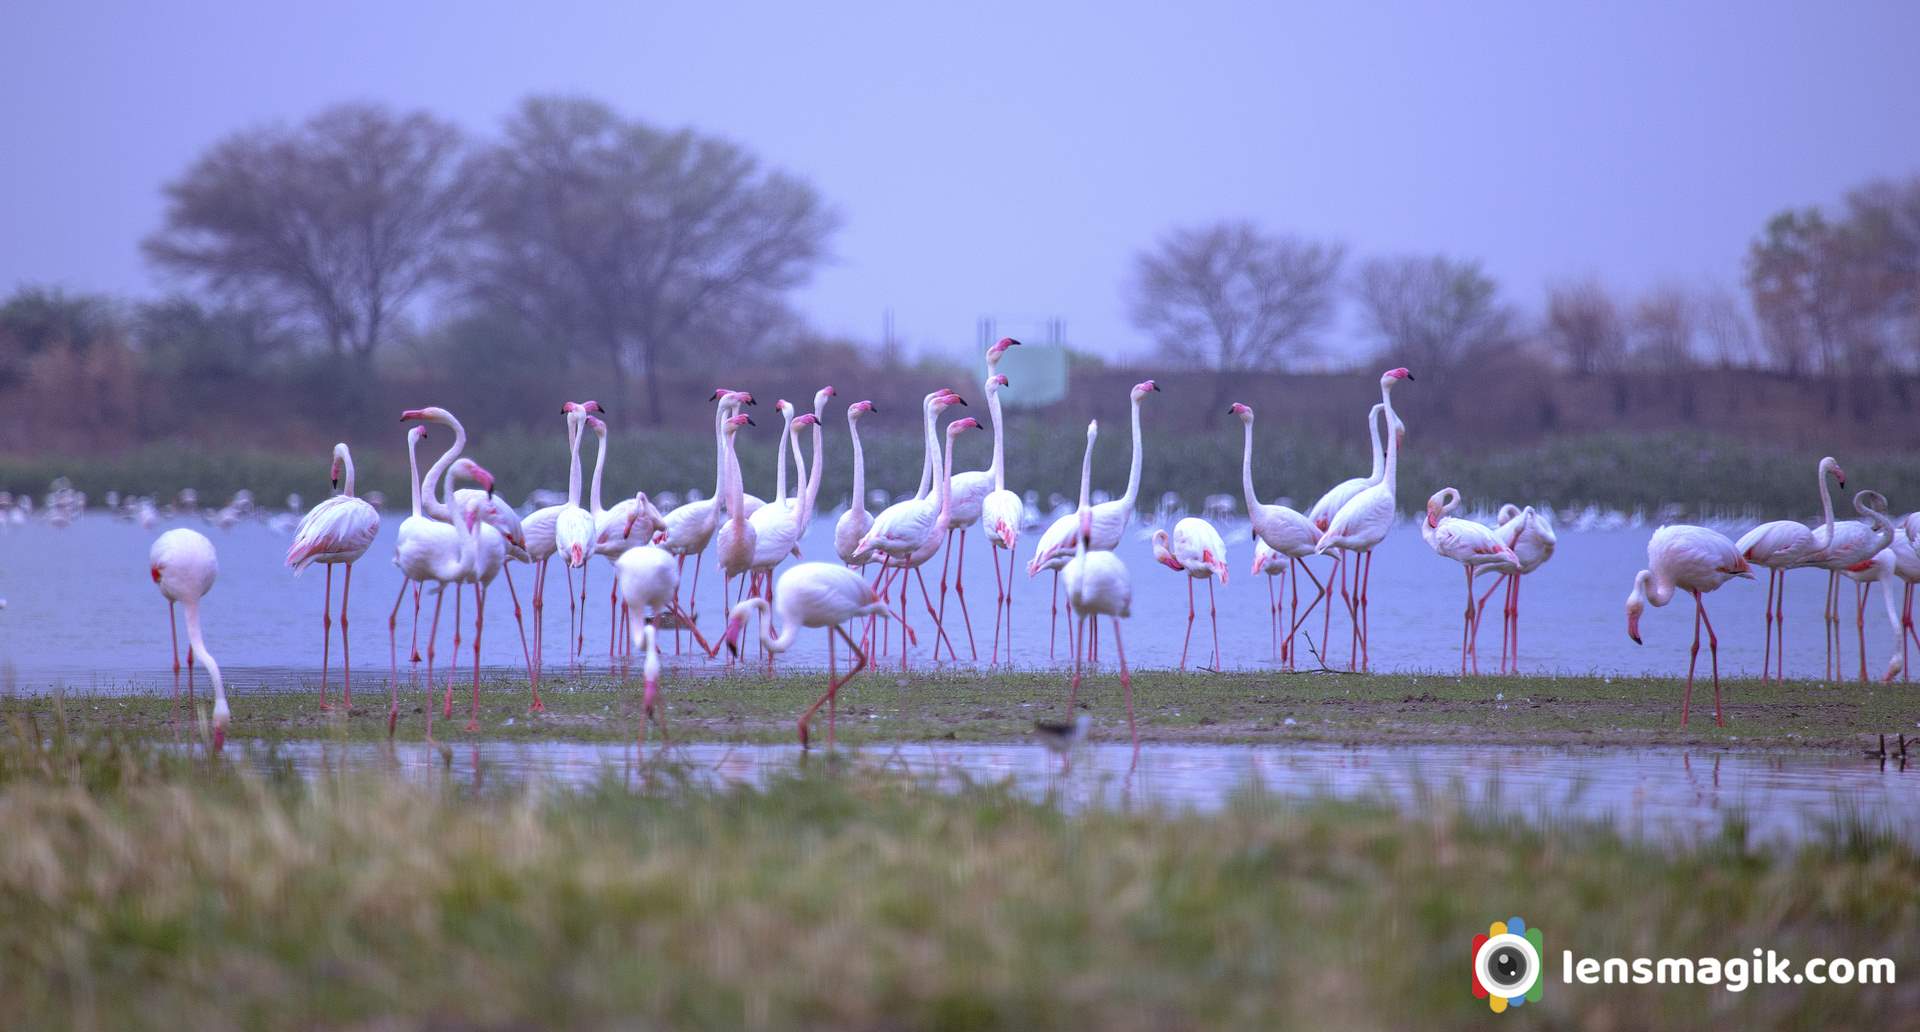
A morning pared time for flamingo birds. A beautiful Greater flamingo birds are in a raw make image nice and show their unity.
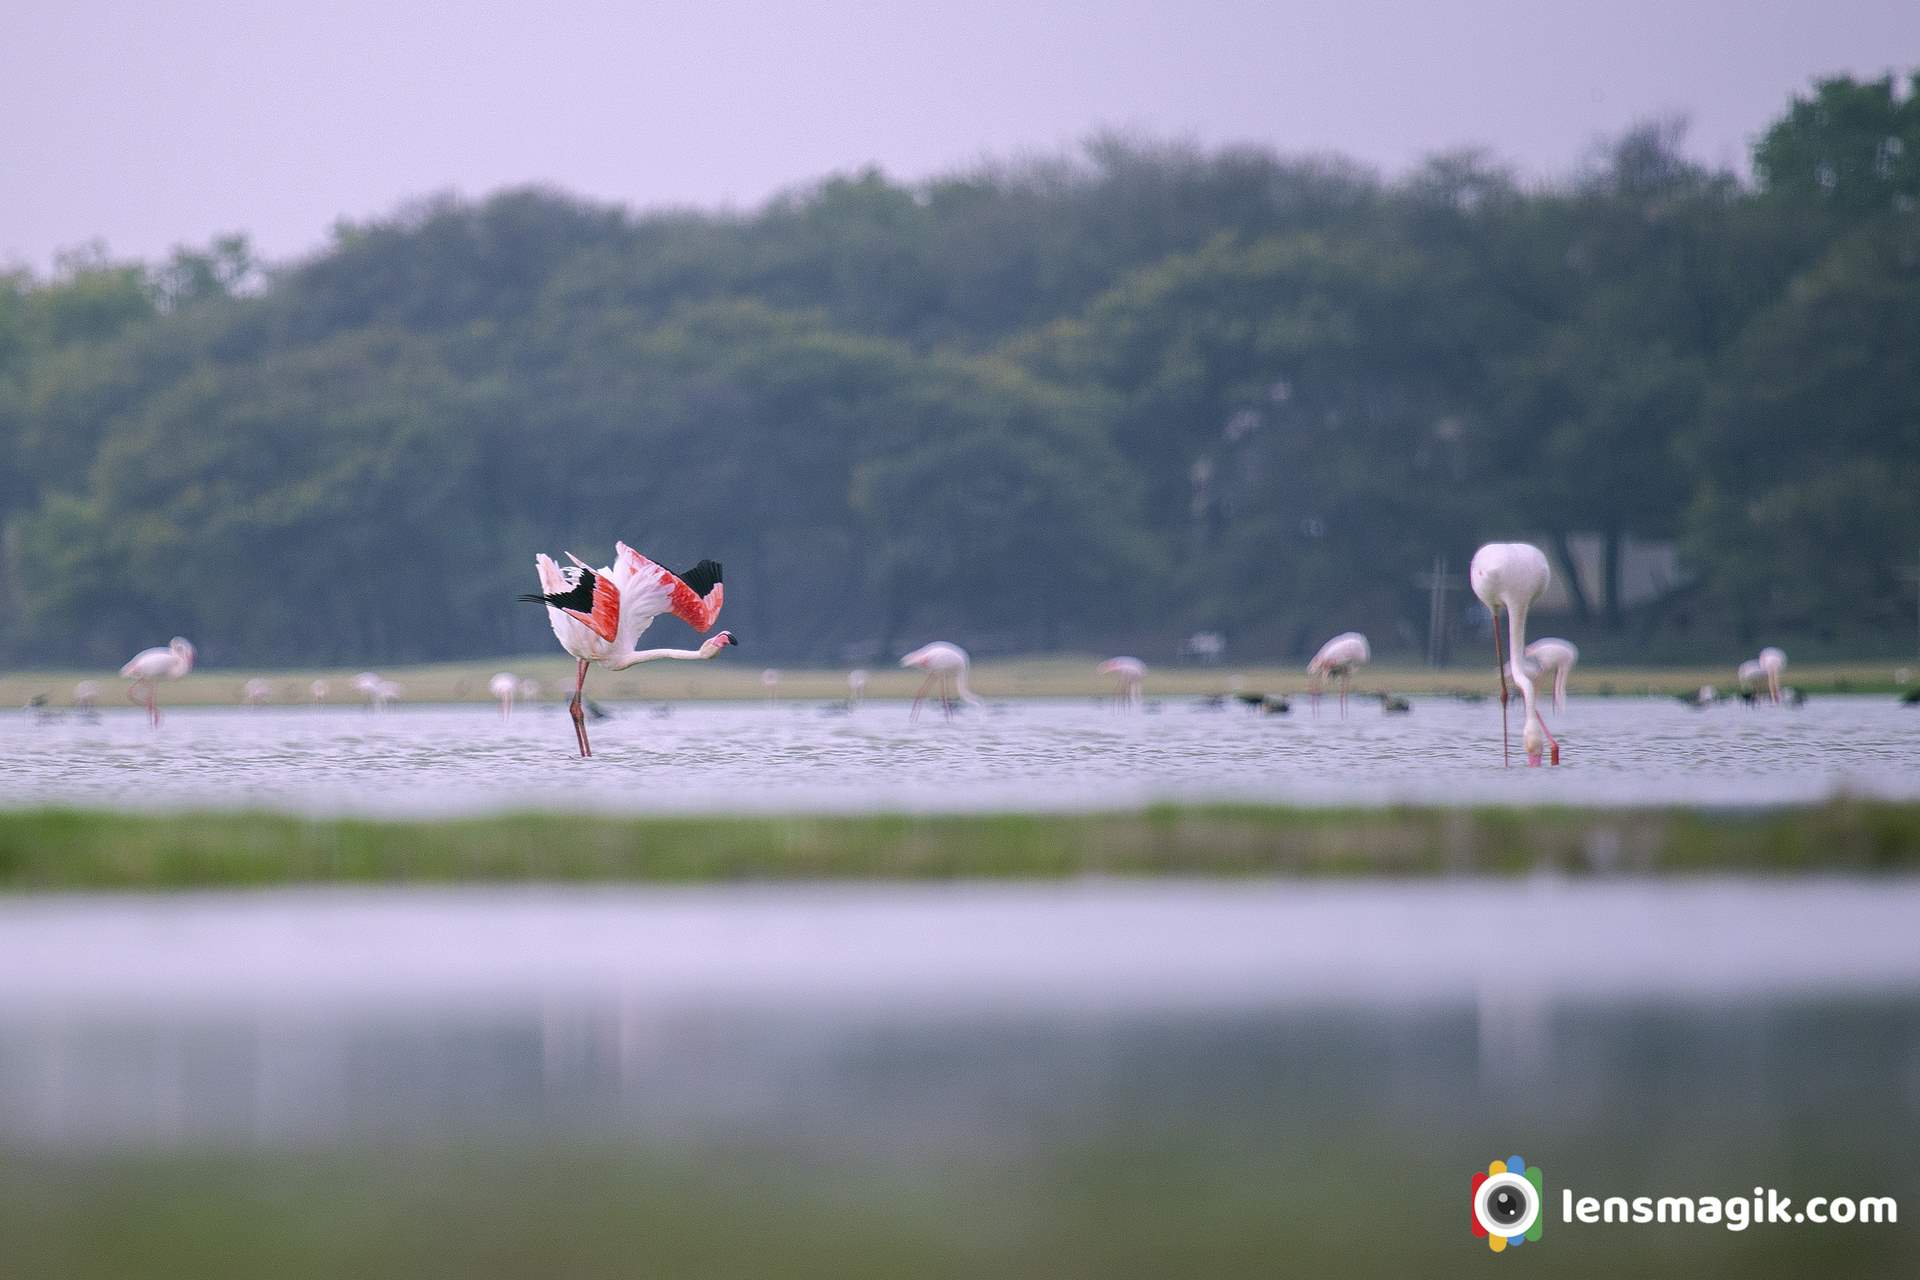
Perfact wingspan of Flamingo bird looks great. Pink Wings make image more attractive.
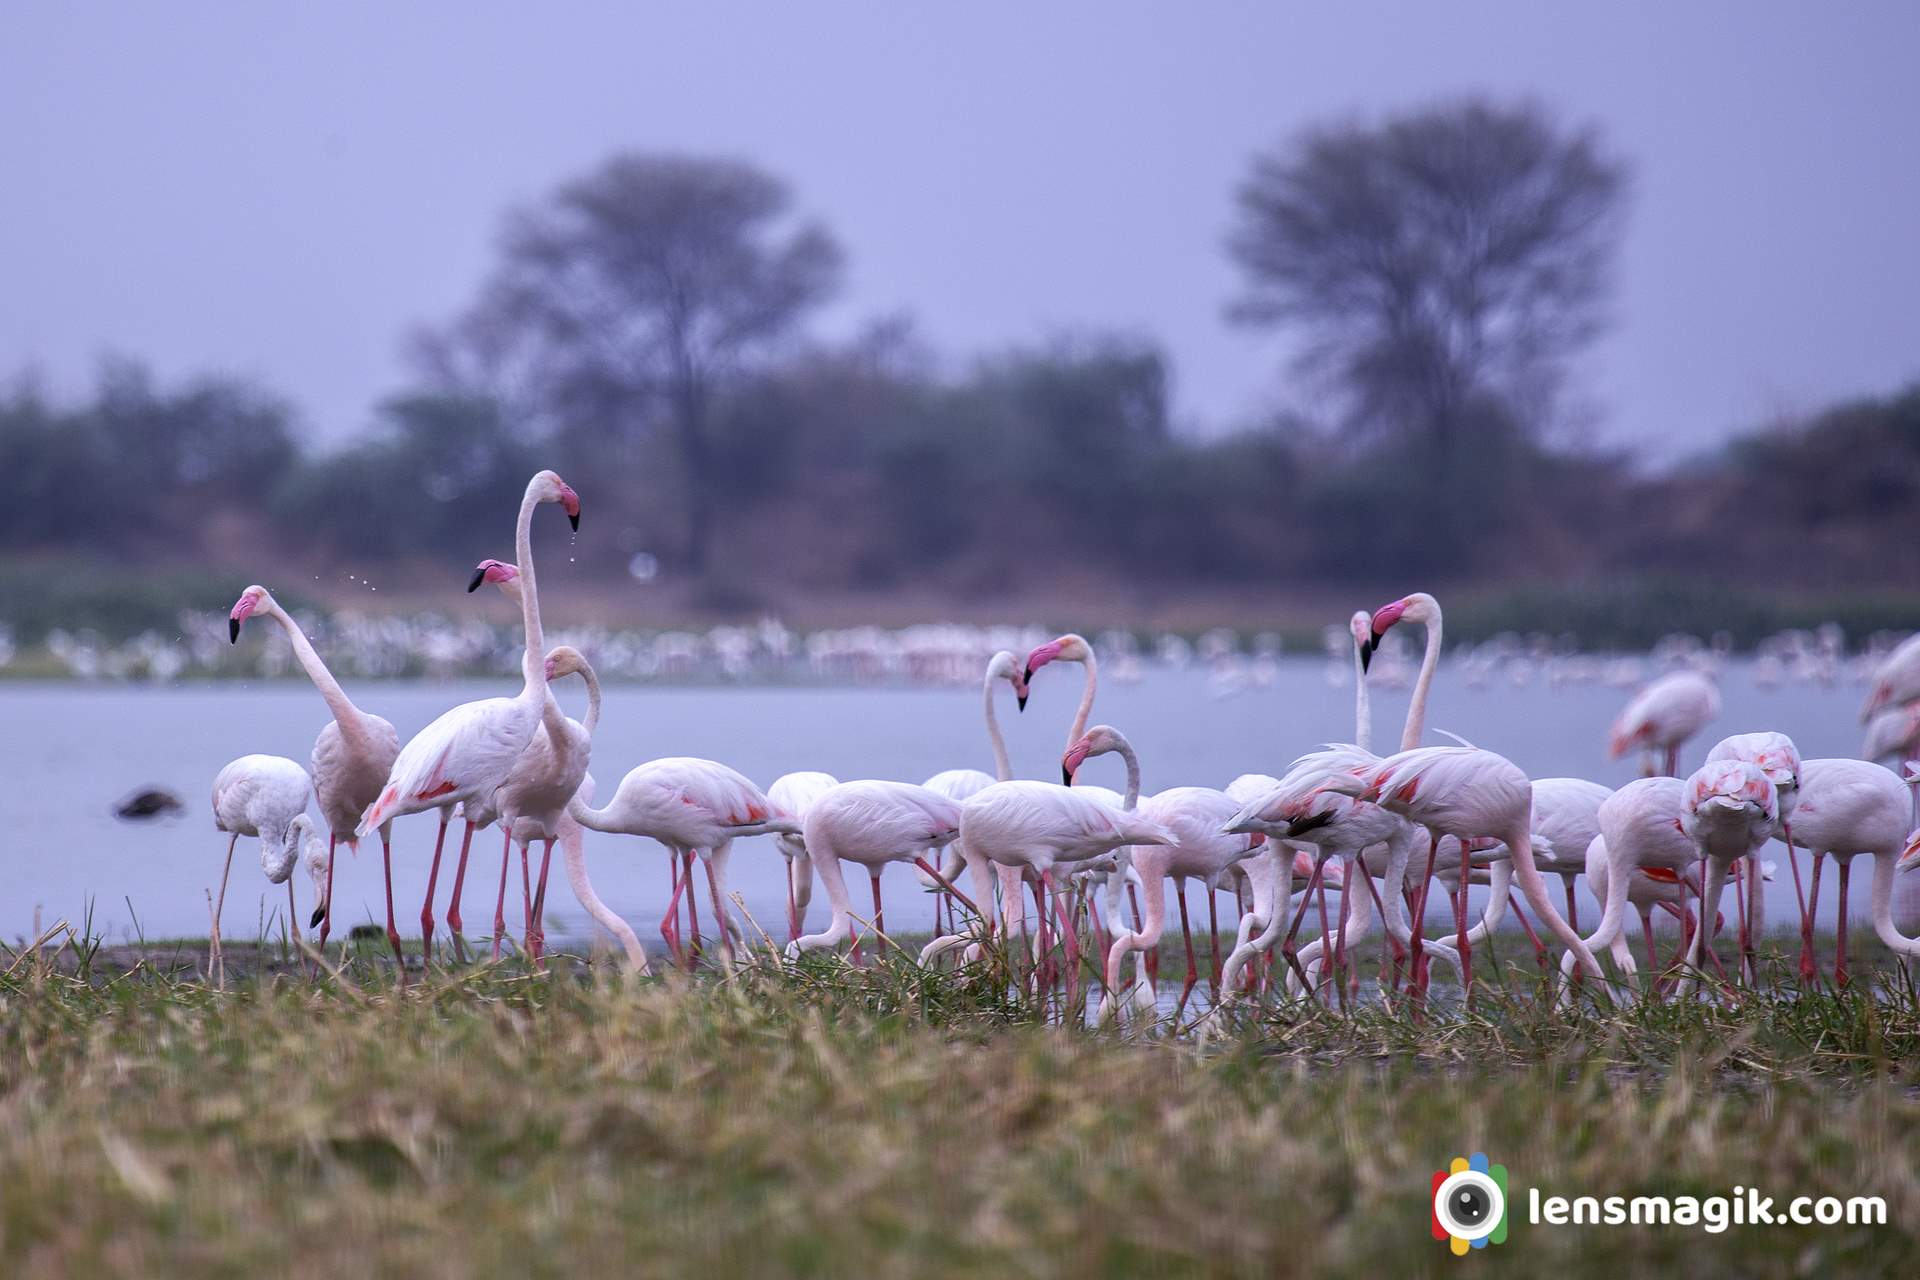
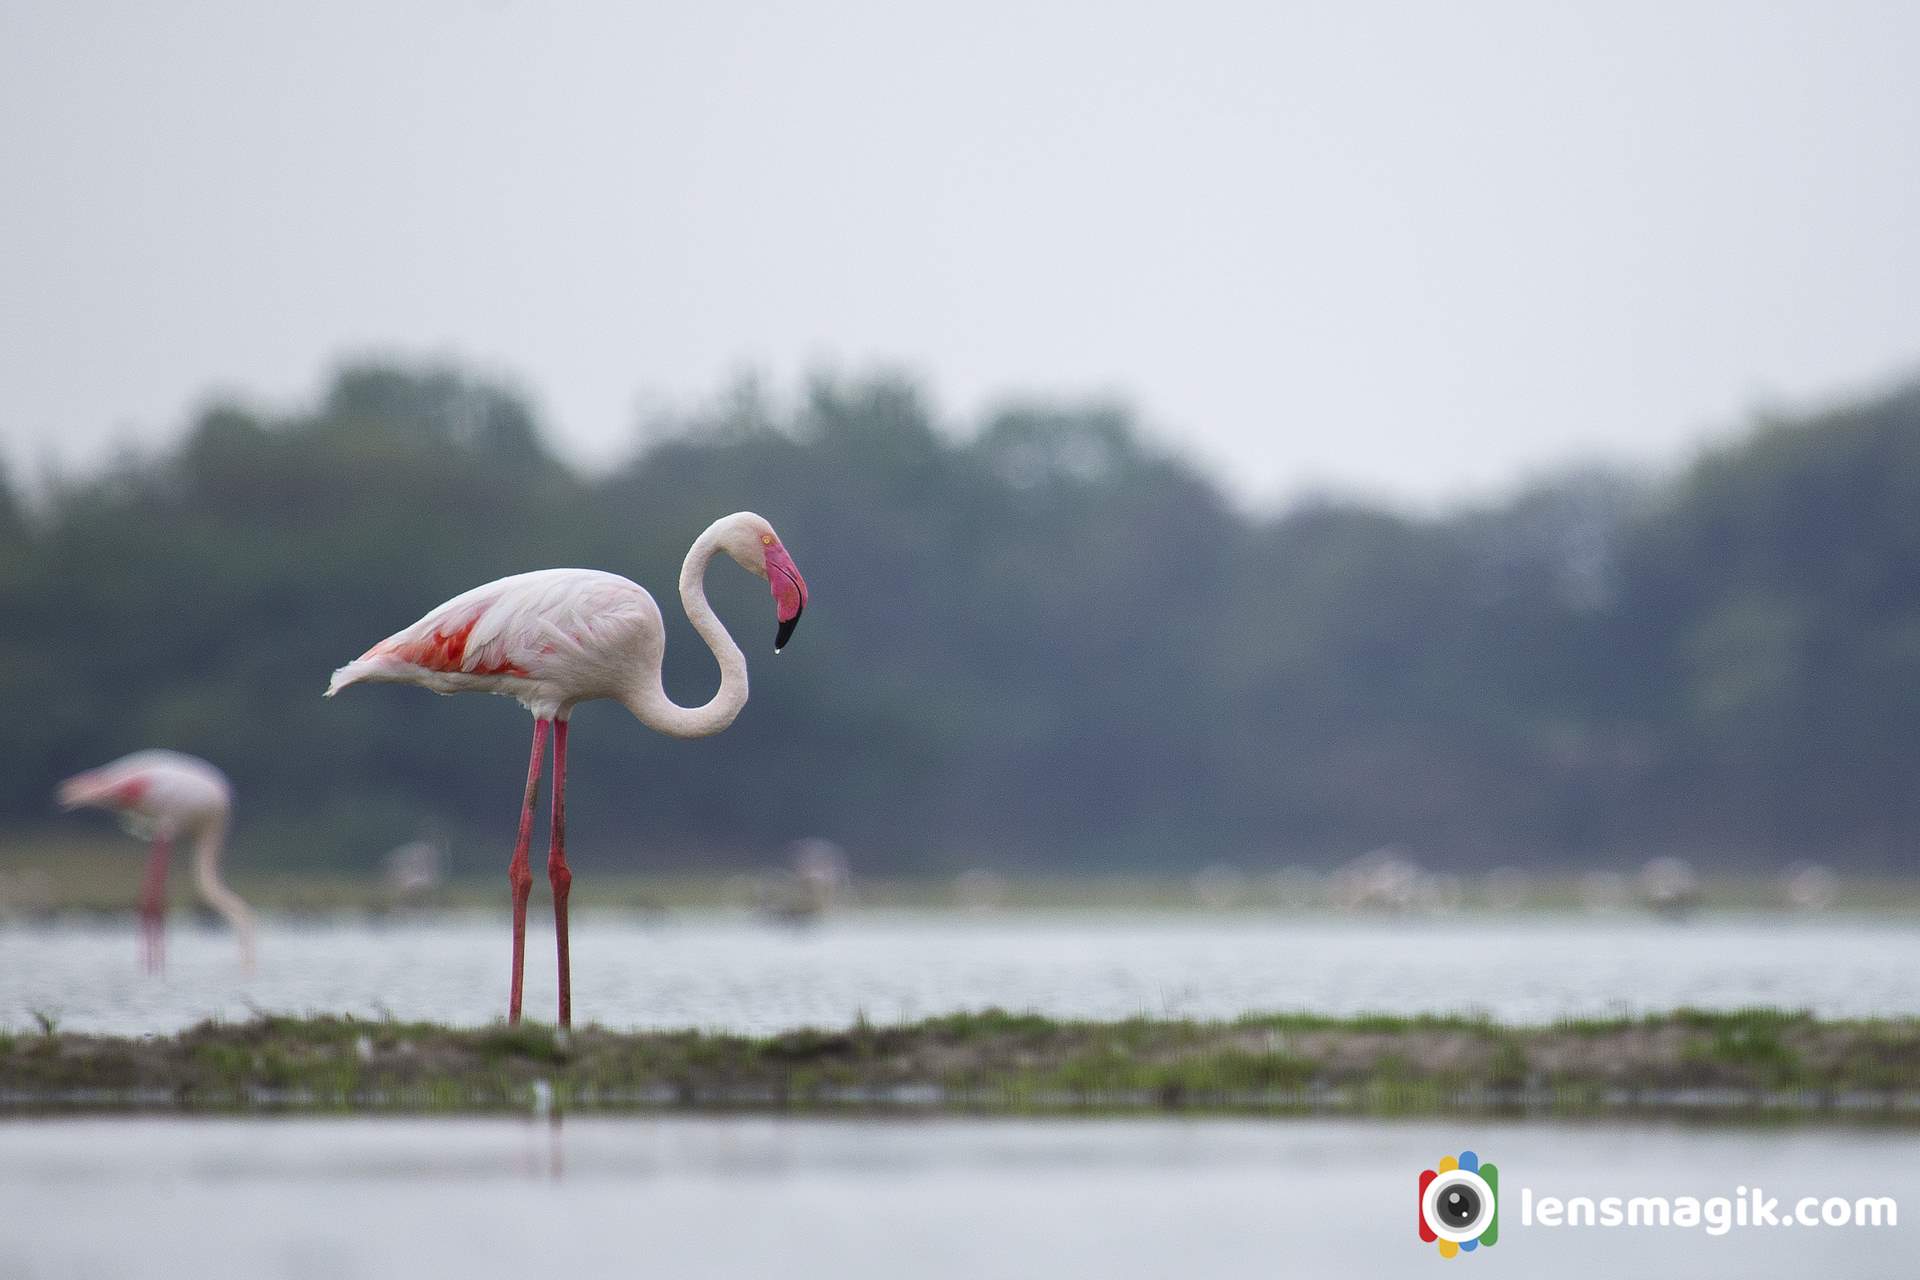
Solo Greater flamingo bird
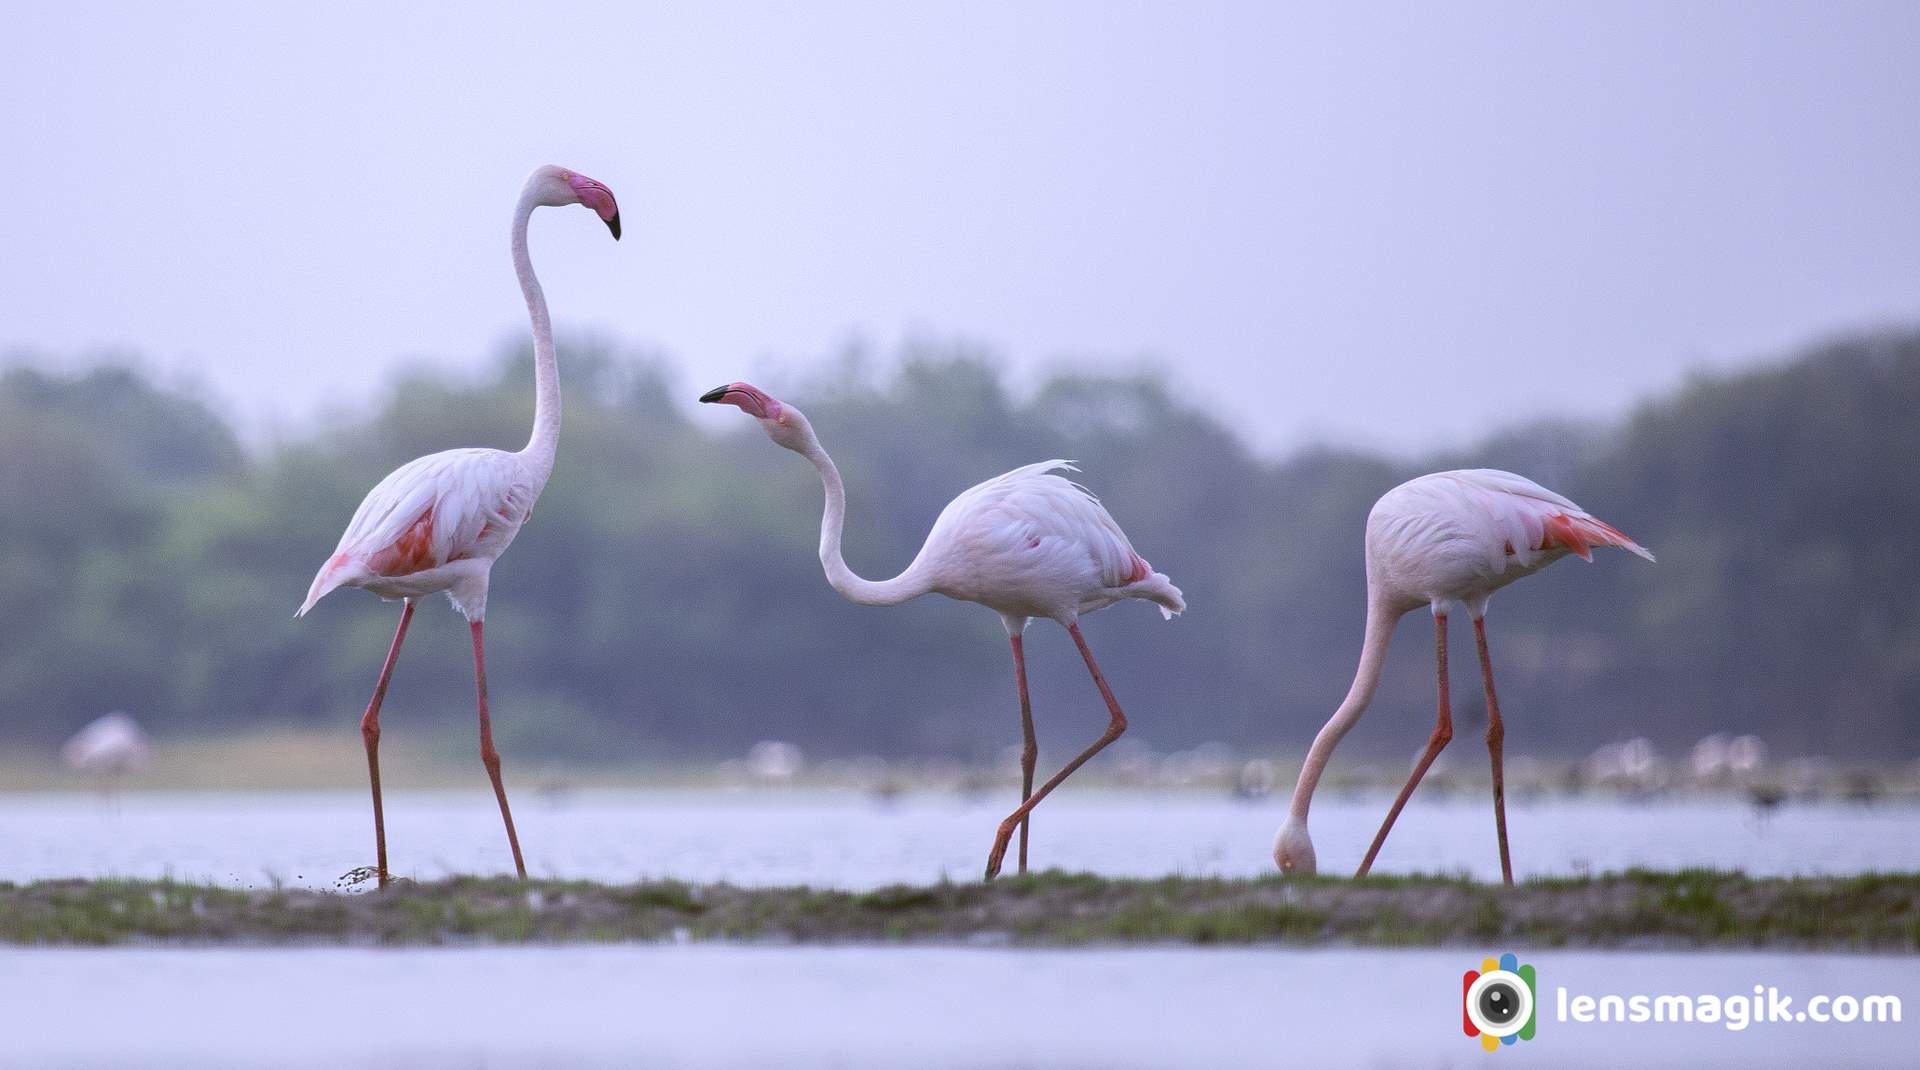
Some masti time for two flamingo birds .
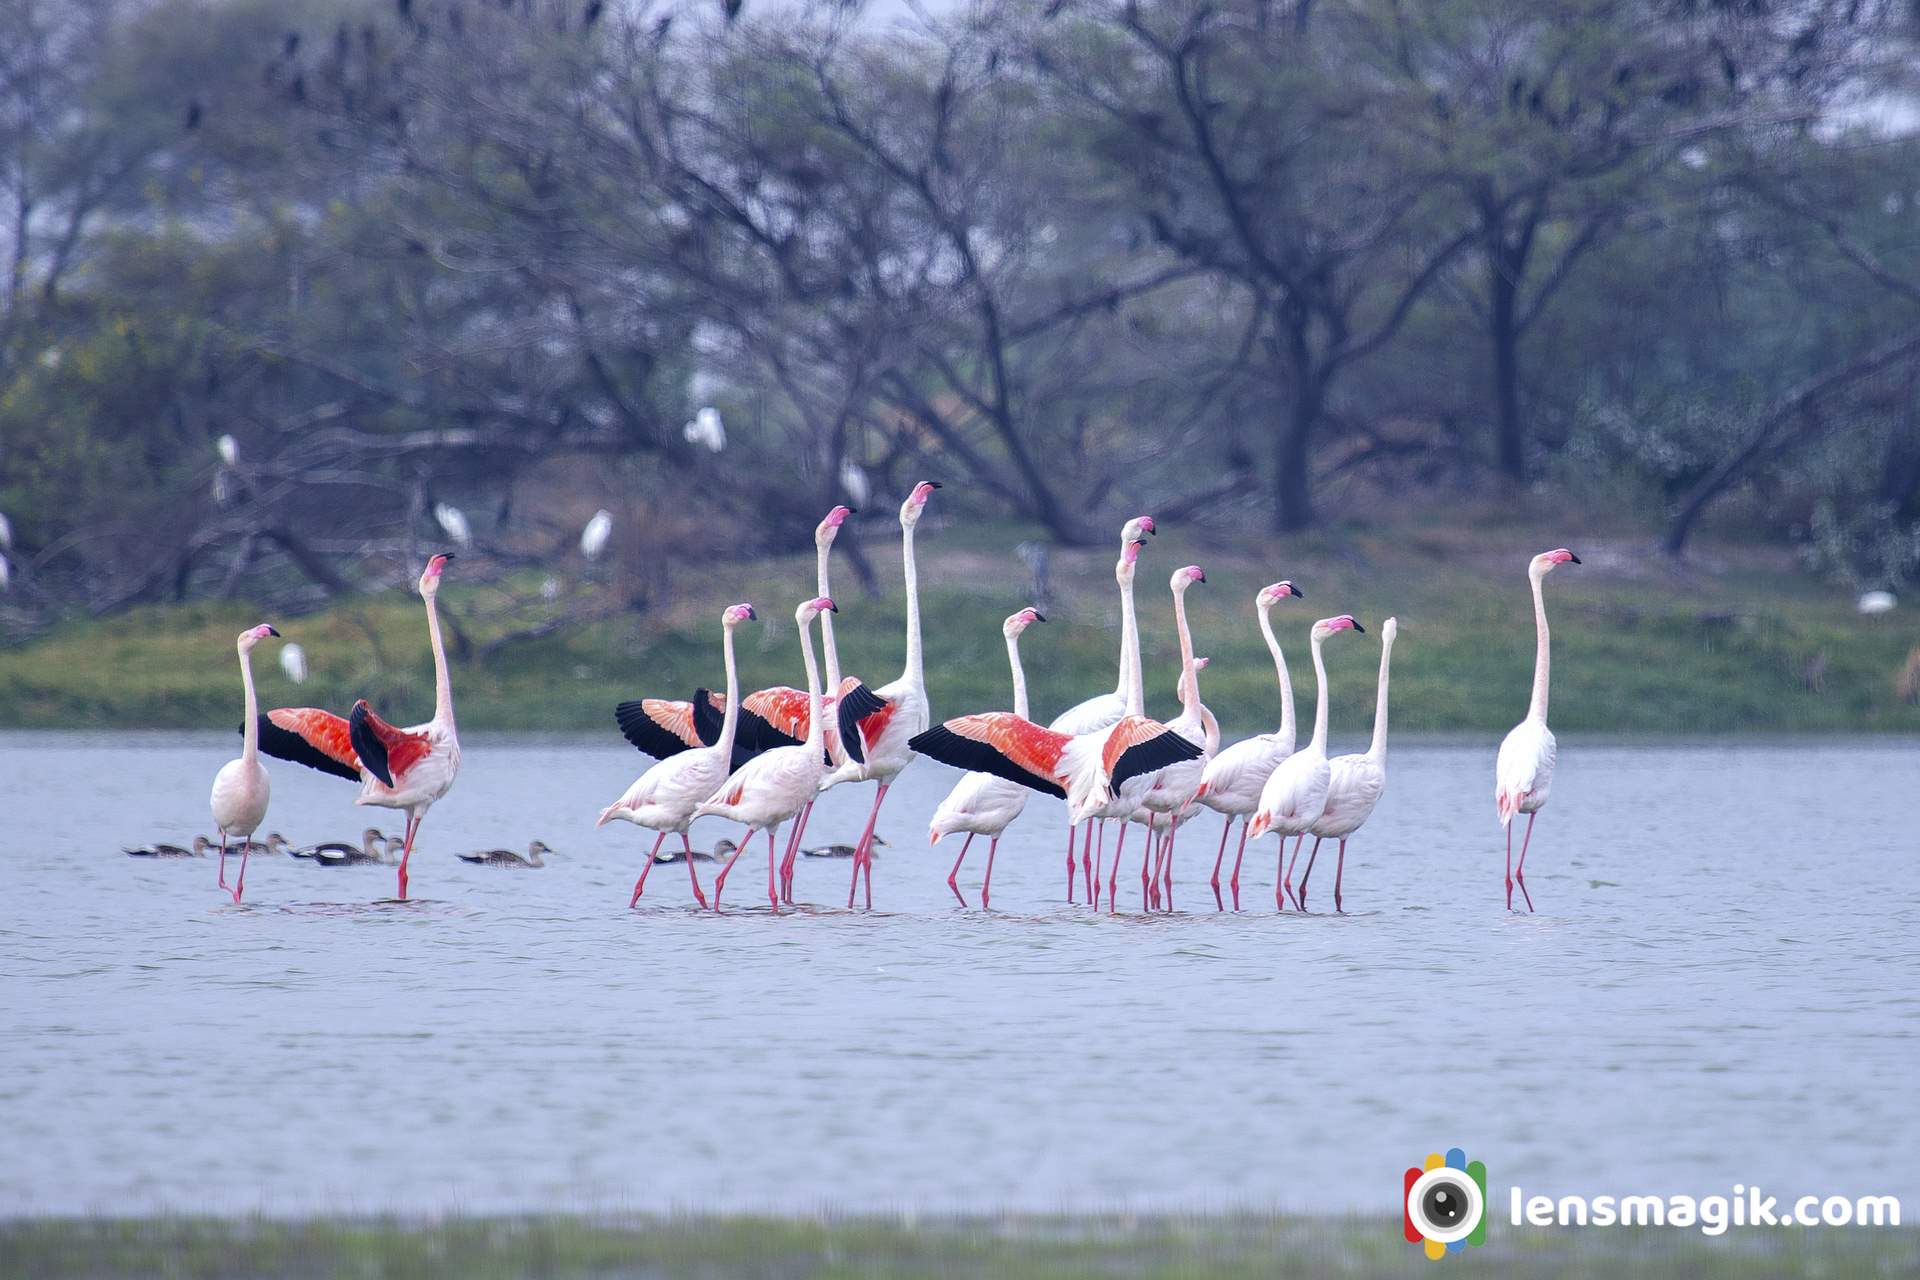
Above image shows the discipline of Flamingo Bird and looks like a morning pared they are doing .
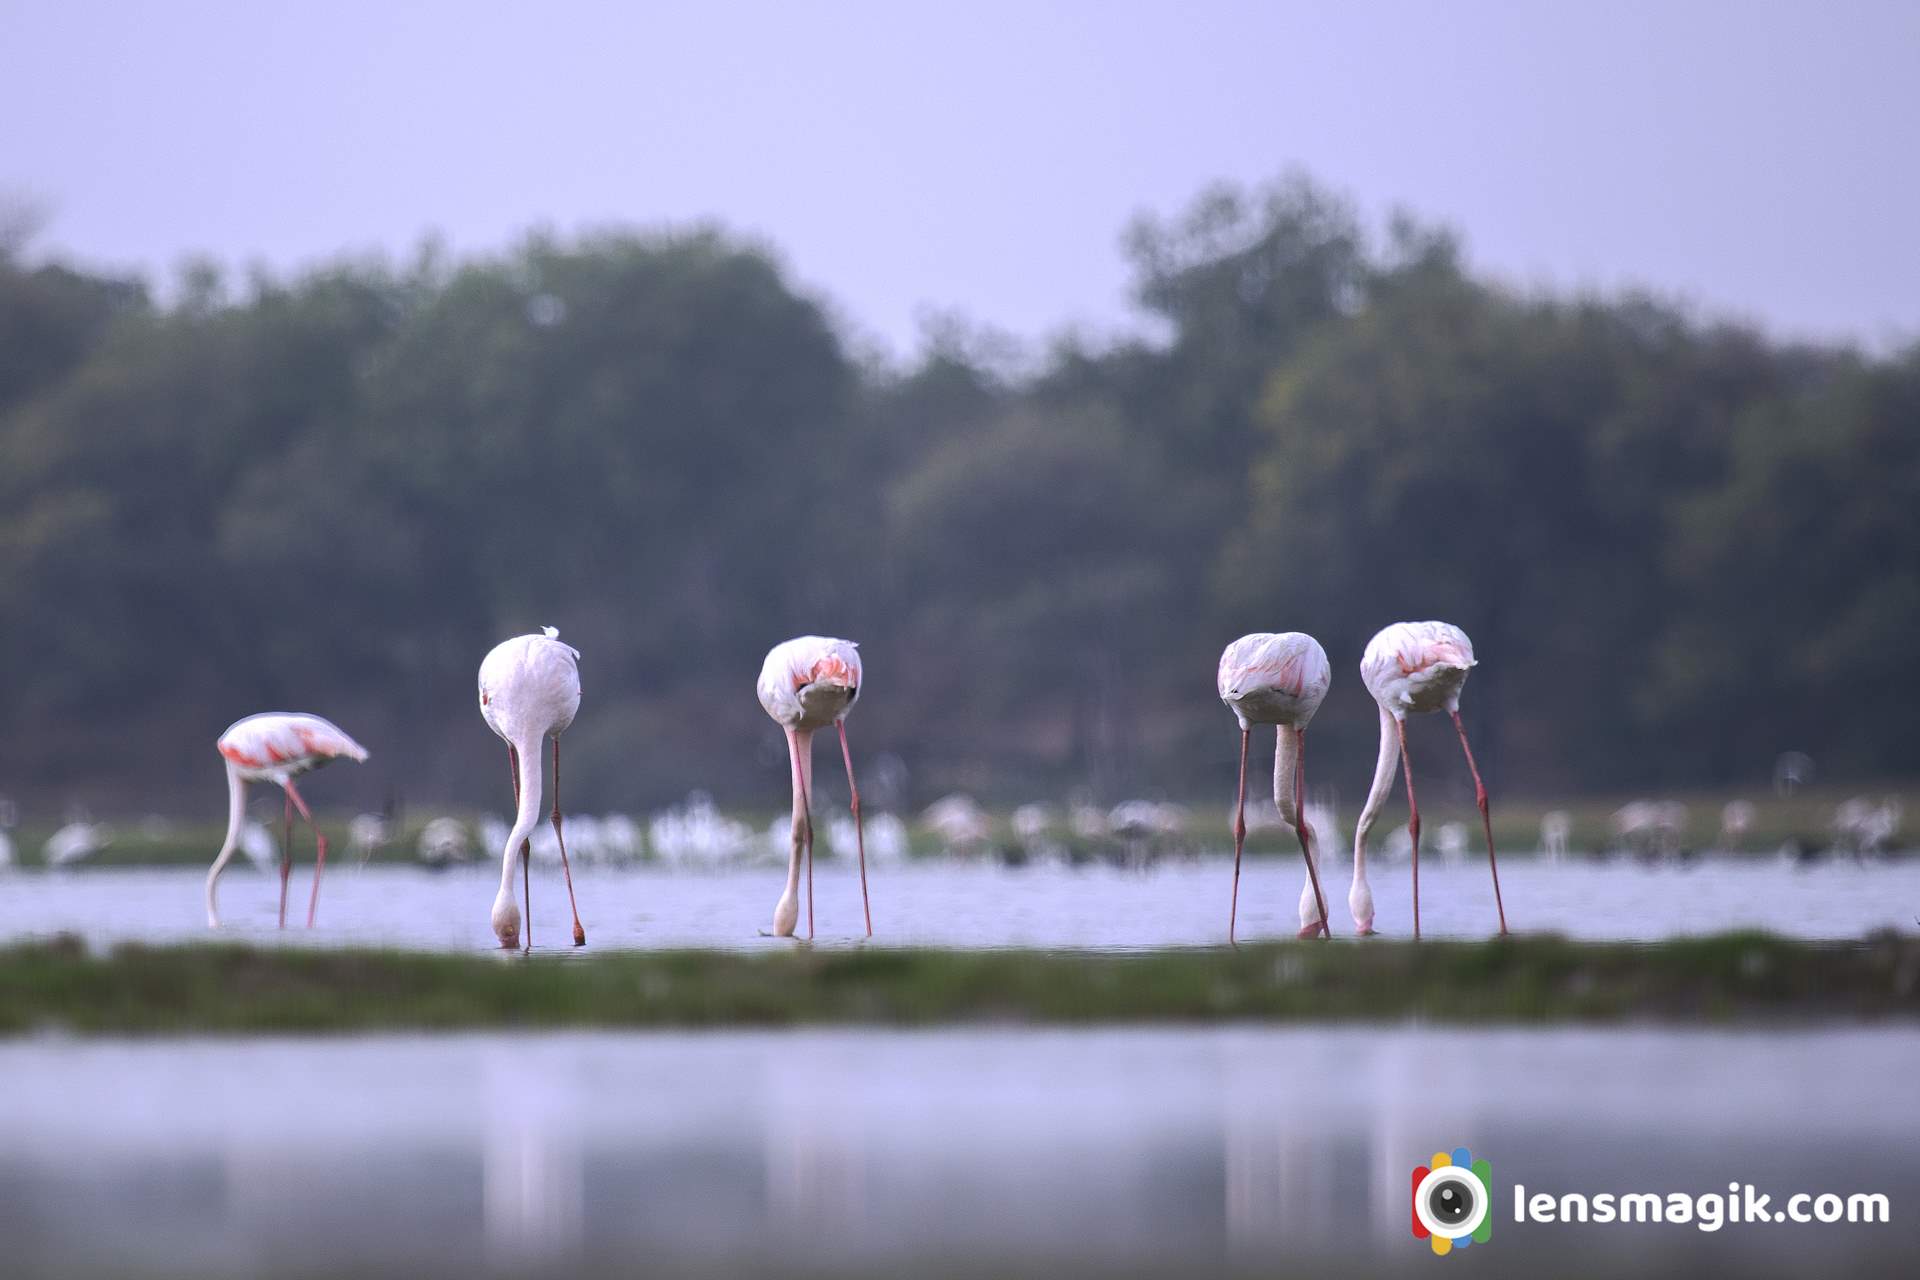
https://youtu.be/9dVBrR9NSOo
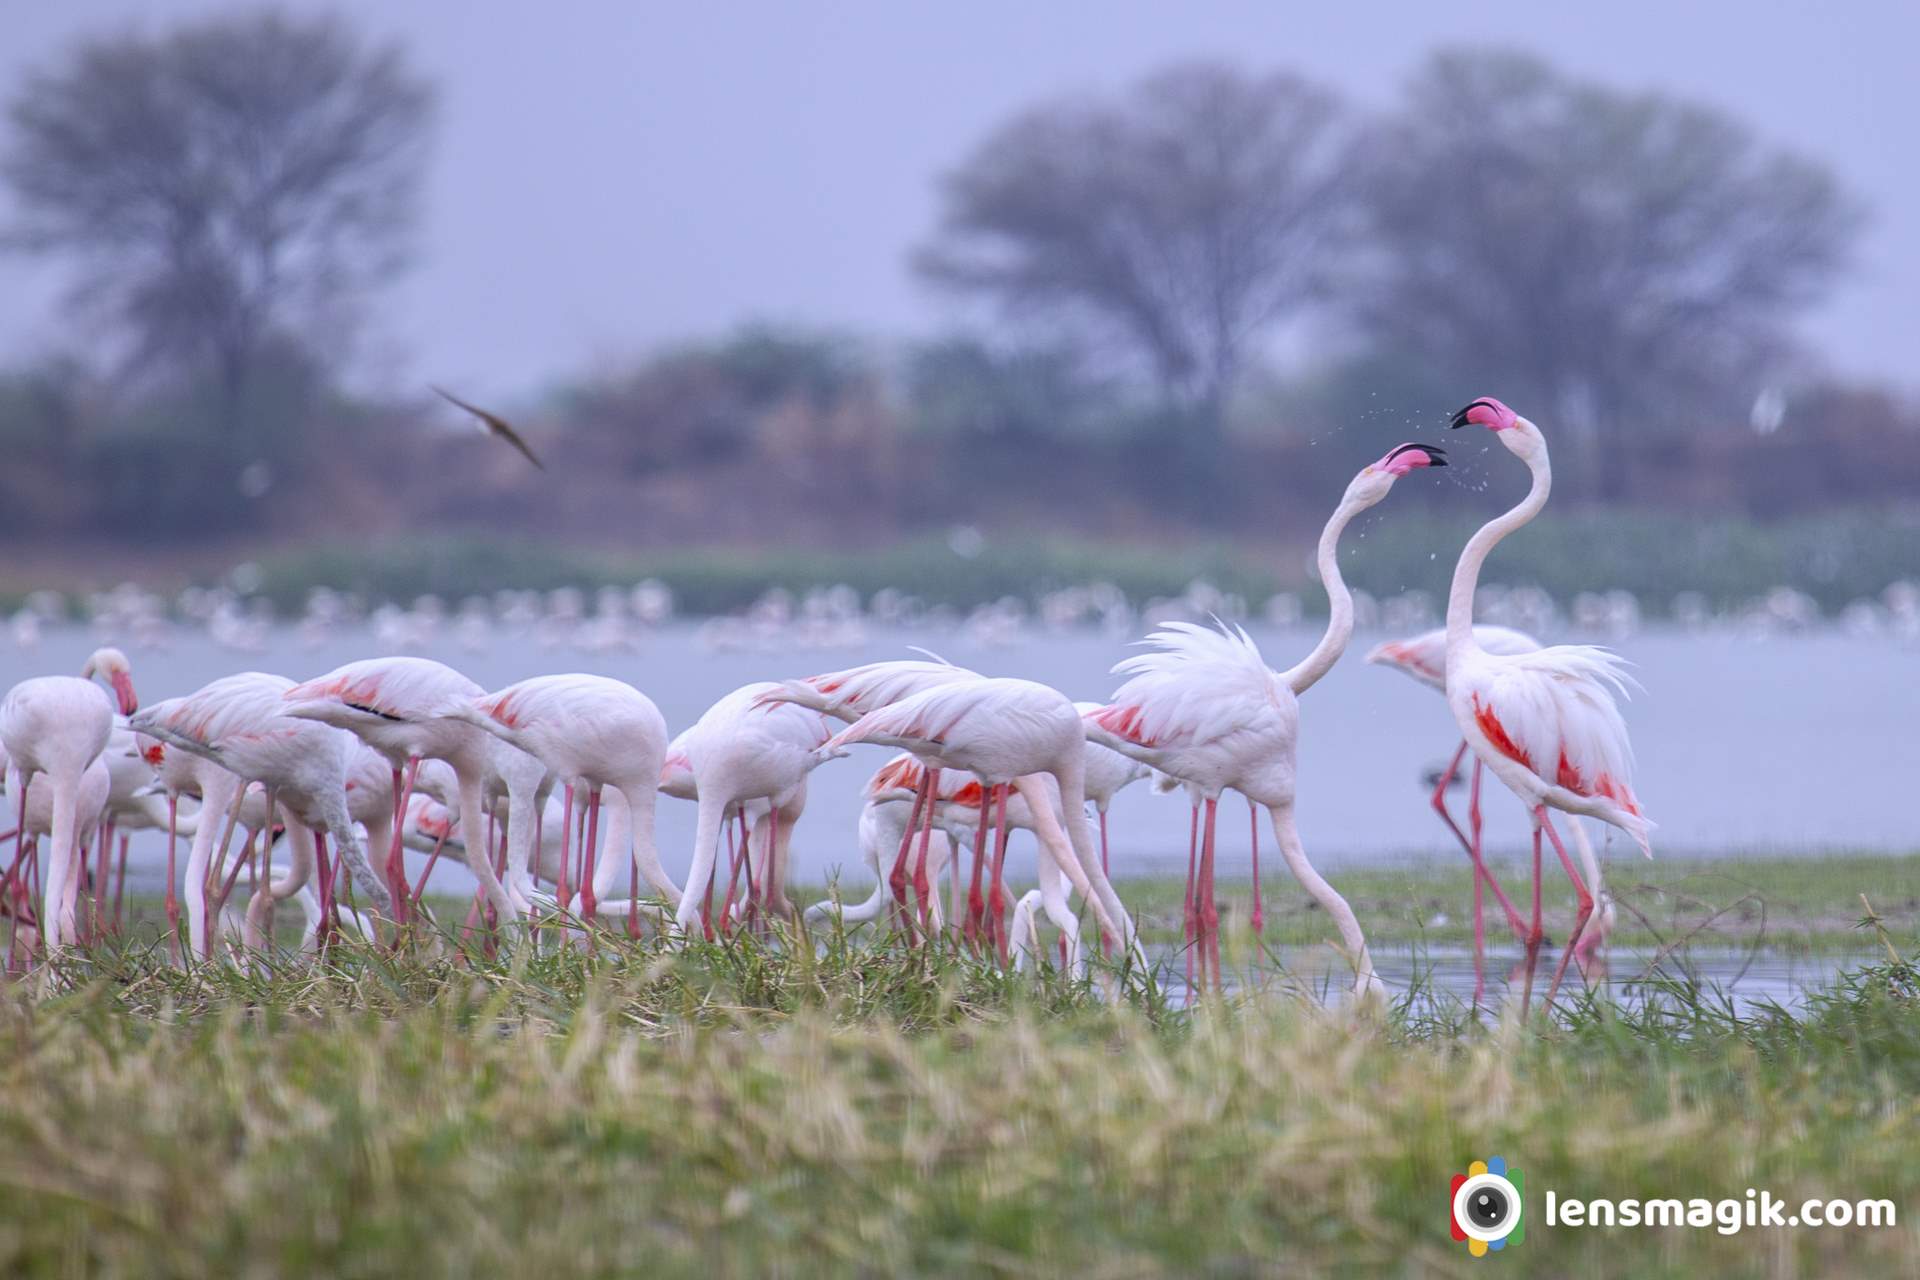
A group of Flamingo Birds at Thol Lake make your frame awesome.
Location : Thol Lake, Gujarat
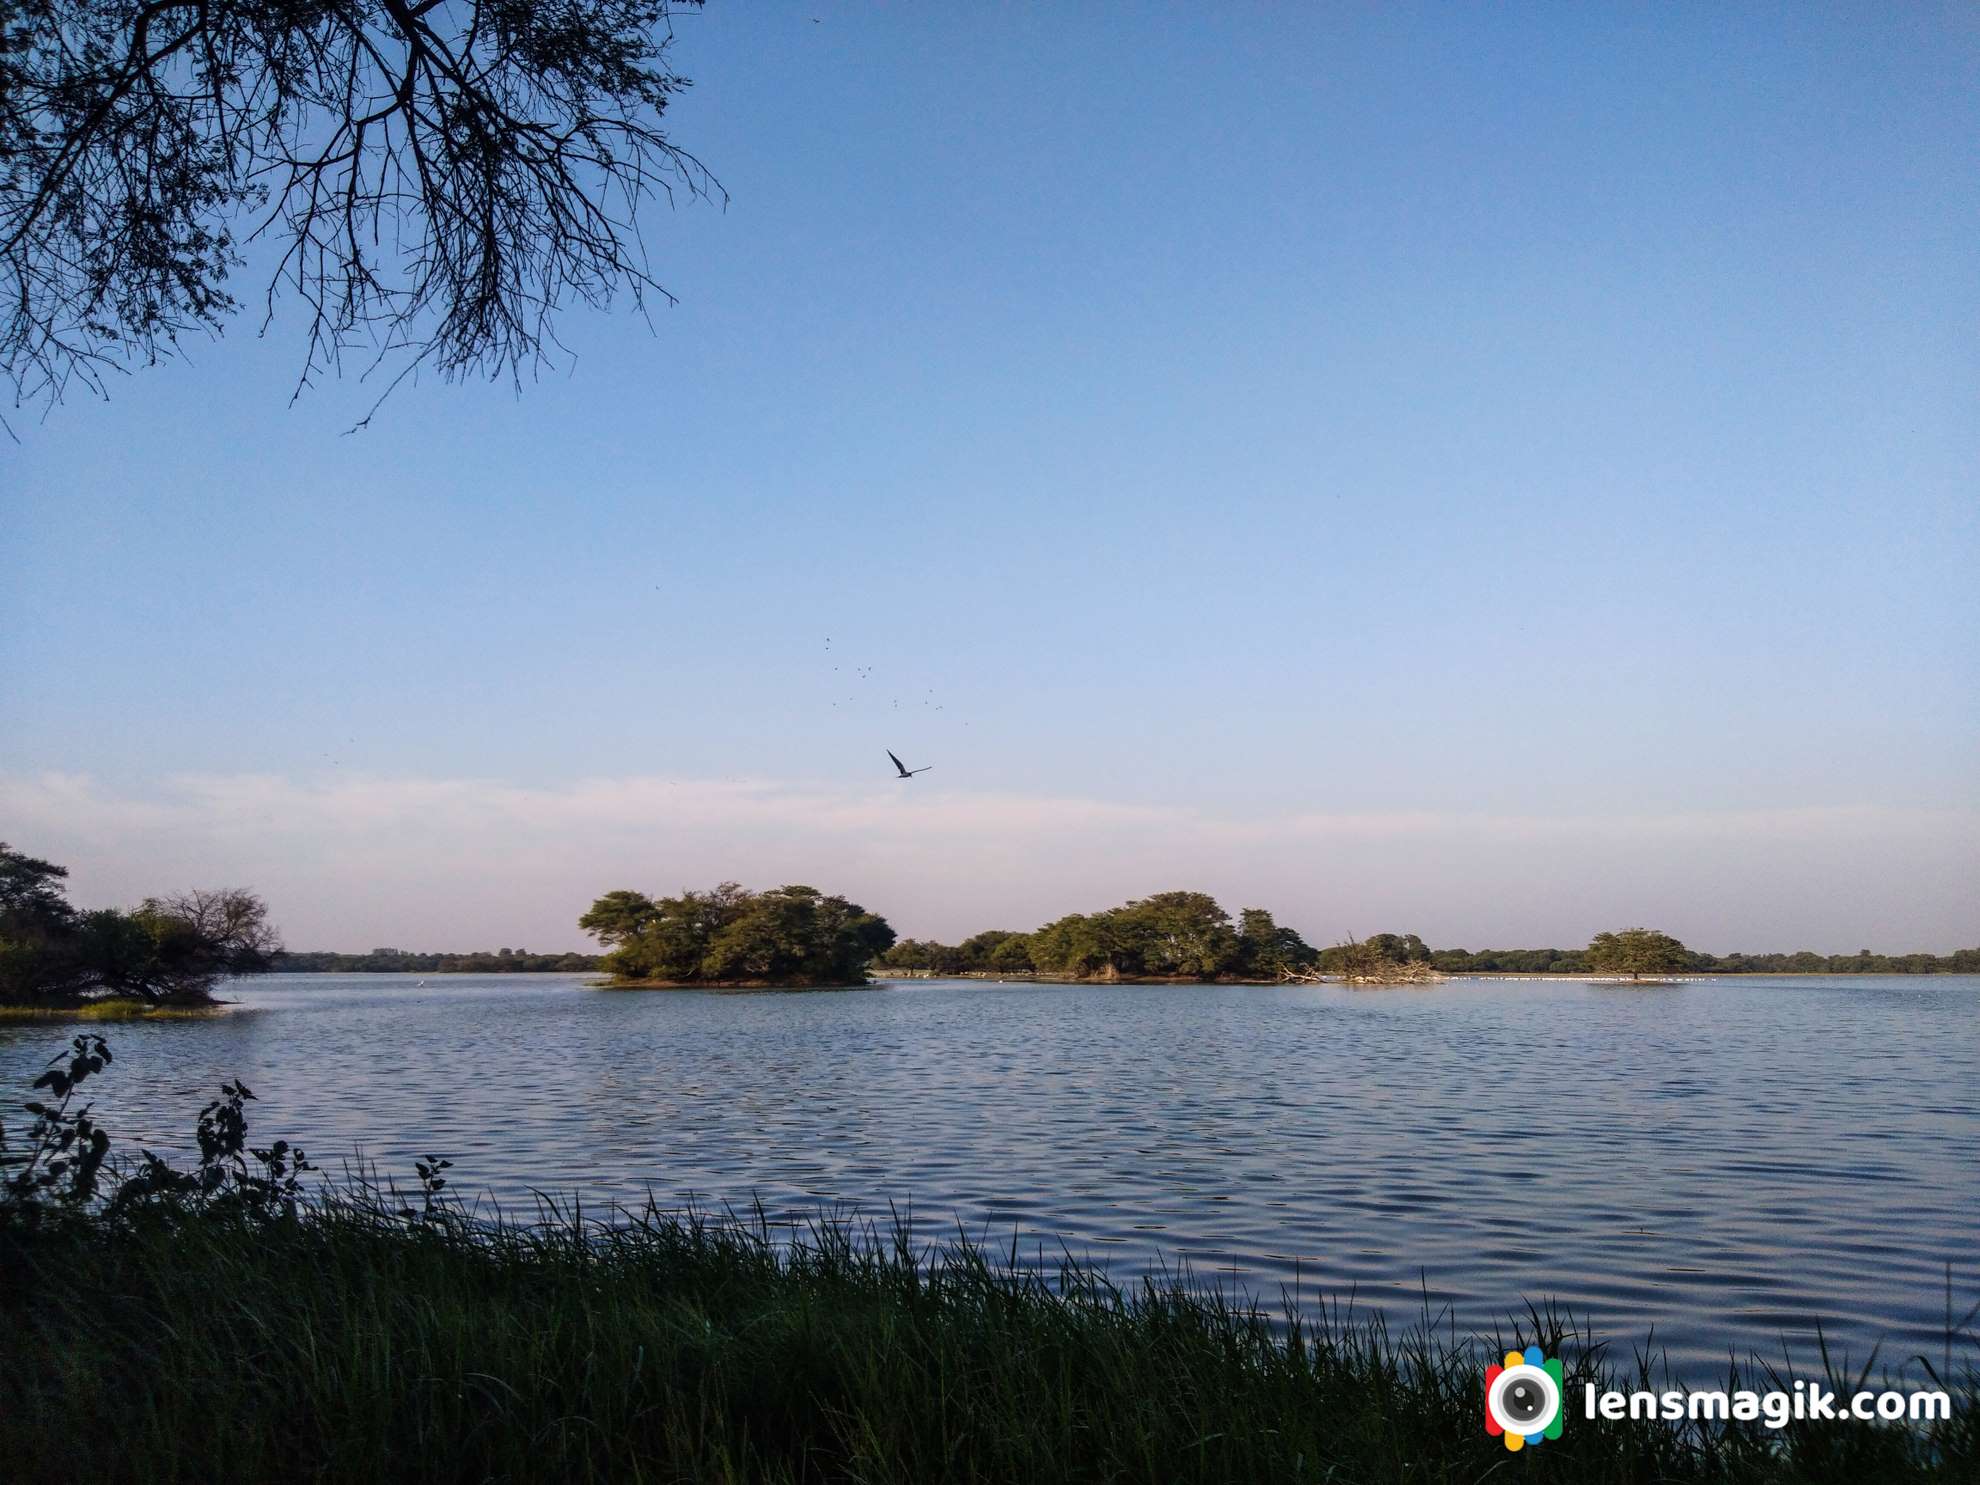
Thol lake is just 25 km approx. from Ahmedabad. You can visit one day for Thol lake is enough. Also you can find another migratory birds like pelicans , bar headed goose, river tern and many more resident spices.
Ahmedabad to Thol lake distance about 25km
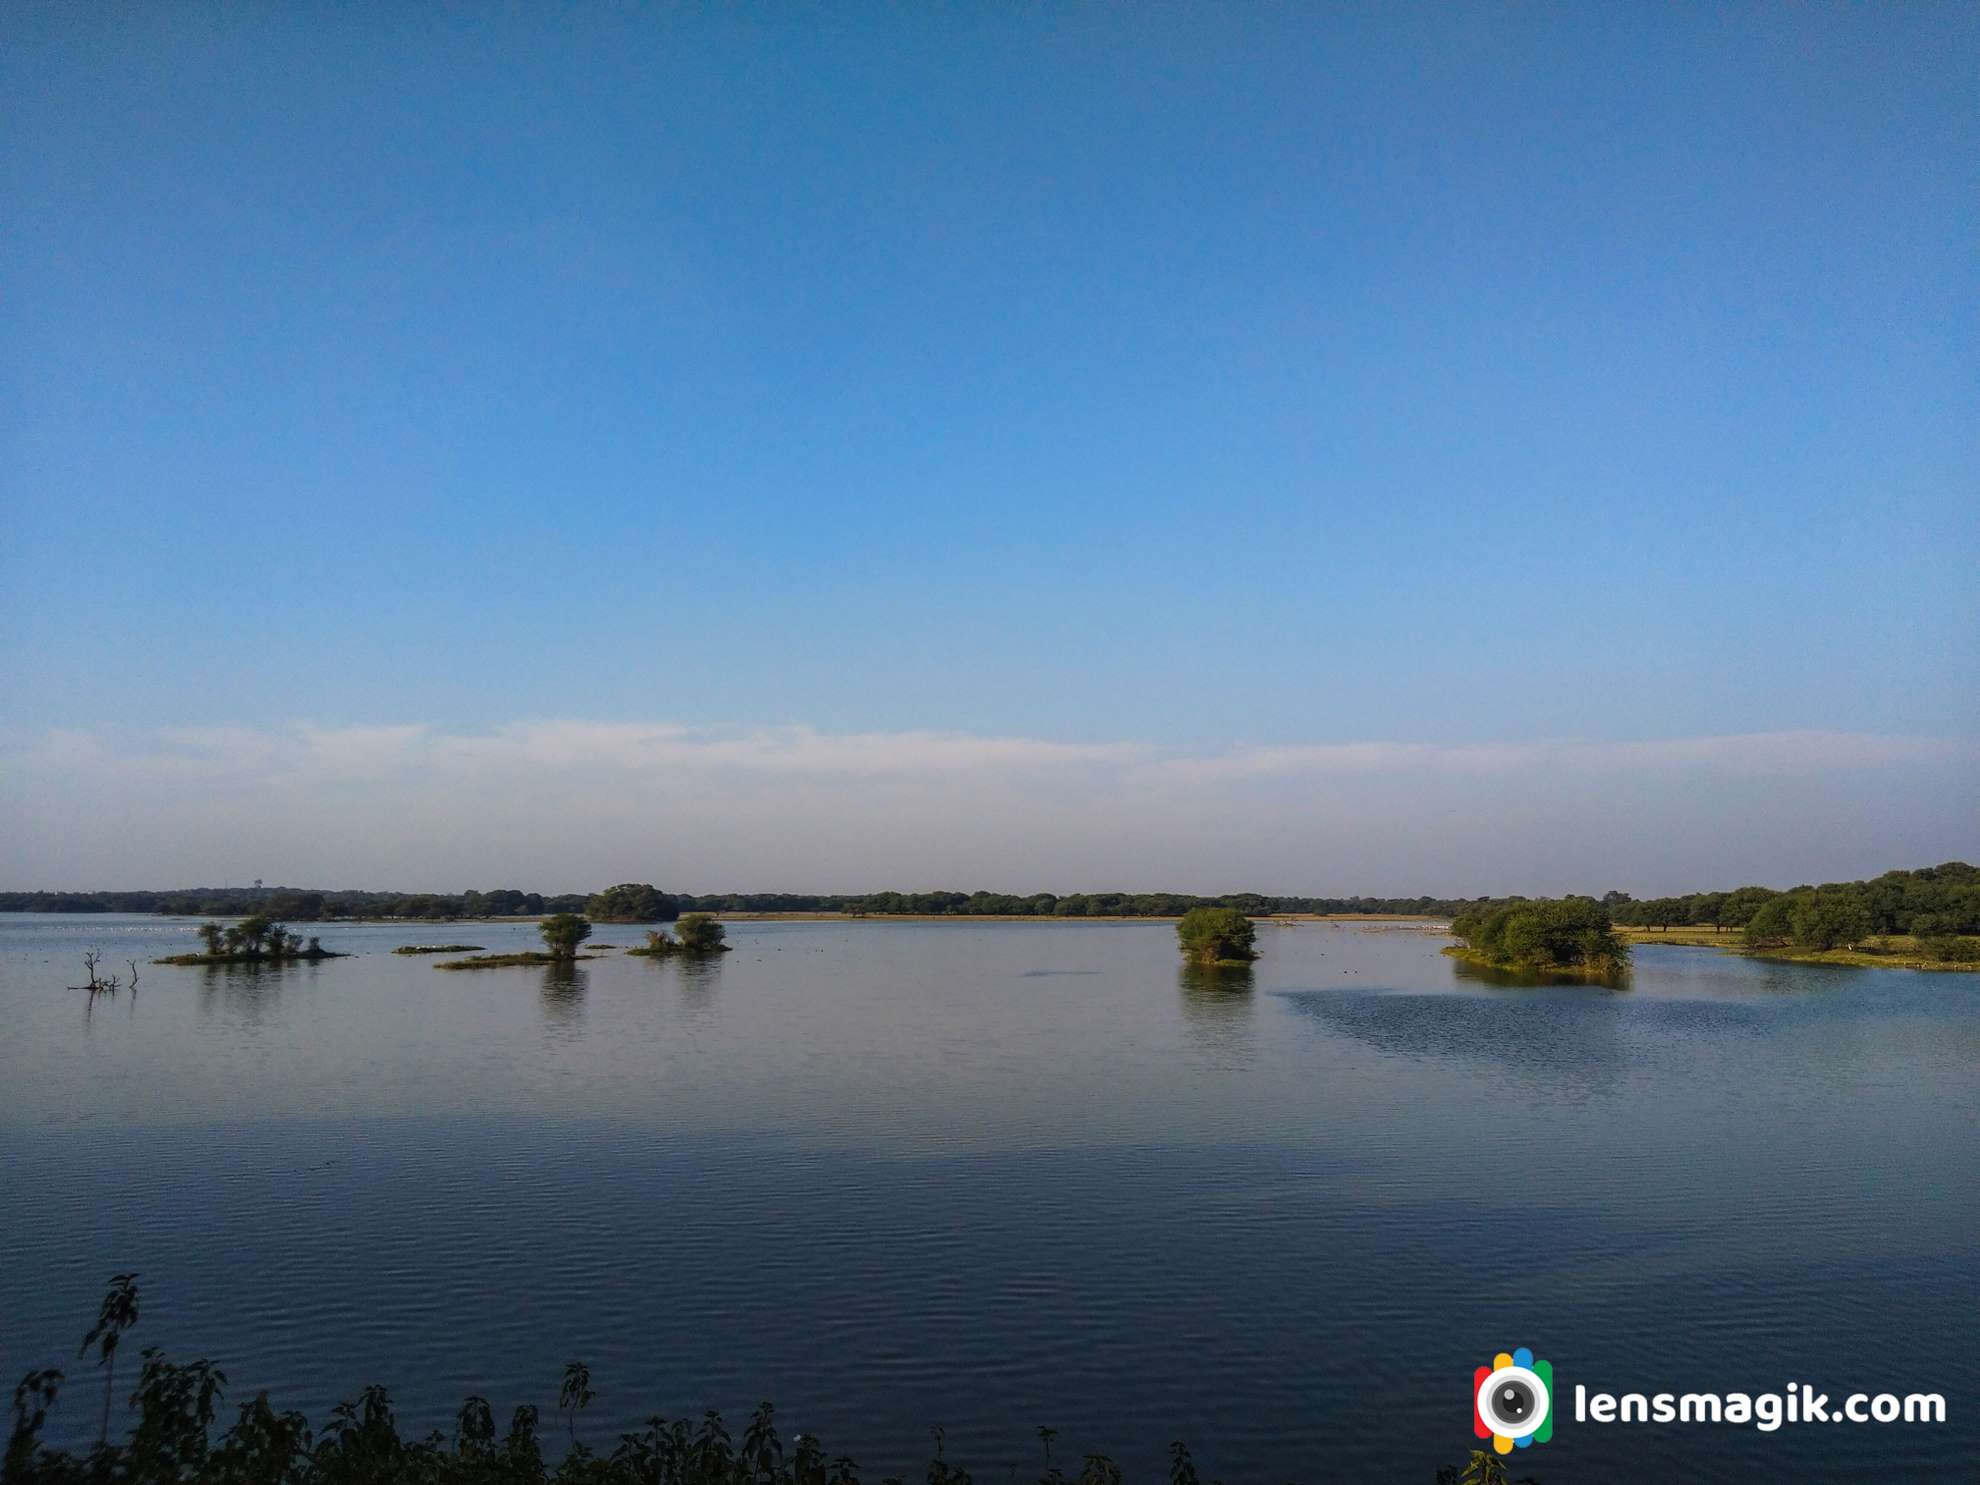
Thol bird sanctuary is located in Kadi Taluka in Mehsana District near sanand Gujarat. It is an artificial lake located near village Thol. In 1912 thol lake was built and it was declared as a Sanctuary in 1988. The main use of lake is use of water for irrigation. The Thol Bird Sanctuary or a Thol lake wildlife Sanctuary India is a habitat of more than 150 spices of birds. Also it is famous for migratory birds Flamingos and Sarus Crane which breeds here.
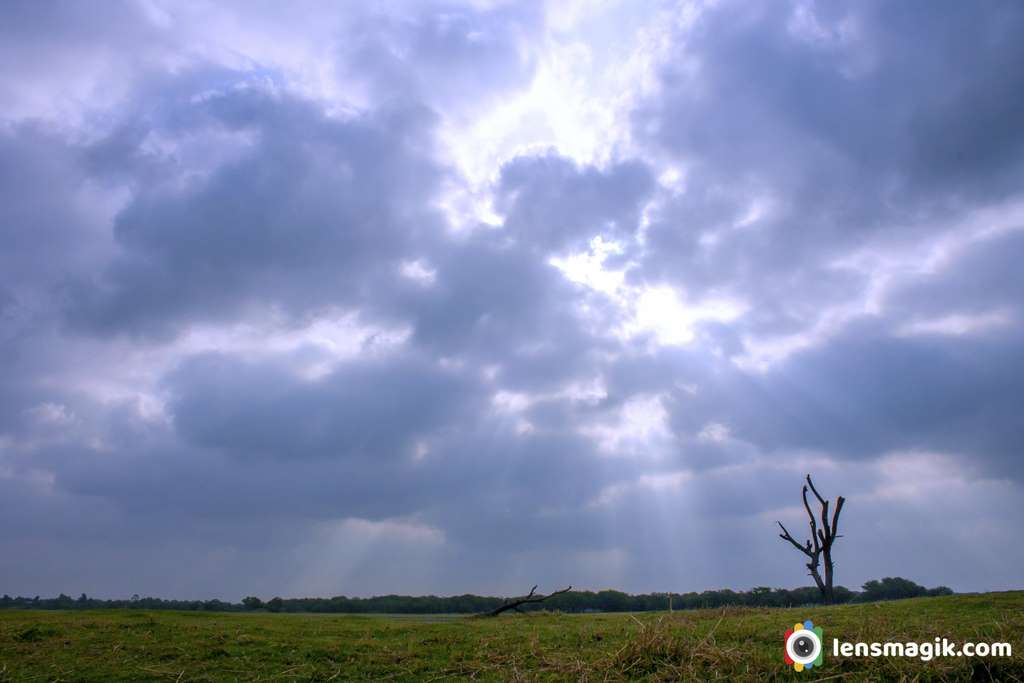
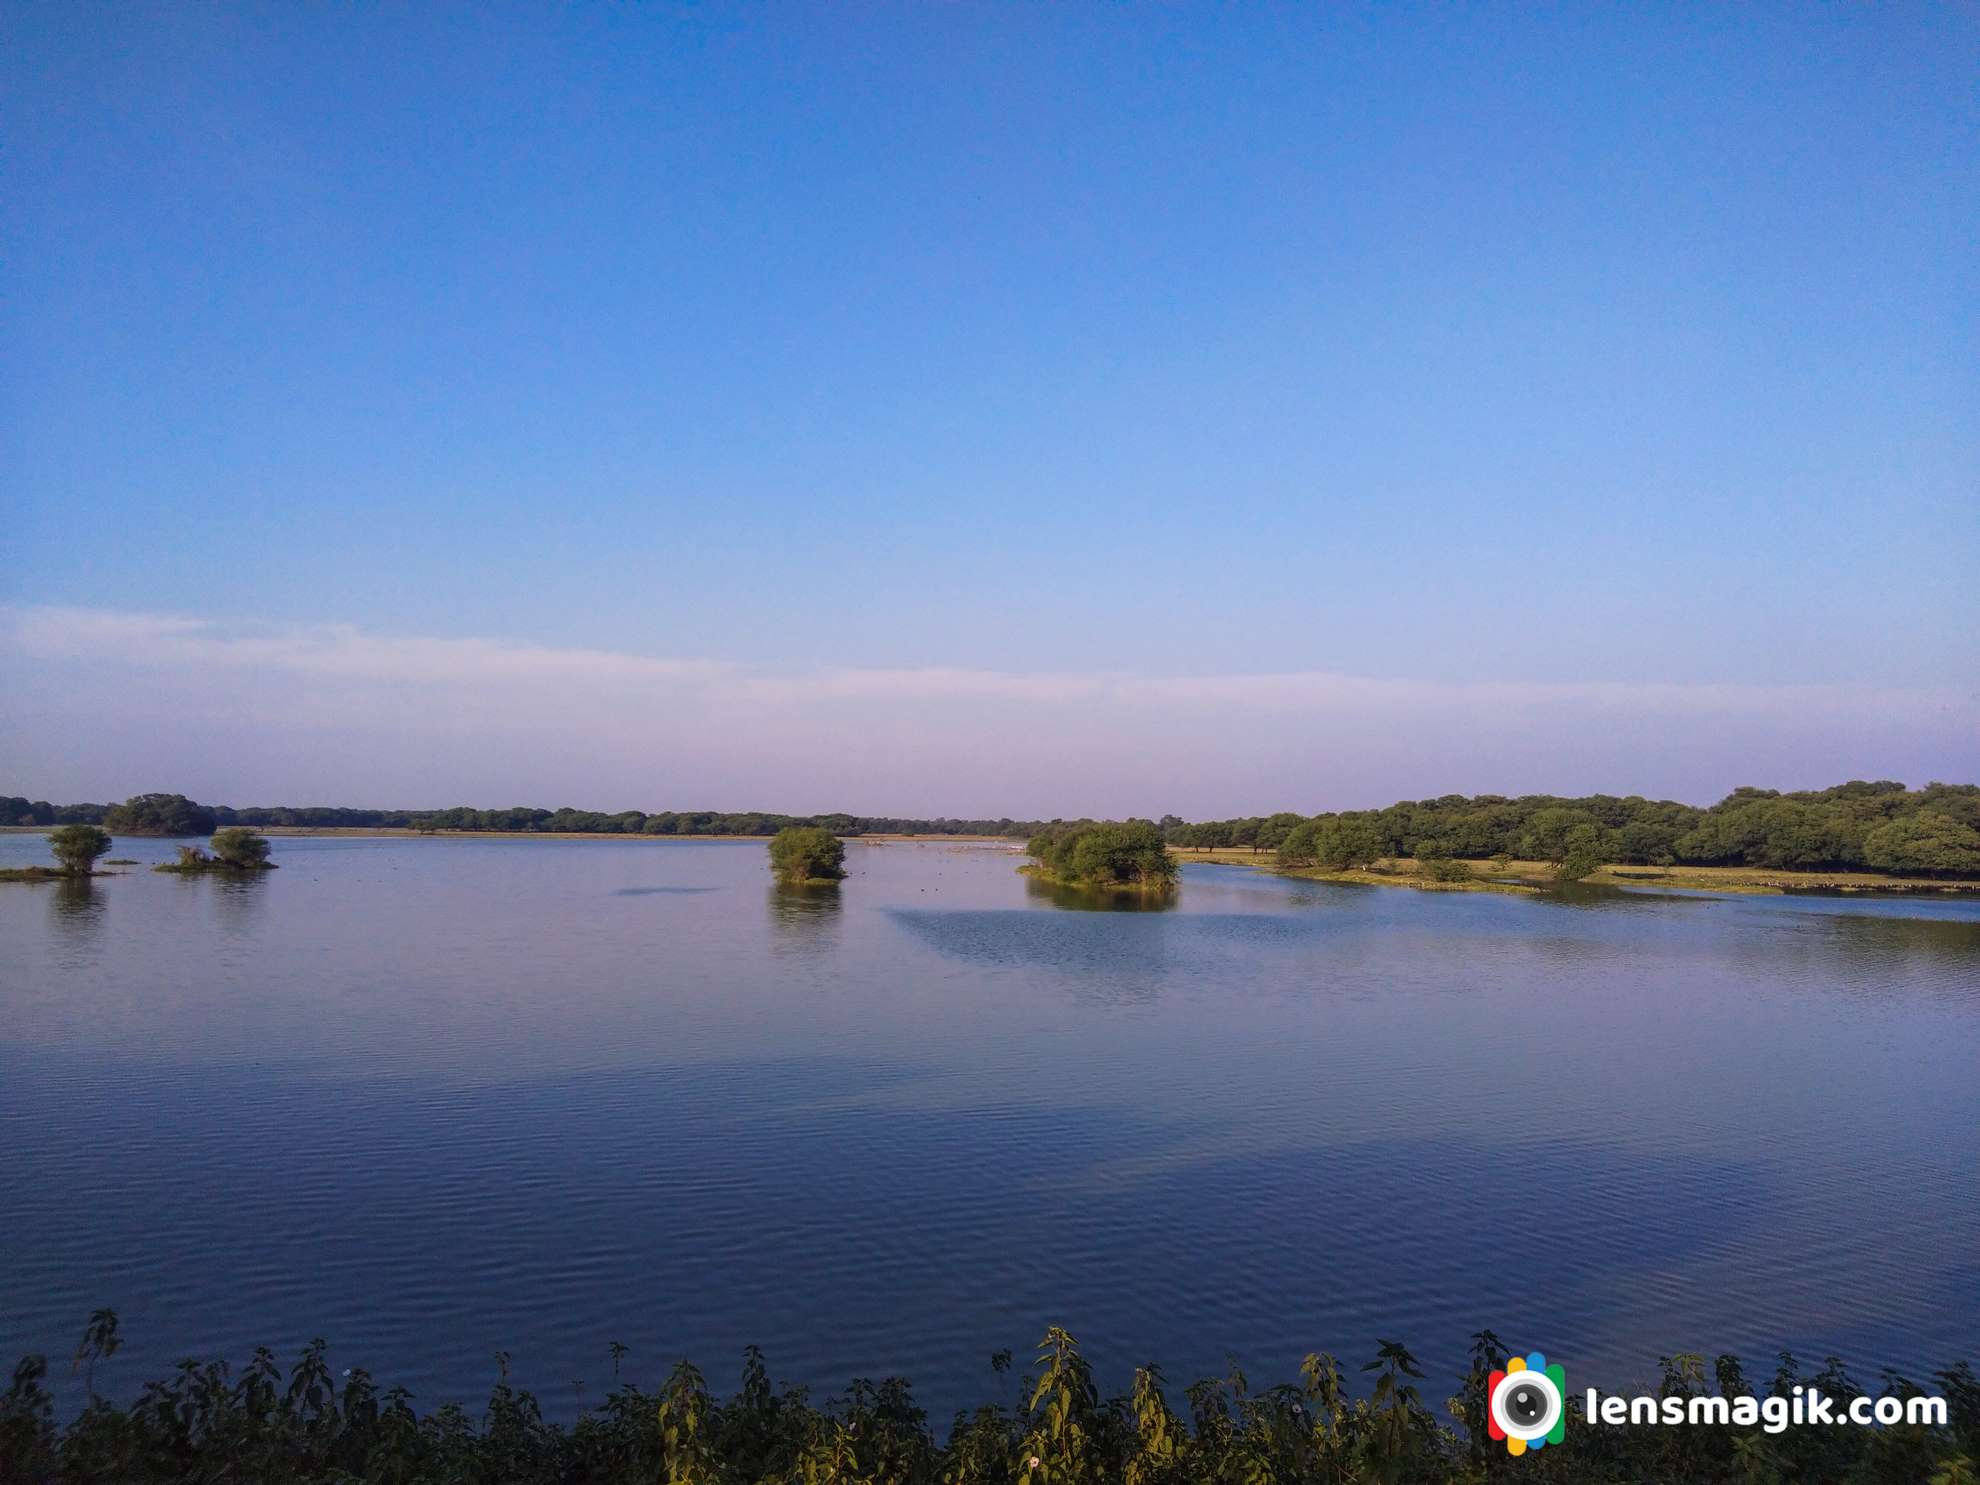
About Thol Lake / Thol Bird Sanctuary
Thol lake is located near Thol village and its area around 38000 acres. Lake faces all season winter , summer and monsoon. During winter temperature goes to 8 degree and in summer temperature goes to 43 degree. Thol lake is under control of Forest and Irrigation department of Gujarat. Thol lake water storage capacity is around 84 million cubic meters. Thol wildlife sanctuary is declared as Eco Sensitive Zone .
Flora and Fauna Thol Sanctuary :
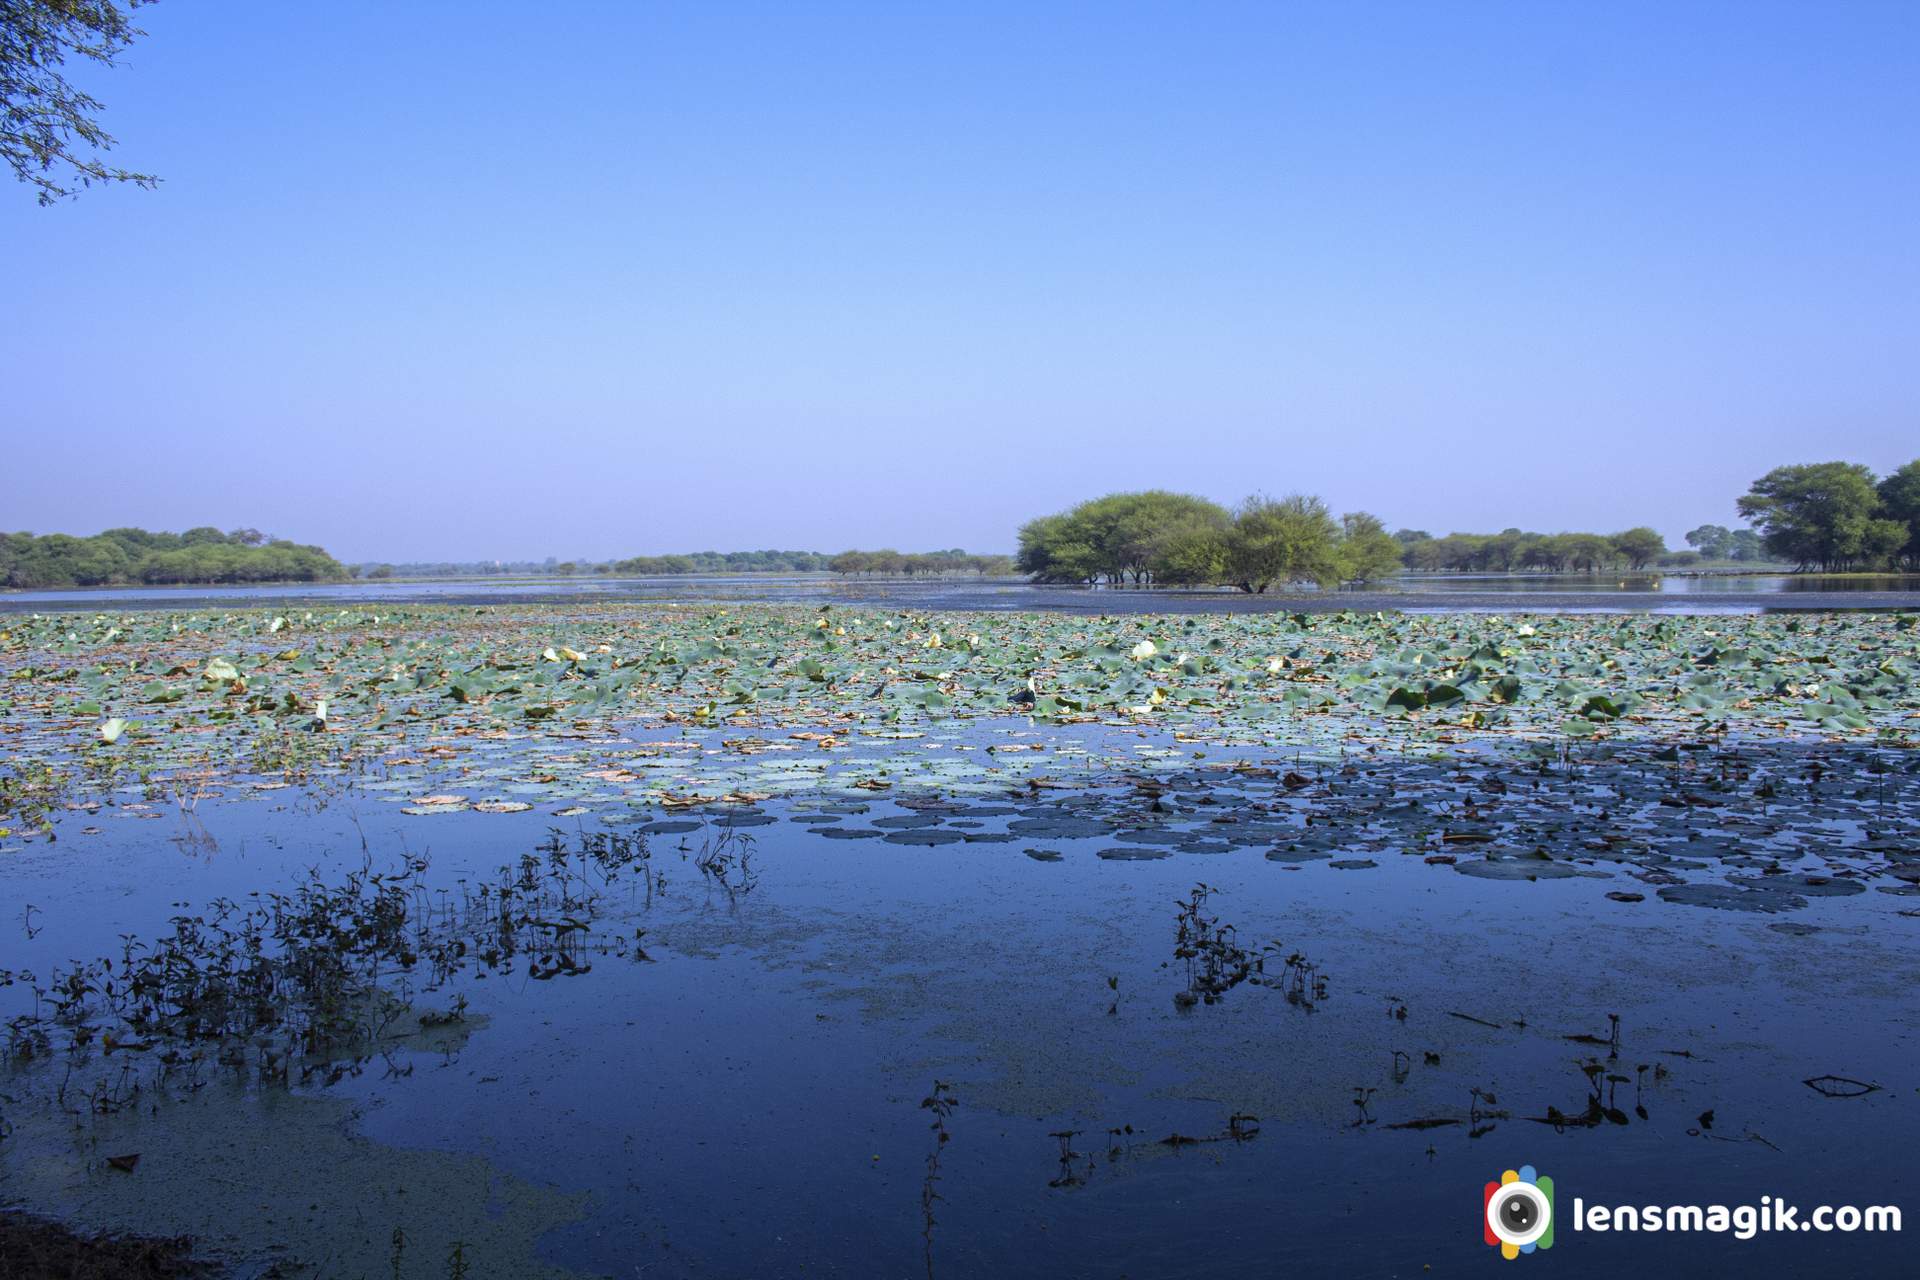
Thol lake has many vegetation plants like Zizyphus, Acacia nilotica, Ficus, Capparis, Azadirachta indica etc. There are also some mix flora of Marshy and Aquatic plants reported in Thol Lake.
Thol lake is protected area and it is very good habitat for water birds. In thol bird sanctuary there are more than 150 spices of birds found . Among these more than 60 % of birds are water birds. Flamingo bird is most prominent bird of Thol Lake. Also Sarus Crane nest in large number here.
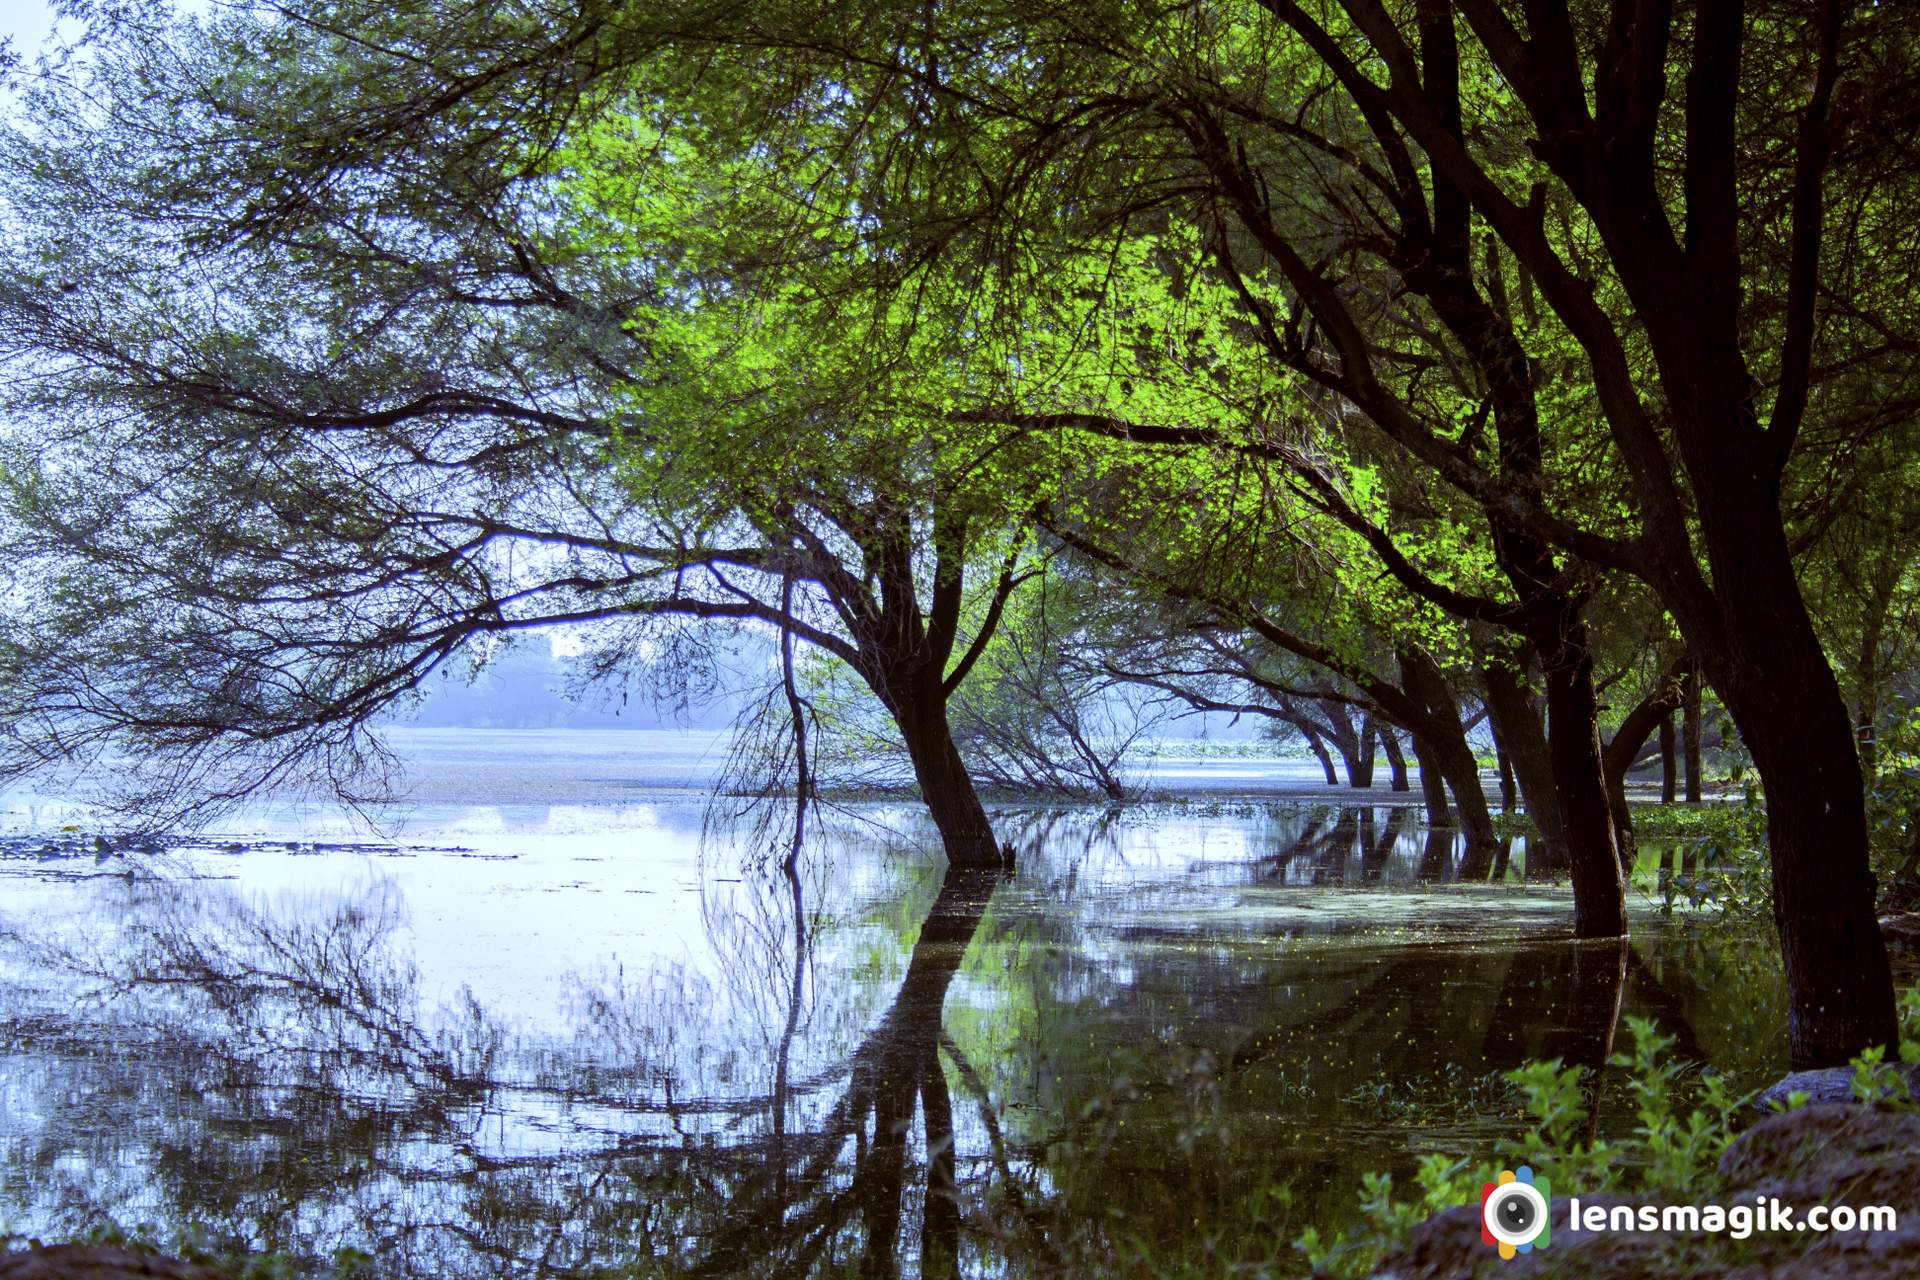
Famous Migratory Birds of Thol Lake
• Flamingos
• Sarus Crane
• Great White Pelican
• Mallards
• Bar Headed Geese , Grey Headed Geese
• Waterfowl
There are also some spices reported here like Dalmatian Pelican, Indian Skimmer, Greater Spotted Eagle, Indian Vulture and white rumped Vulture etc. In Mammals Bluebull, Blackbuck and Golden jackal reported here.
Thol Lake Timing and Fees :
Thol lake open everyday at 6 AM in morning and close at 5.30 PM in evening. Entry fees for Thol Lake or Thol sanctuary is 50 INR for per person. Also Camera fees extra at 200 INR and if you go via car then car fees also 500 INR. Foreigner fees are 10 $ per person.
Best Time to Visit Thol Sanctuary / Thol Lake :
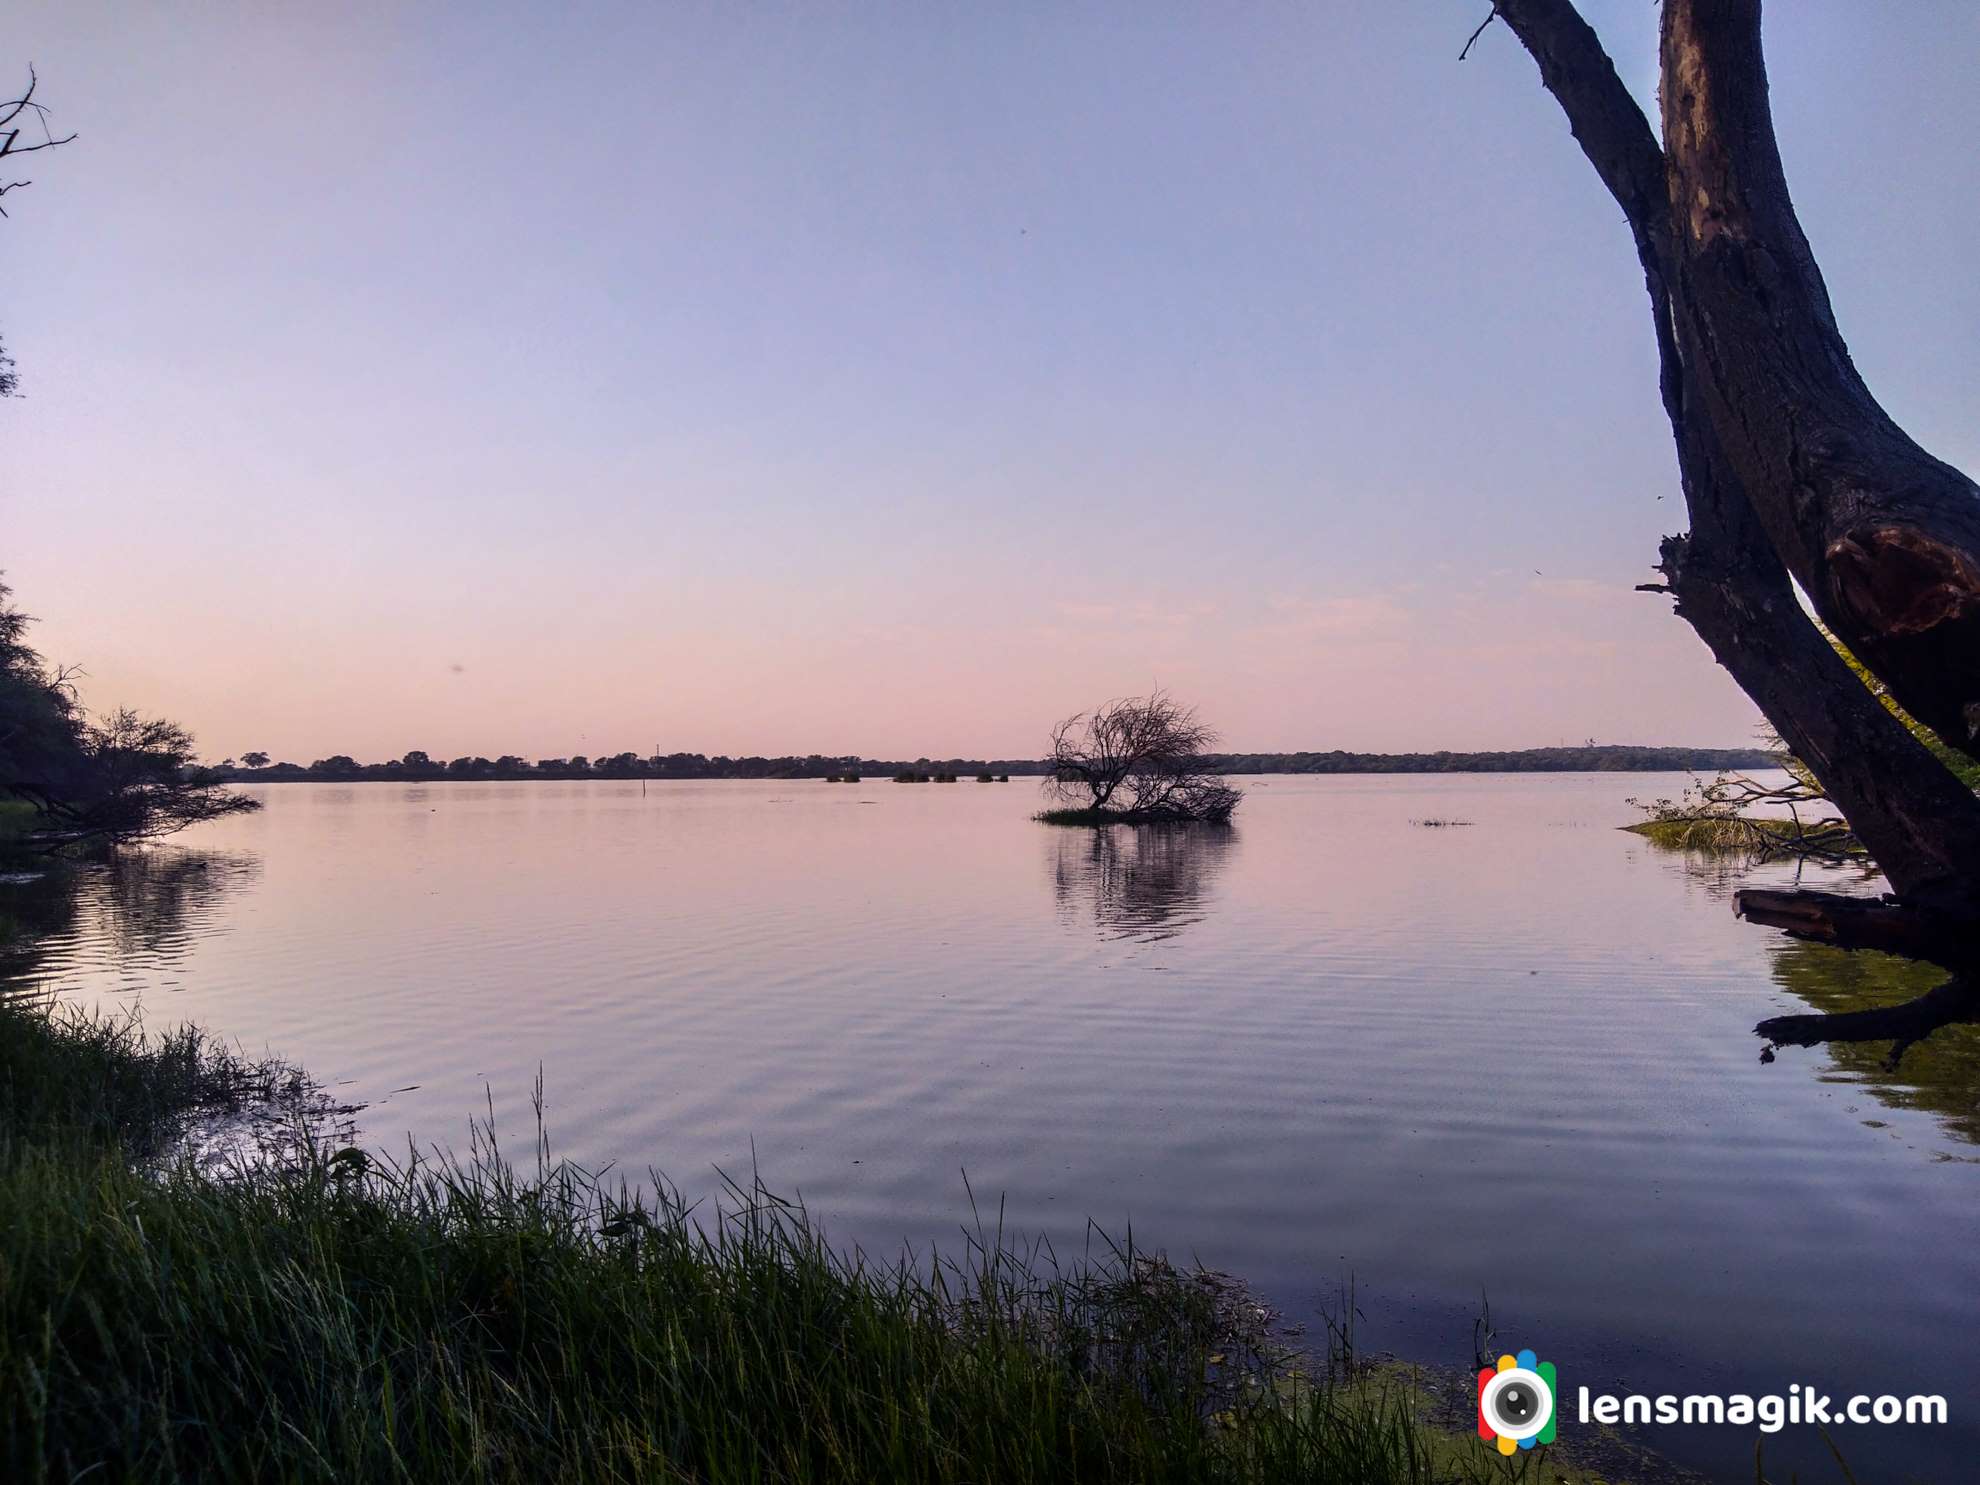
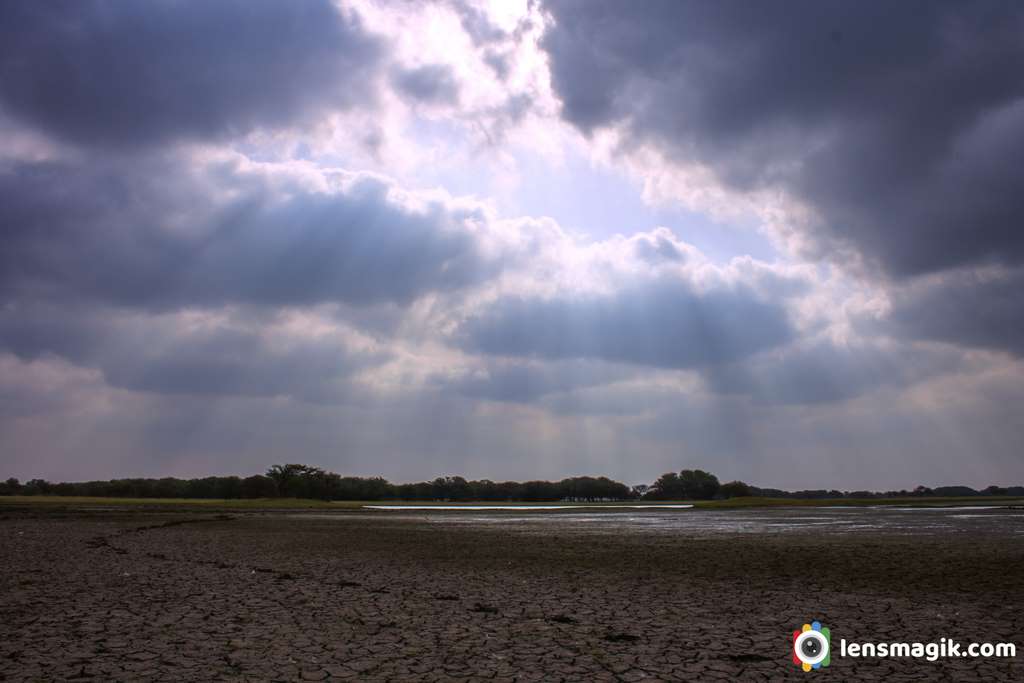
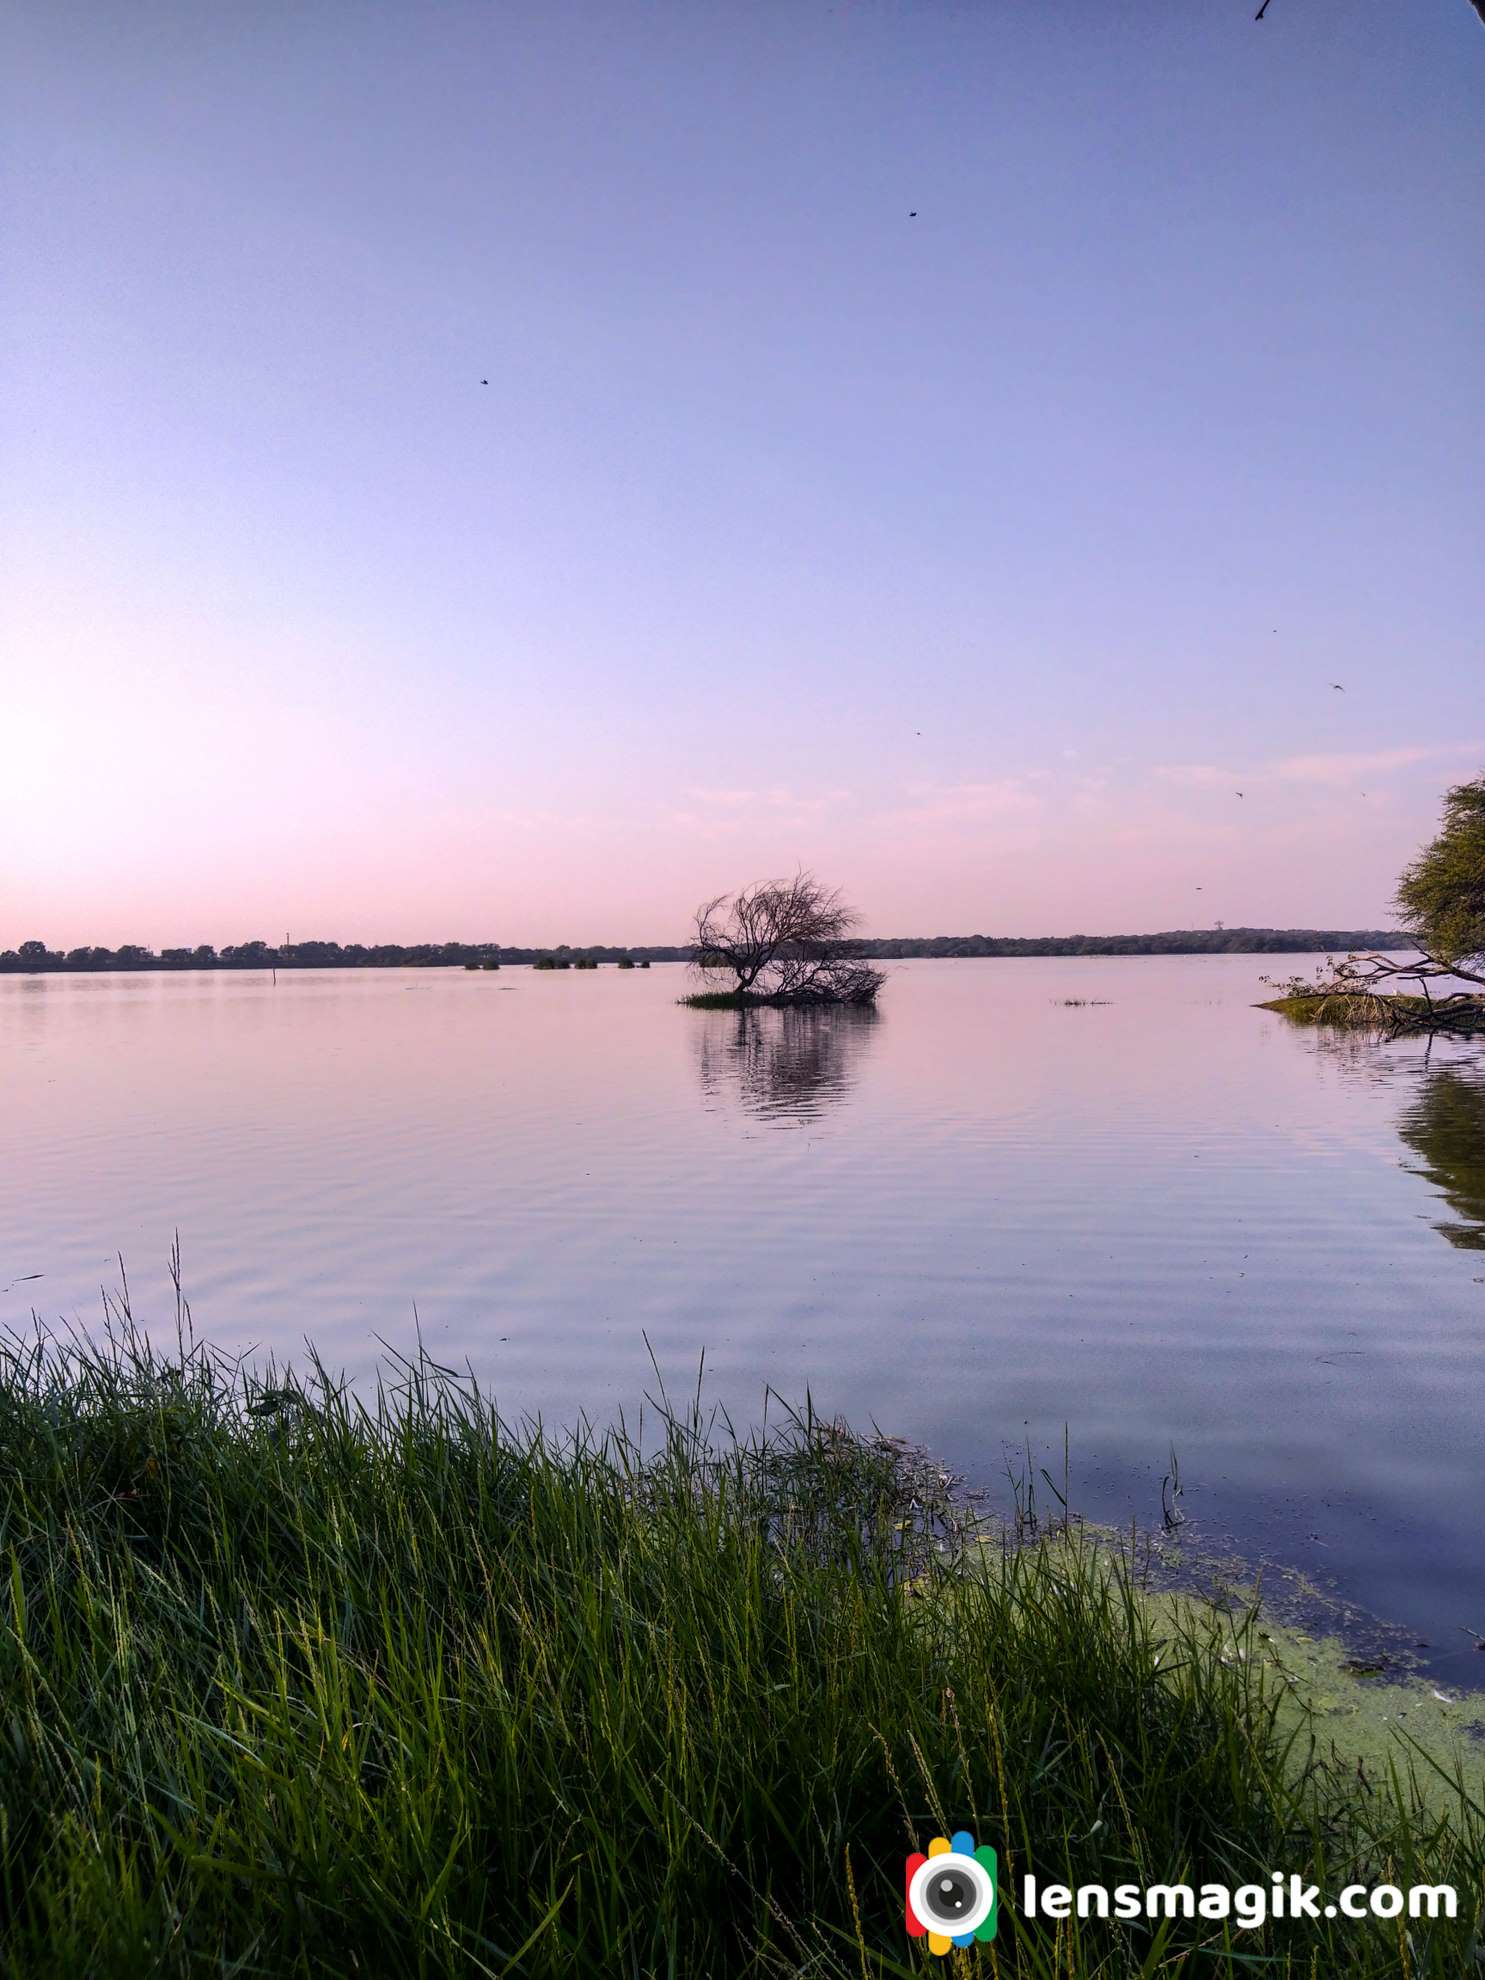
Best time early morning for Thol Lake. In winter if you go before sunrise you can see Twilight sky amazing with lake shore and birds sound .During all season Thol lake has its own beauty. Every season you can visit at Thol Lake. But mostly during winter from November to March season is best for Thol Sanctuary visit. Because during winter lots of Migratory birds came here and stay for long time so for birding winter season is best at Thol Lake. Also during summer some of birds stays here like flamingos and pelicans, geese etc. So you can also see them in summer too. Also during summer water level of lake is low so may be the birds you can get in deep or sometimes closer. During monsoon most people don’t visit but if you like macro photography then you must visit Thol lake in monsoon. You can get some excellent macro subjects like waterdrops , Spiders, Insects etc.
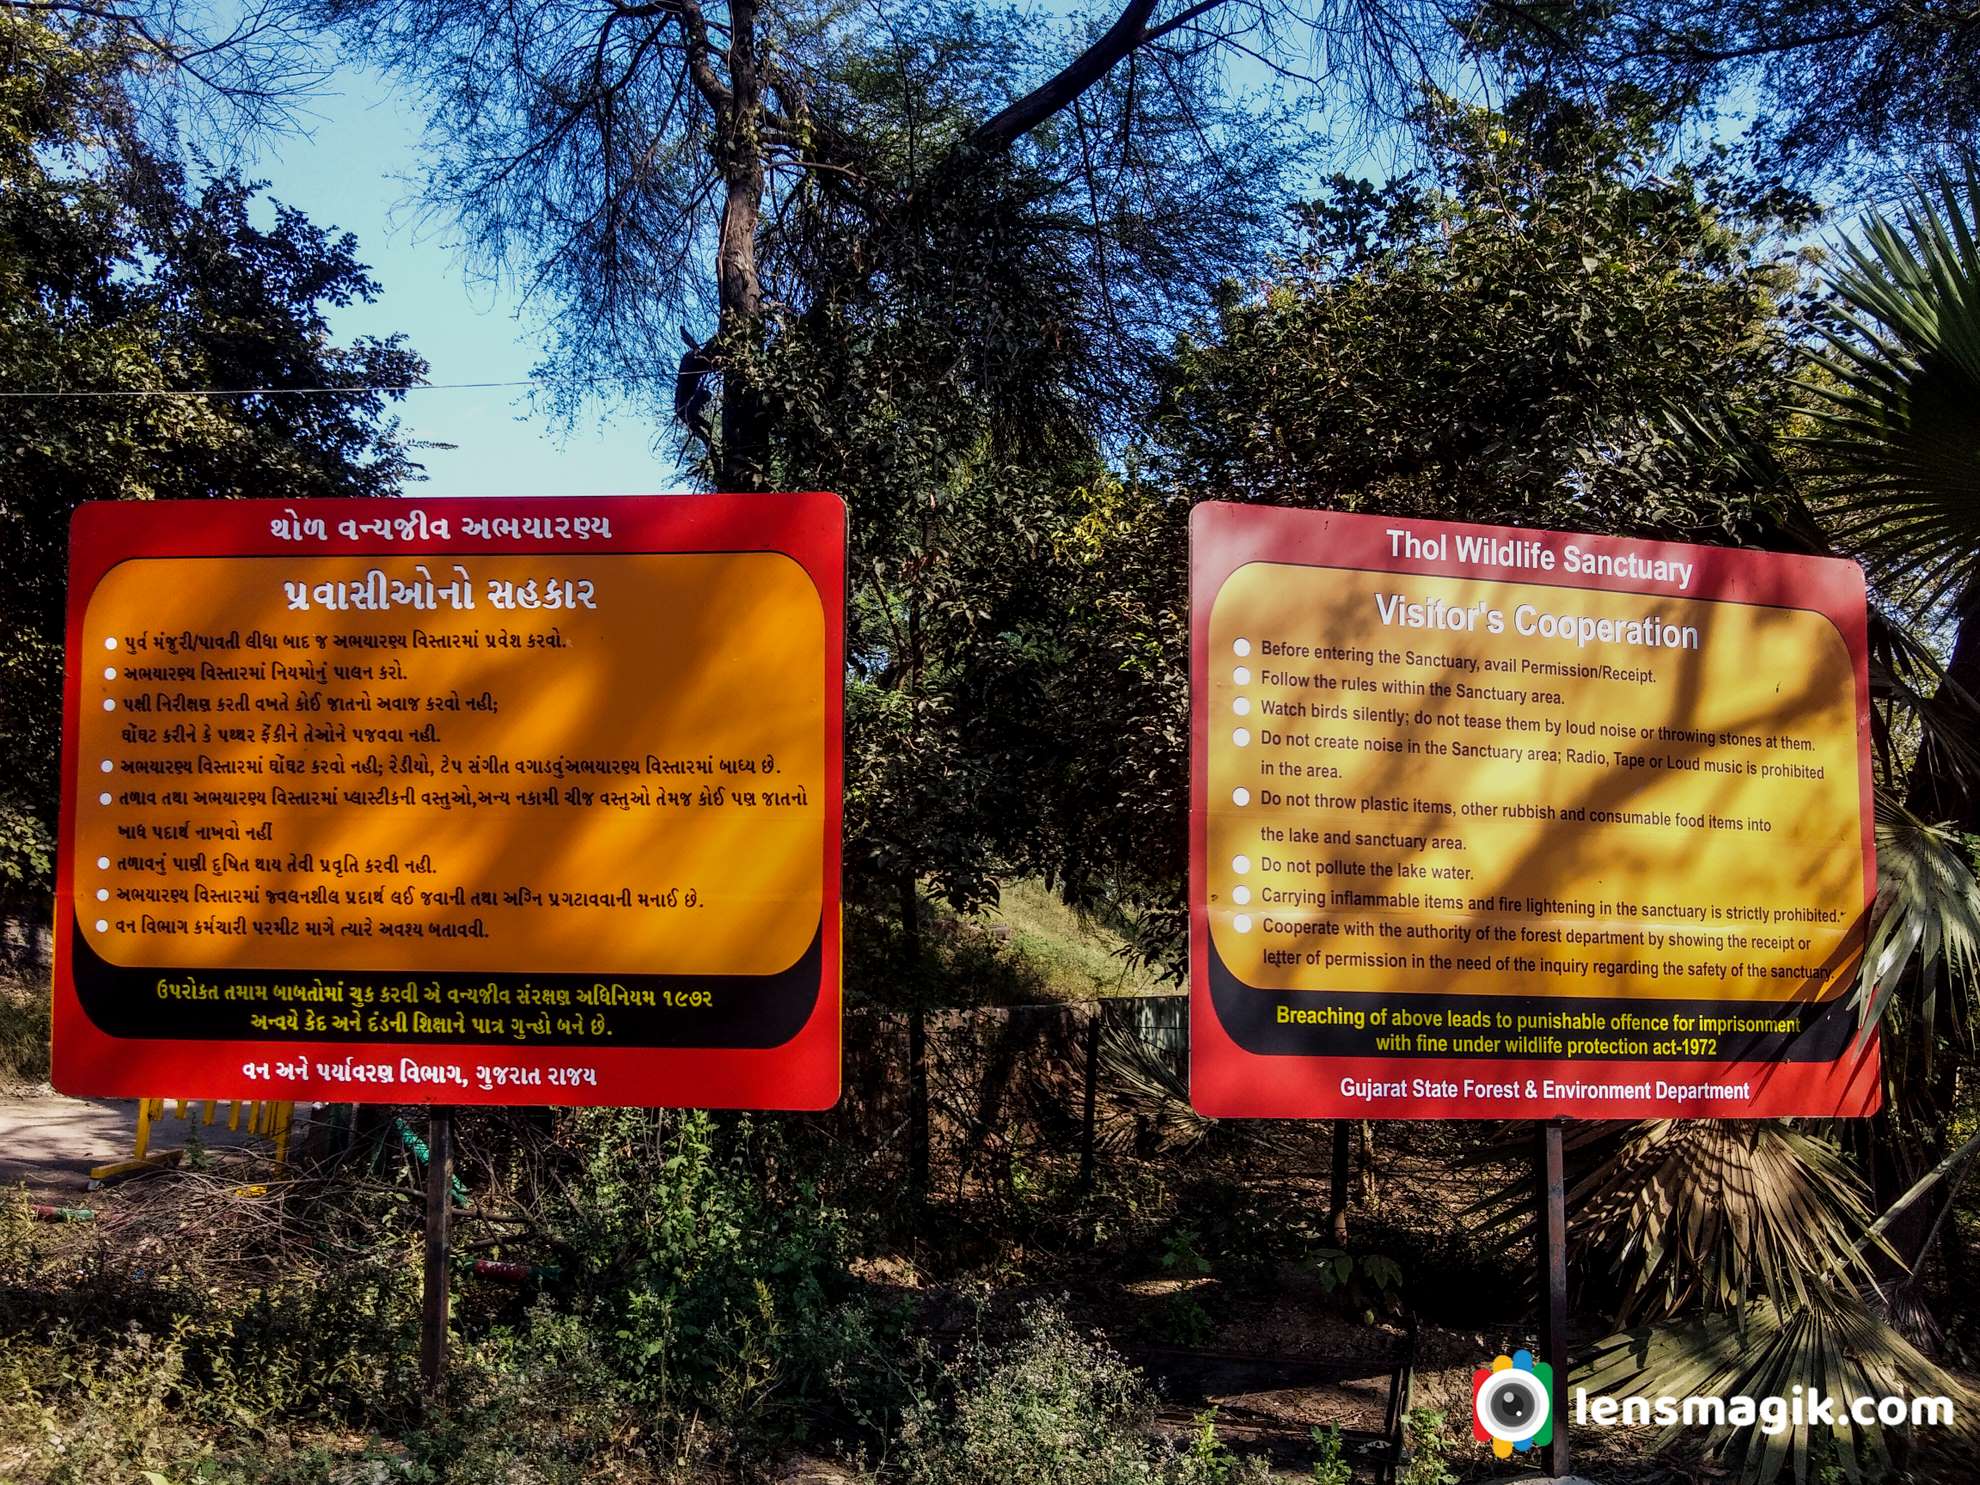
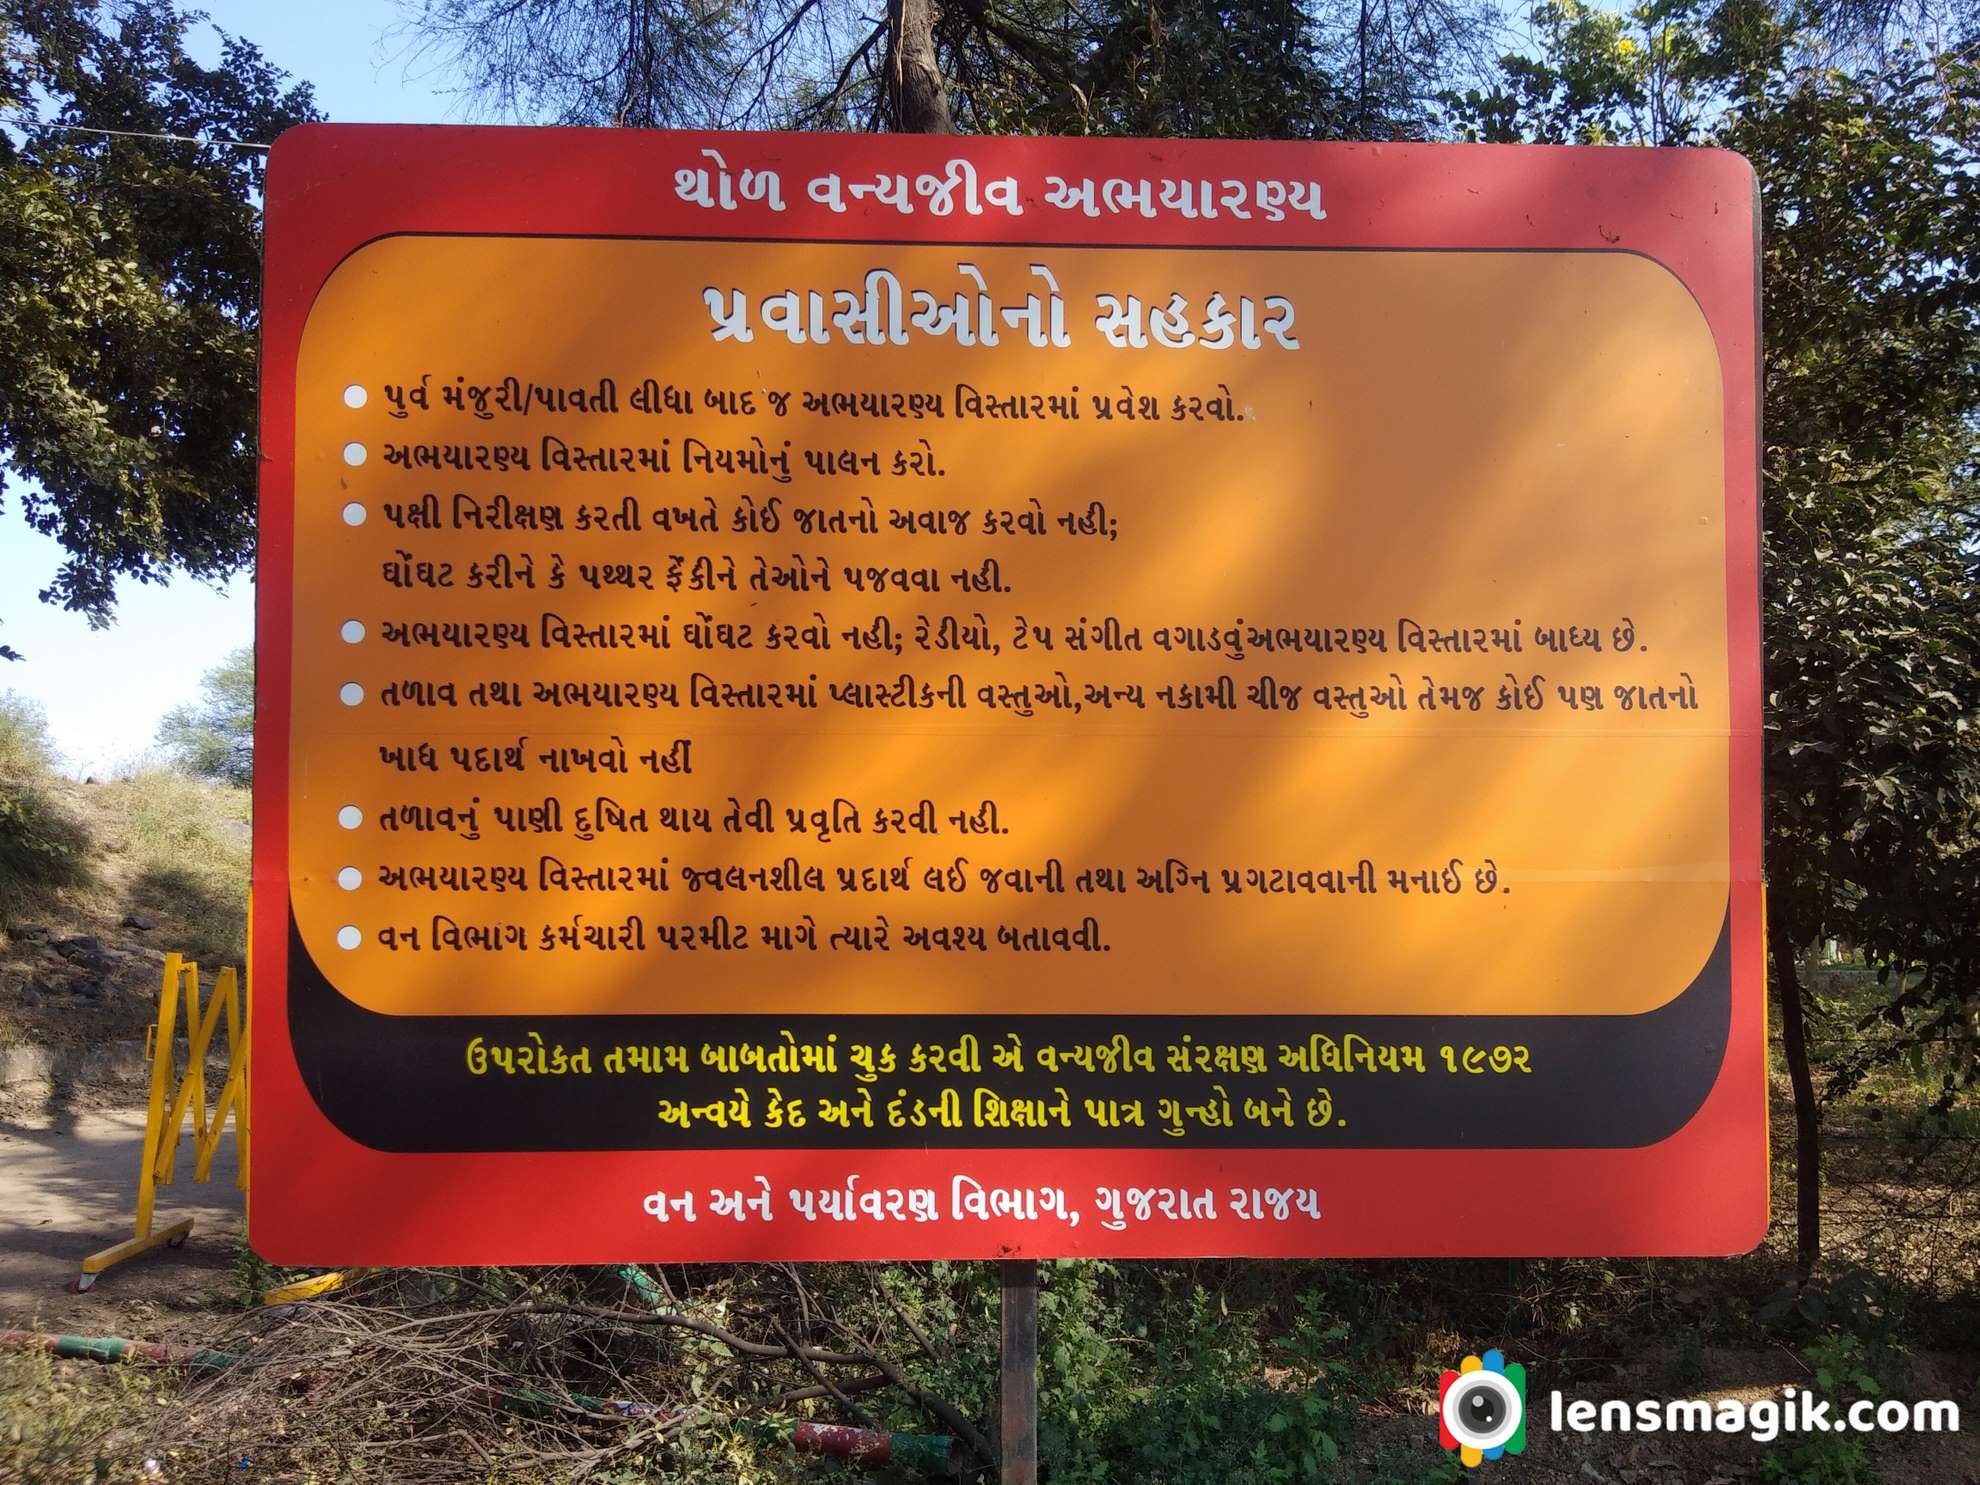
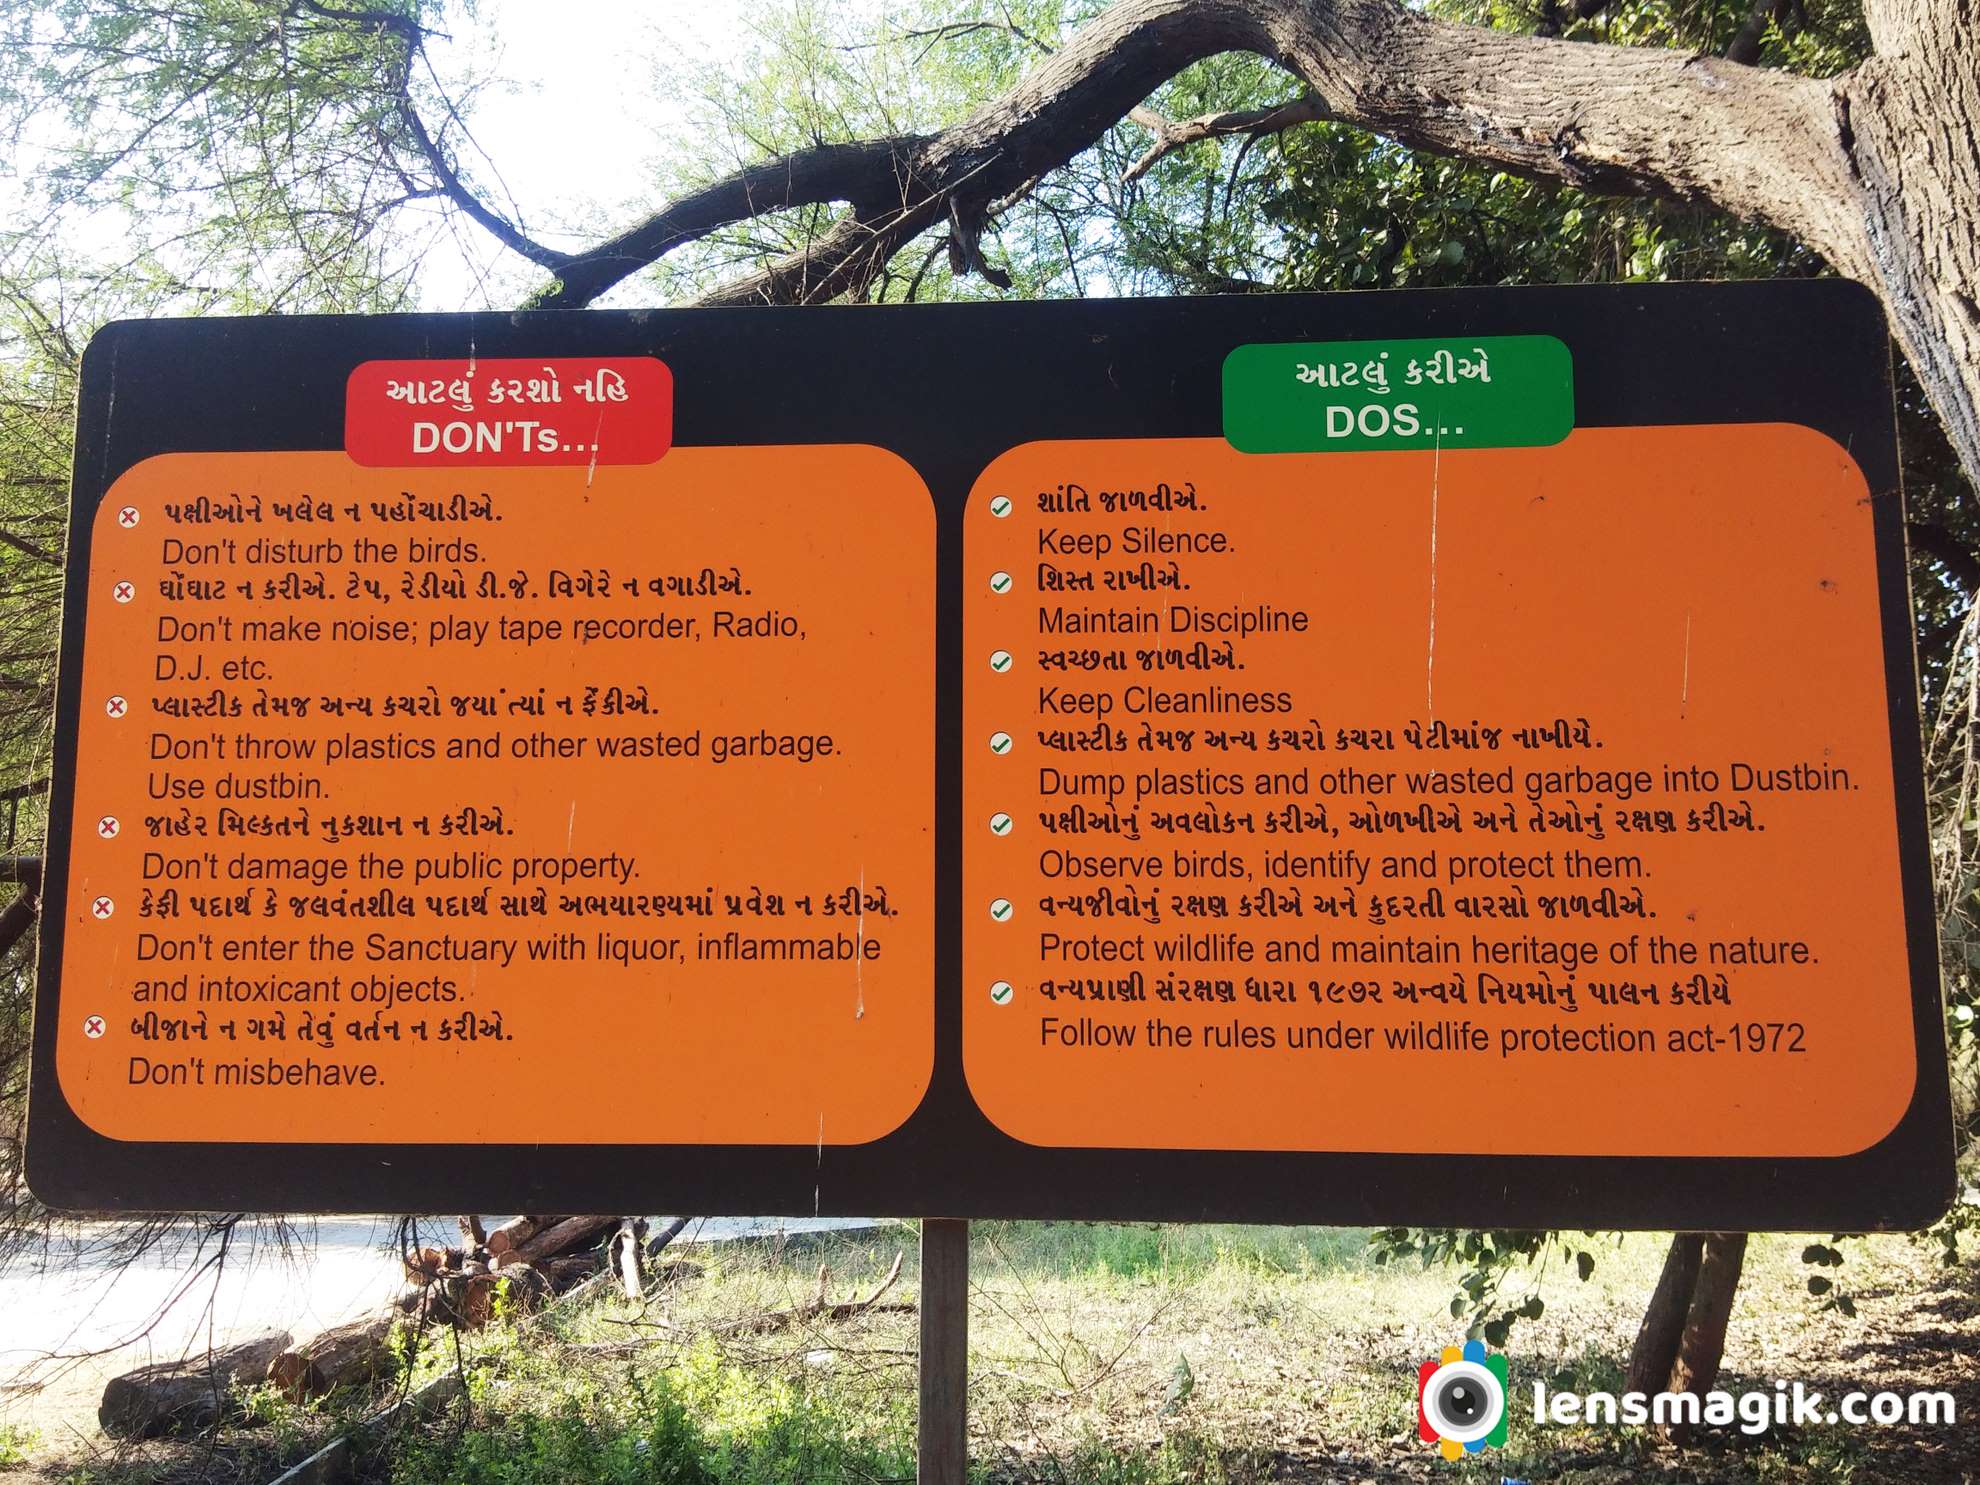
What to do and What not to do in Thol Lake / Keep in mind while visiting sanctuary in India :
• Keep silence in sanctuary
• Maintain discipline
• Keep sanctuary clean
• Do not throw plastic waste anywhere in sanctuary
• Protect wildlife
• Observe birds, mammals etc and protect them and identify them
• Follow rules of wildlife protection act -1972
• Don’t disturb birds and animals
• Don’t enter in sanctuary with liquor and inflammable objects
• Don’t make loud noice.
• Enter in sanctuary with permit only and keep receipt till you leave sanctuary
• Don’t feed birds and animals
Where to Stay near Thol Lake :
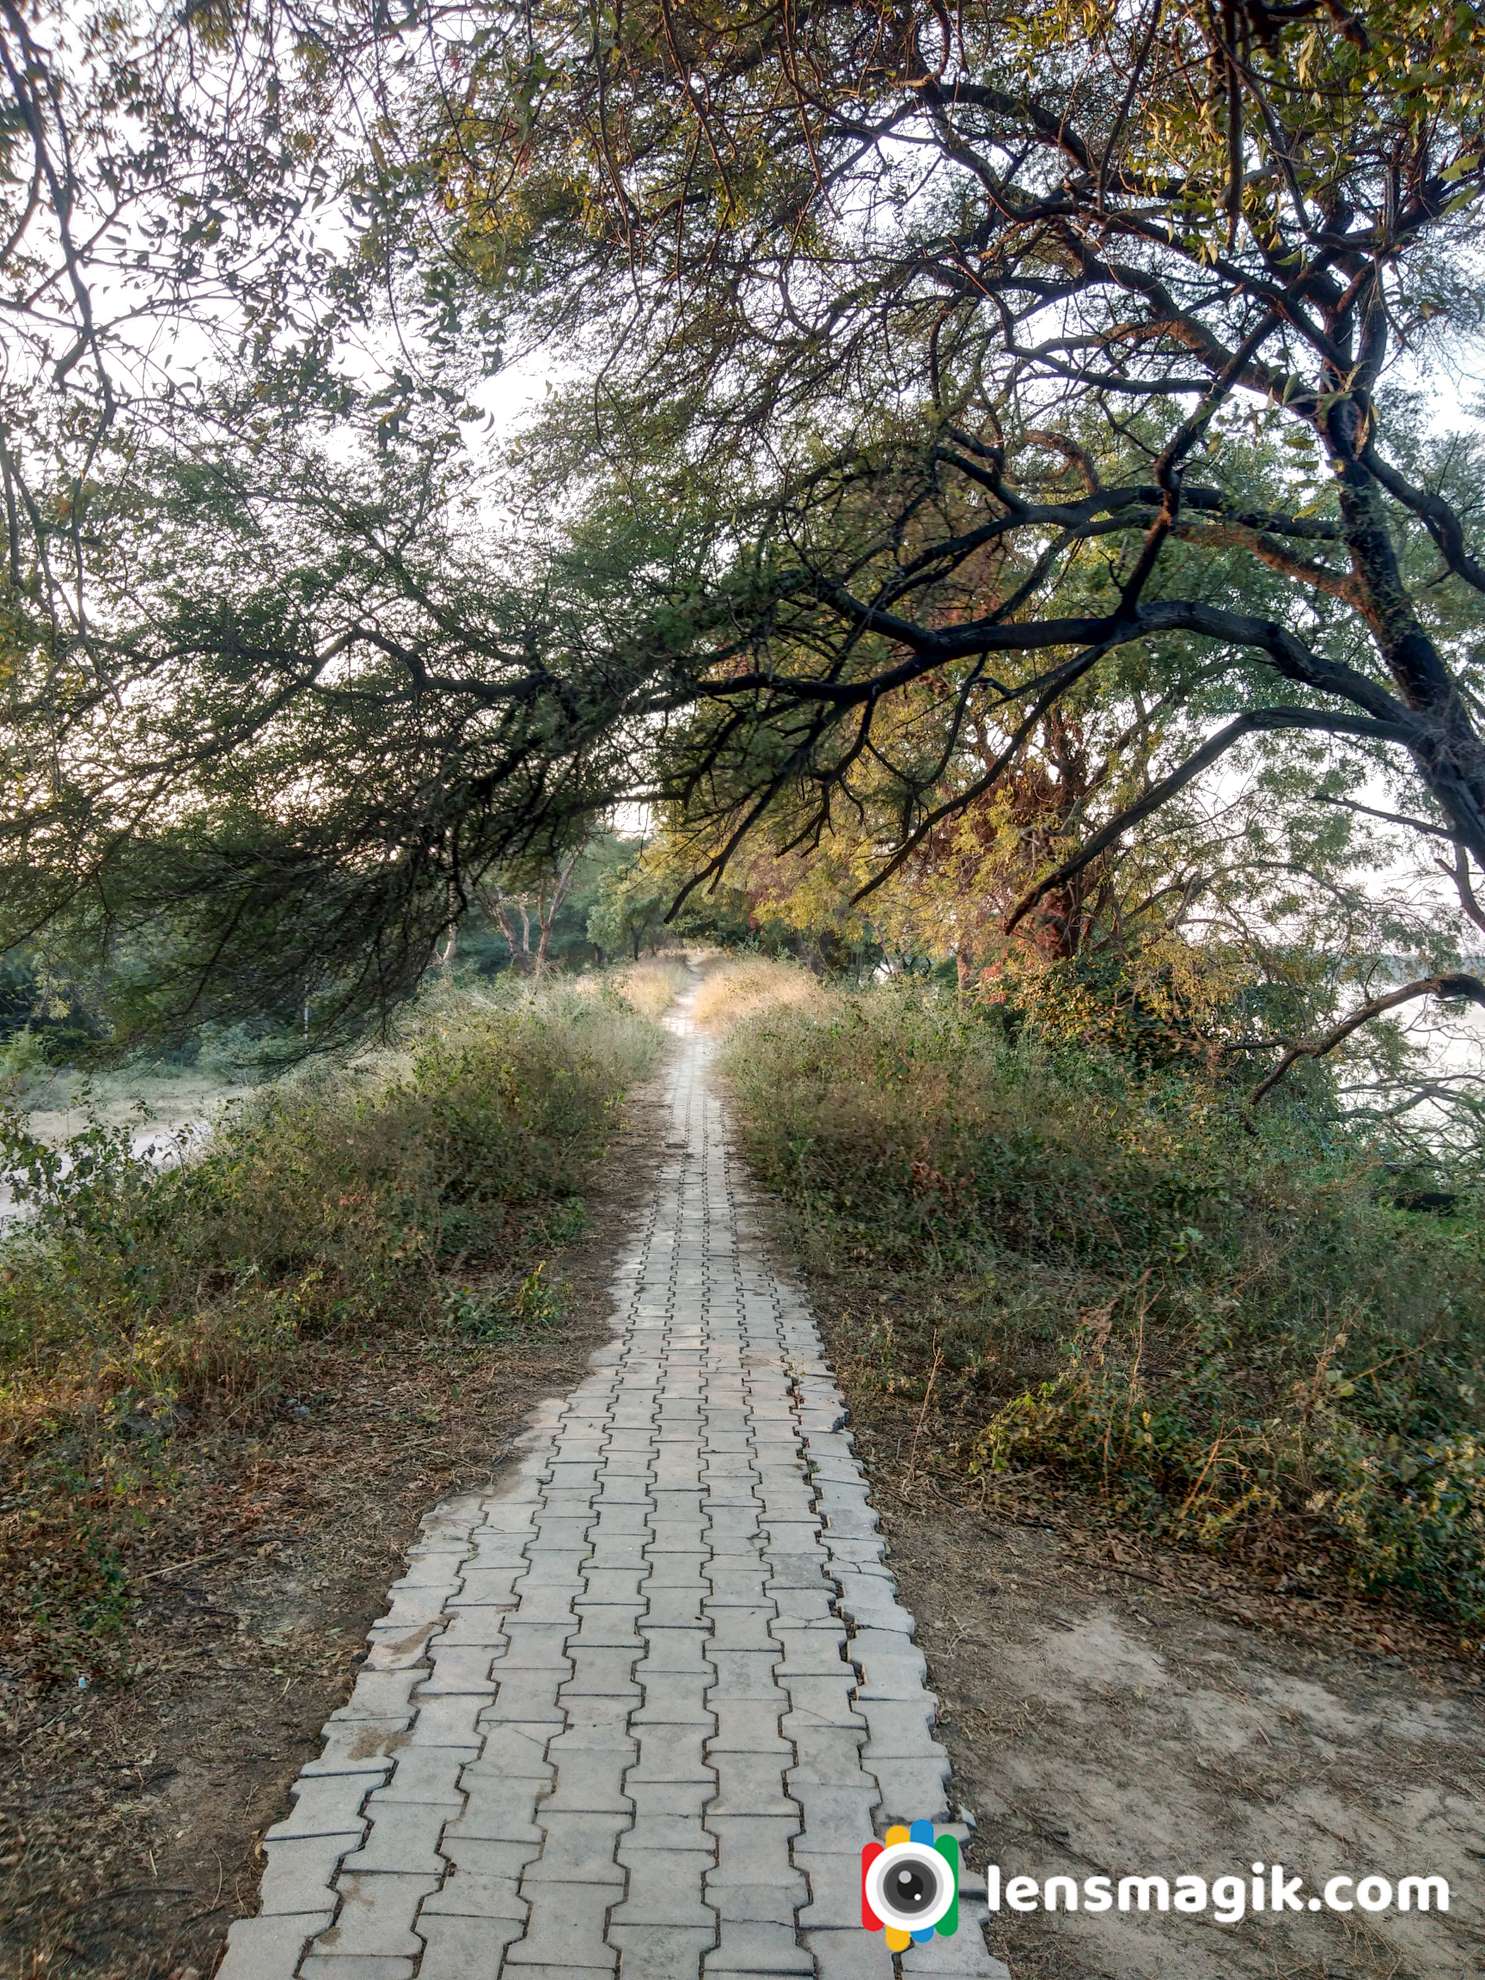
Well near to Thol Lake there are not good places to stay at night but you can go near to destinations like Kadi, Kalol or Gandhinagar , Ahmedabad where you can get good places to stay at night. Nearest I suggest Kalol around 15-18 km or you can go Ahmedabad around 25 km.



Places to Visit near Thol Lake :
If you are staying at Ahmedabad then go for Ahmedabad Darshan , Pol area of Ahmedabad and Adalaj Ni Vav ( Heritage places ) etc. Also go for fast food test at night at Manek Chauk and SindhuBhavan road there are lots of option for food lovers like Urban Chauk, Freezbee etc.
If you stay at Gandhinagar then visit Mahatma Mandir at Gandhinagar, Sarita udyan , Akshardham Temple etc.
I would suggest Modhera Sun Temple if you had some more time which is around 100km from Ahmedabad. For bird lovers and bird photographer I would suggest visit Little ran of Kutch (LRK) during Winter season, Pariej Lake, Indroda park Gandhinagar, Jessore Sanctuary Banaskantha etc.
How to Reach Thol Sanctuary :
Nearest airport is Ahmedabad and from Ahmedabad thol lake distance is around 30-40 km
Also for Railway station is Ahmedabad because you can get all frequency and destinations from Ahmedabad railway station.
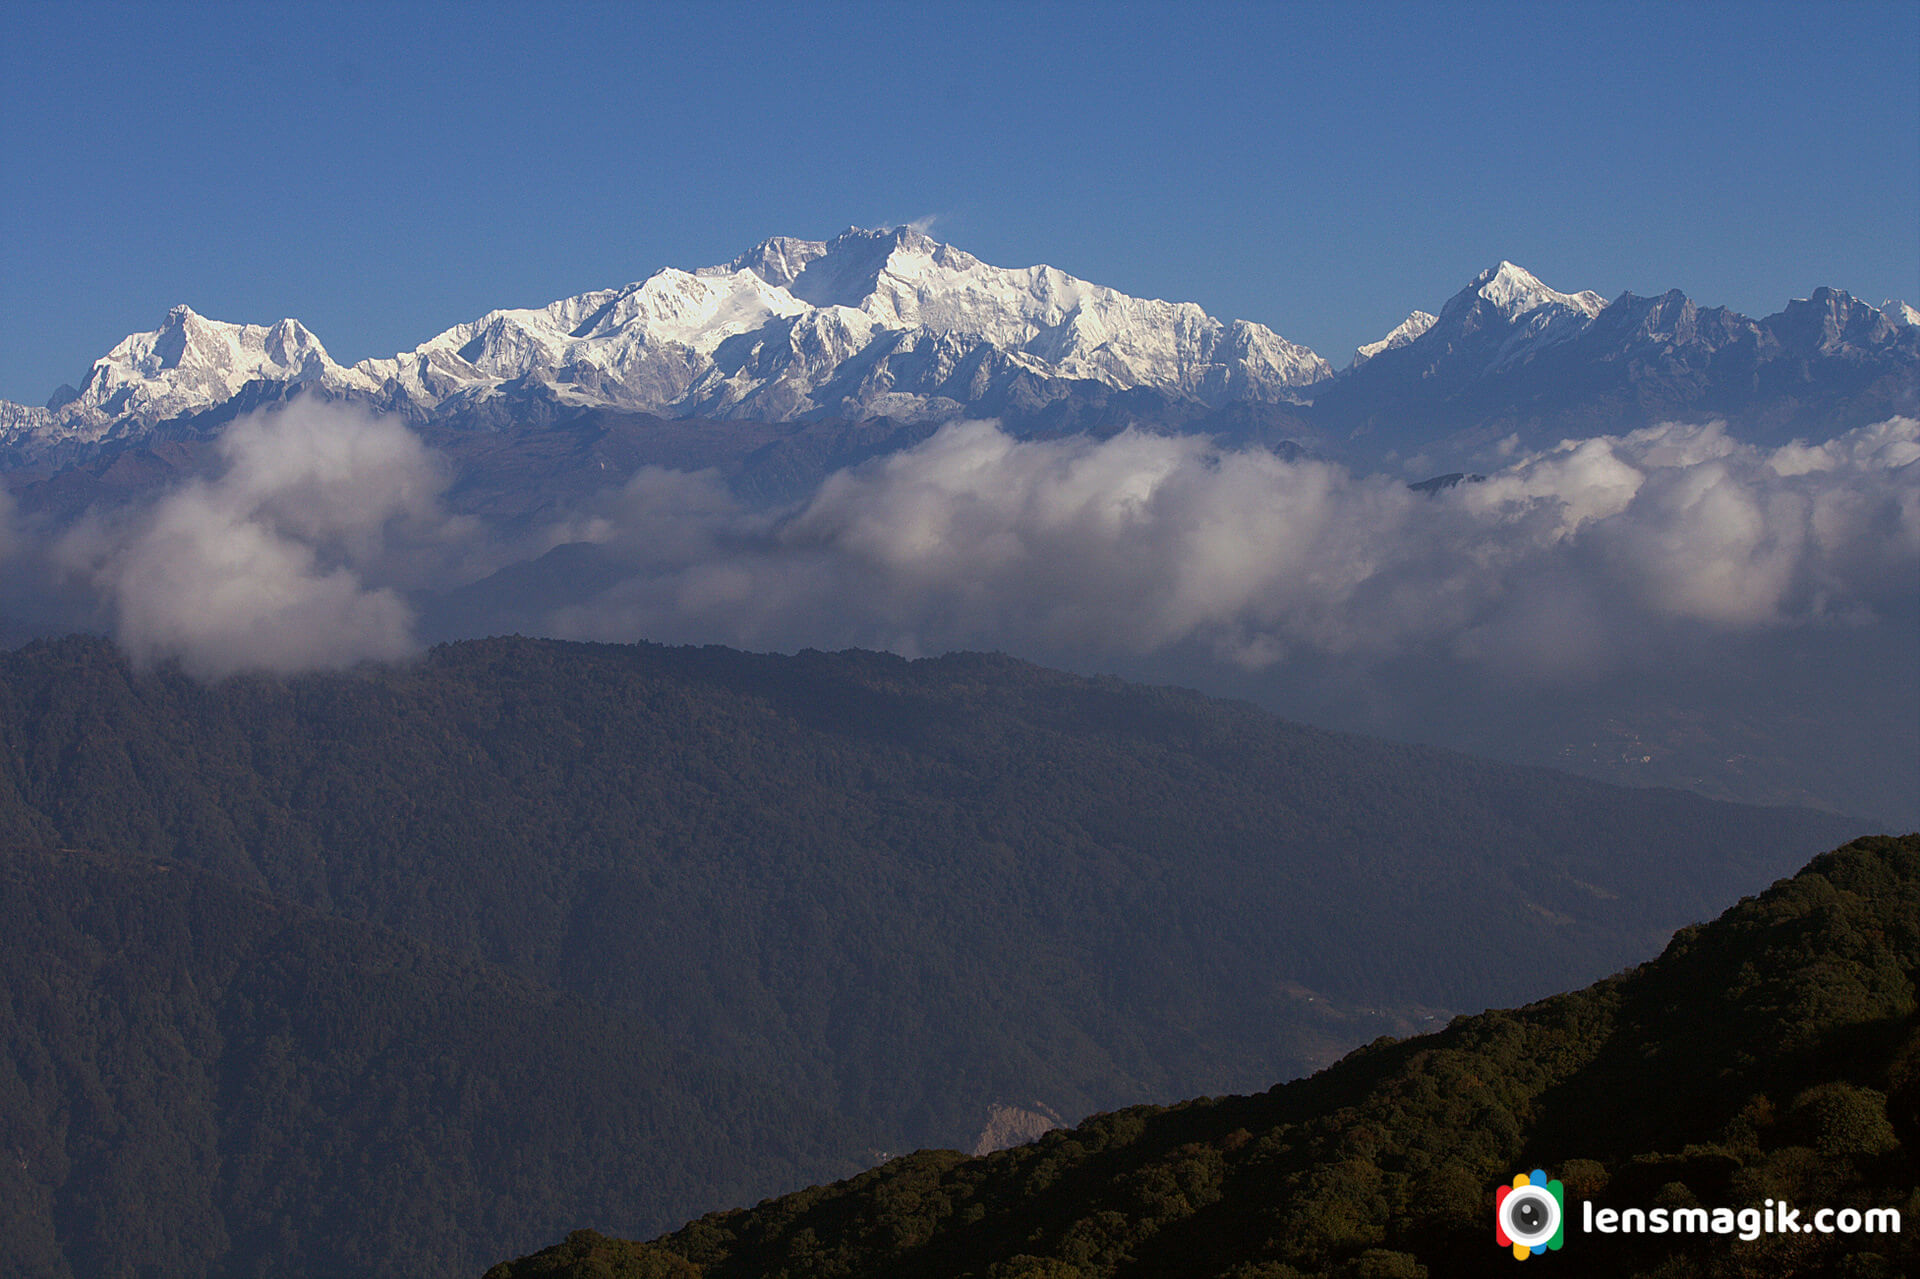
Mt Kanchenjunga or Mt Kangchenjunga both spellings right and whatever you say located in west Bengal India. When i was on my Singalila National park trek i visit it. It was really gesture to see Mt Kanchenjunga from own eyes. A beautiful Mountain surrounded by snow and little bit clouds looks like you are in Heaven. The view i capture makes me very happy to see first time snow mountain in my life. When i was at my last location of my trek at Sandakphu we go for birding and v had a clear mountain view of Kanchenjunga. Kanchenjunga is also spelled Kangchenjunga. Height of Mt. Kanchenjunga/Kangchenjunga is 8586 m . The view of Mt Kanchenjunga from India is amazing as you can see in photos. This Mountain range in wide angle as shown above image looks like Sleeping Budda so this mountain range also known as Sleeping Buddha Mountain Range too.
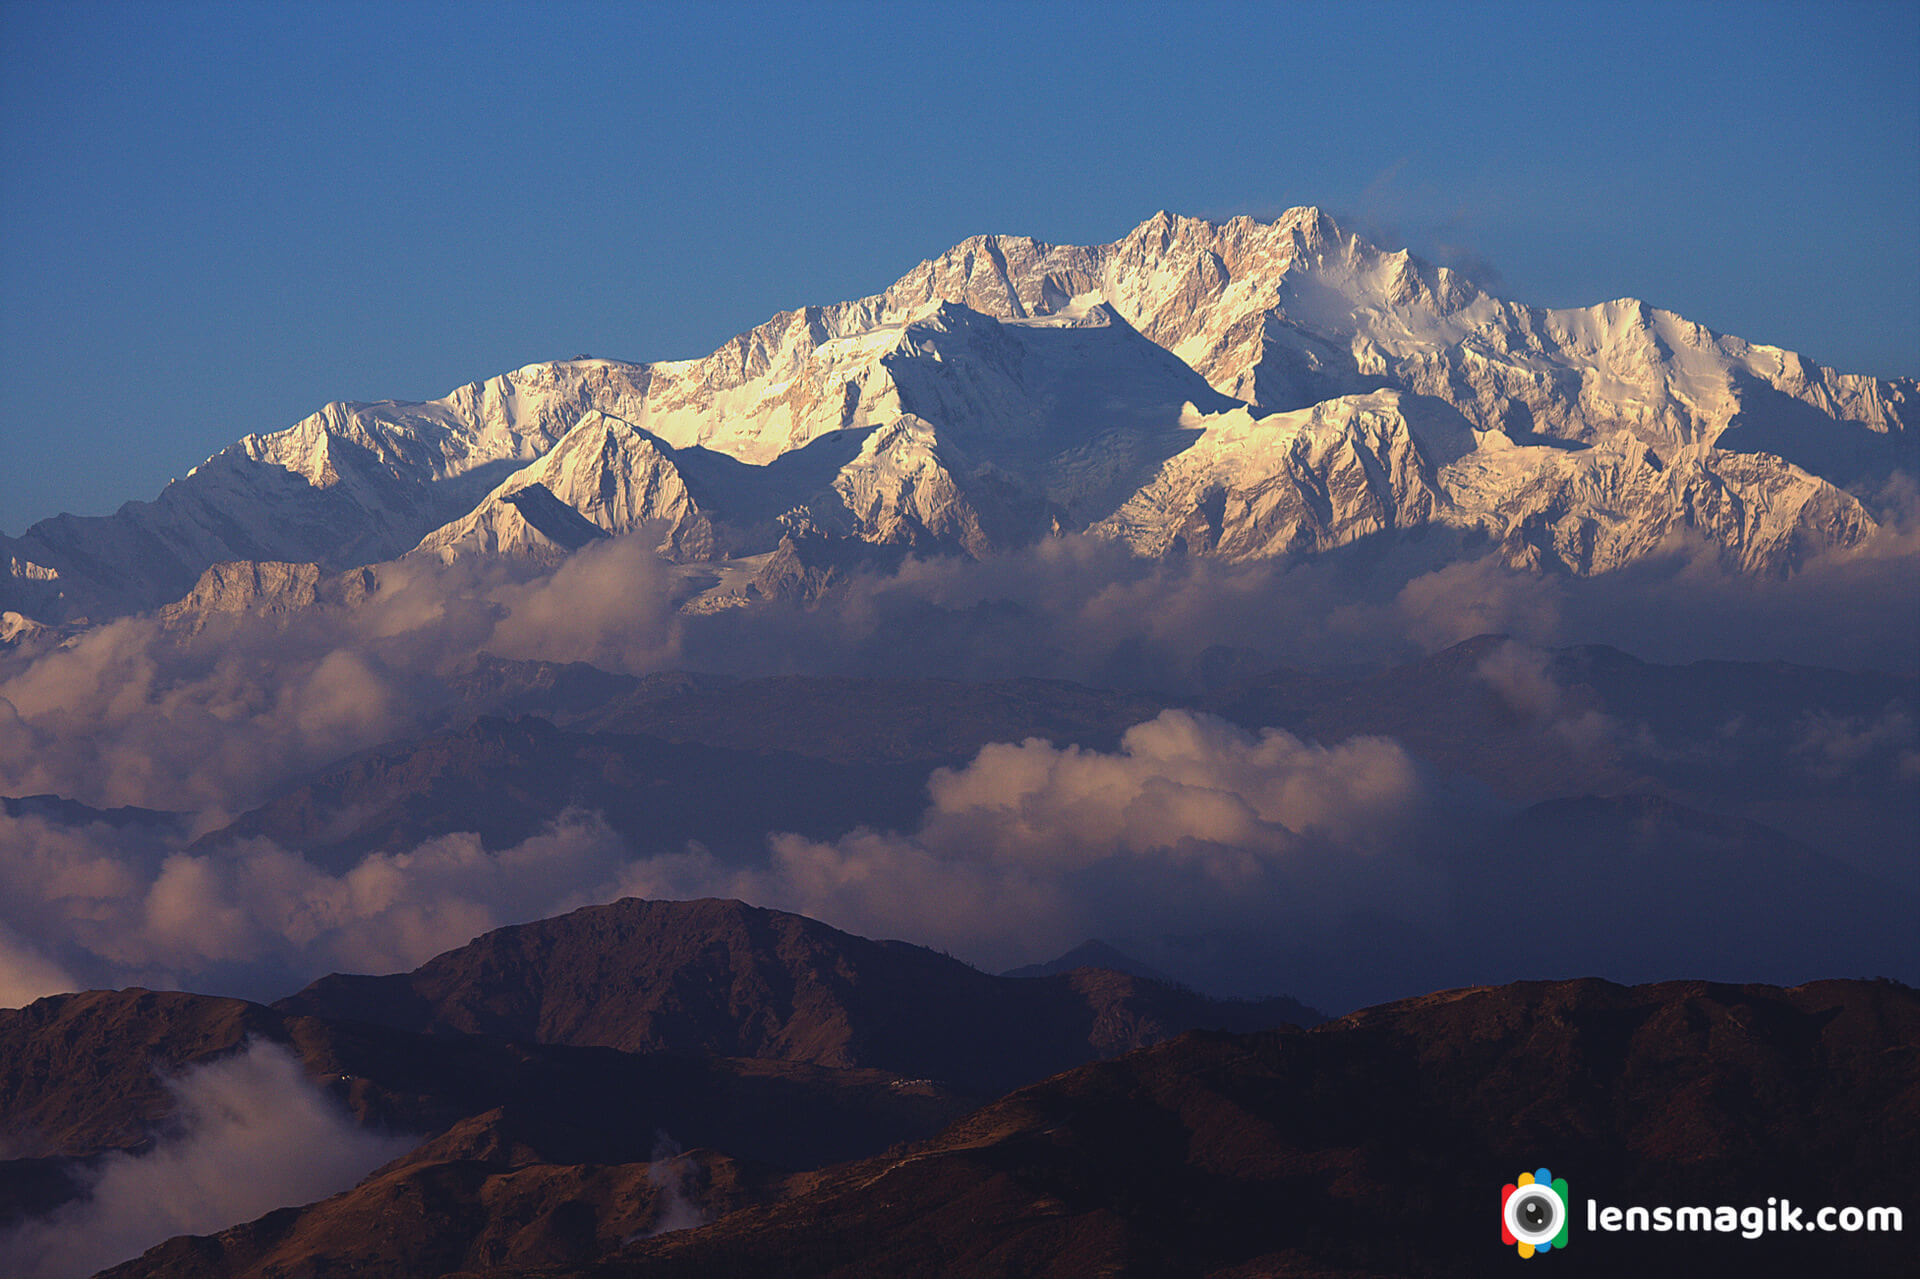
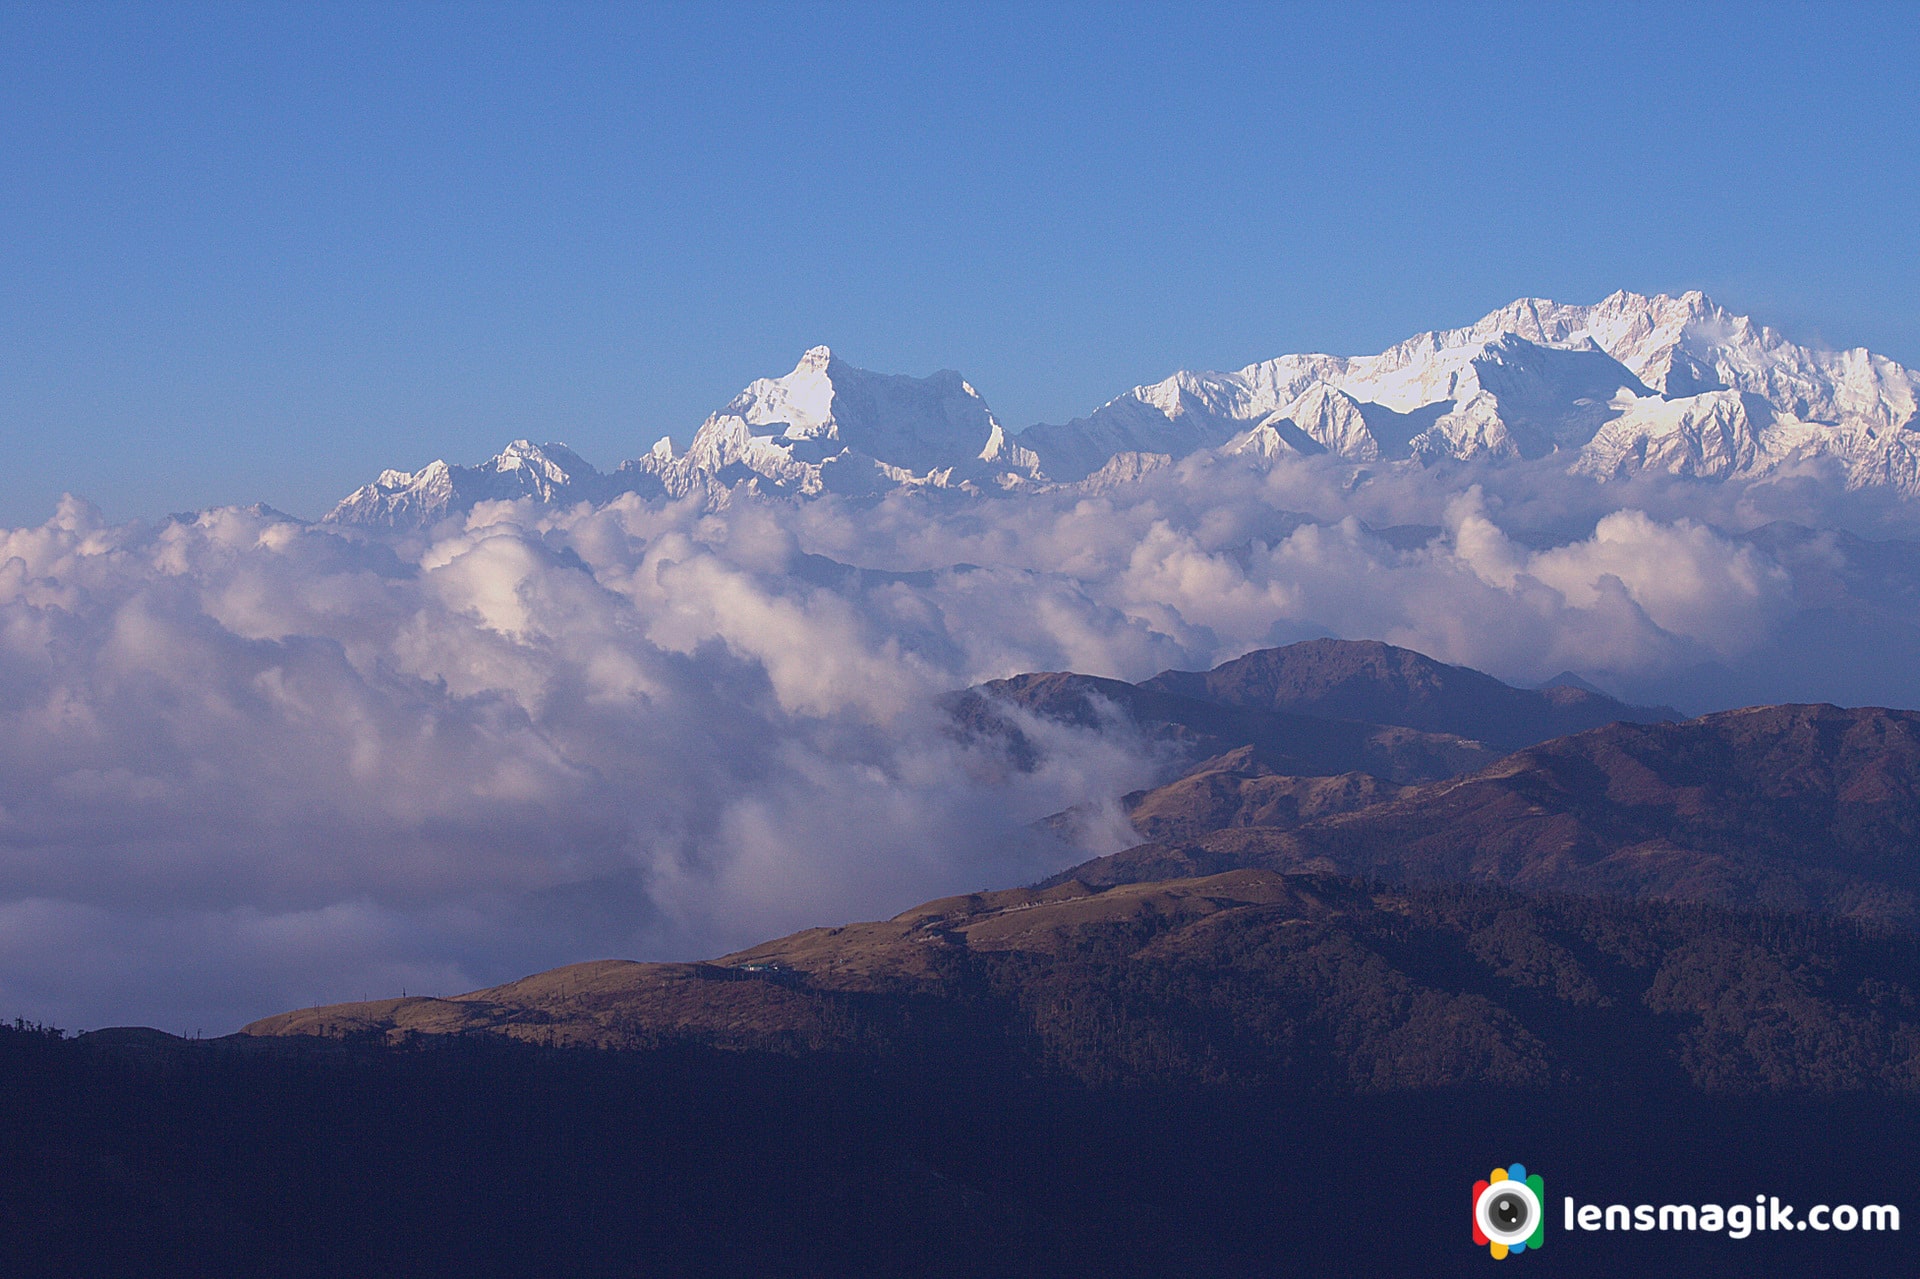
The name Kanchenjunga is derived from sanskrit kanchana ganga . Kanchana means gold and ganga is the river which flows in the region. The river shines like gold and hence the name Kanchana Ganga was given to this mountain.
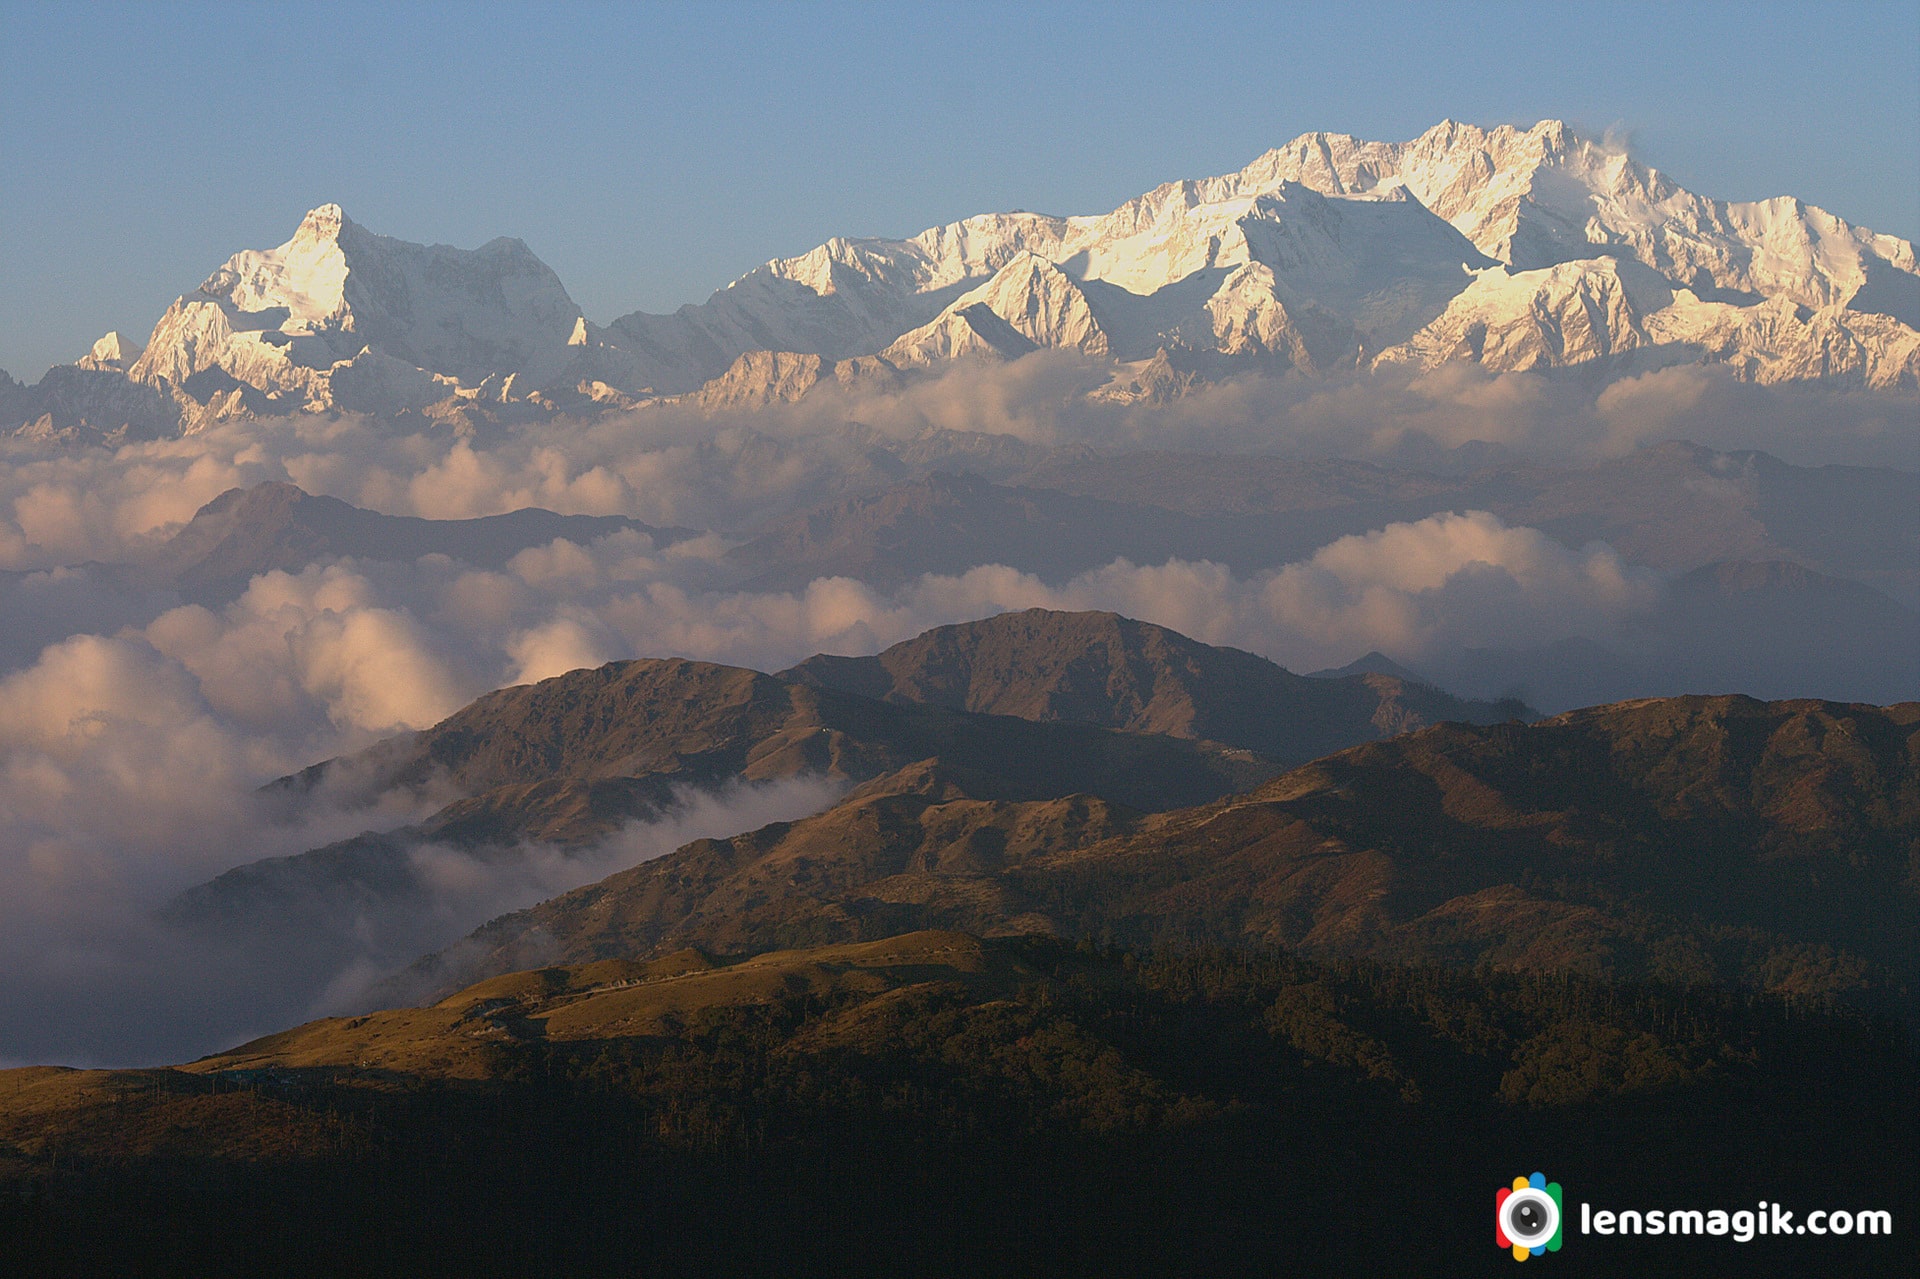
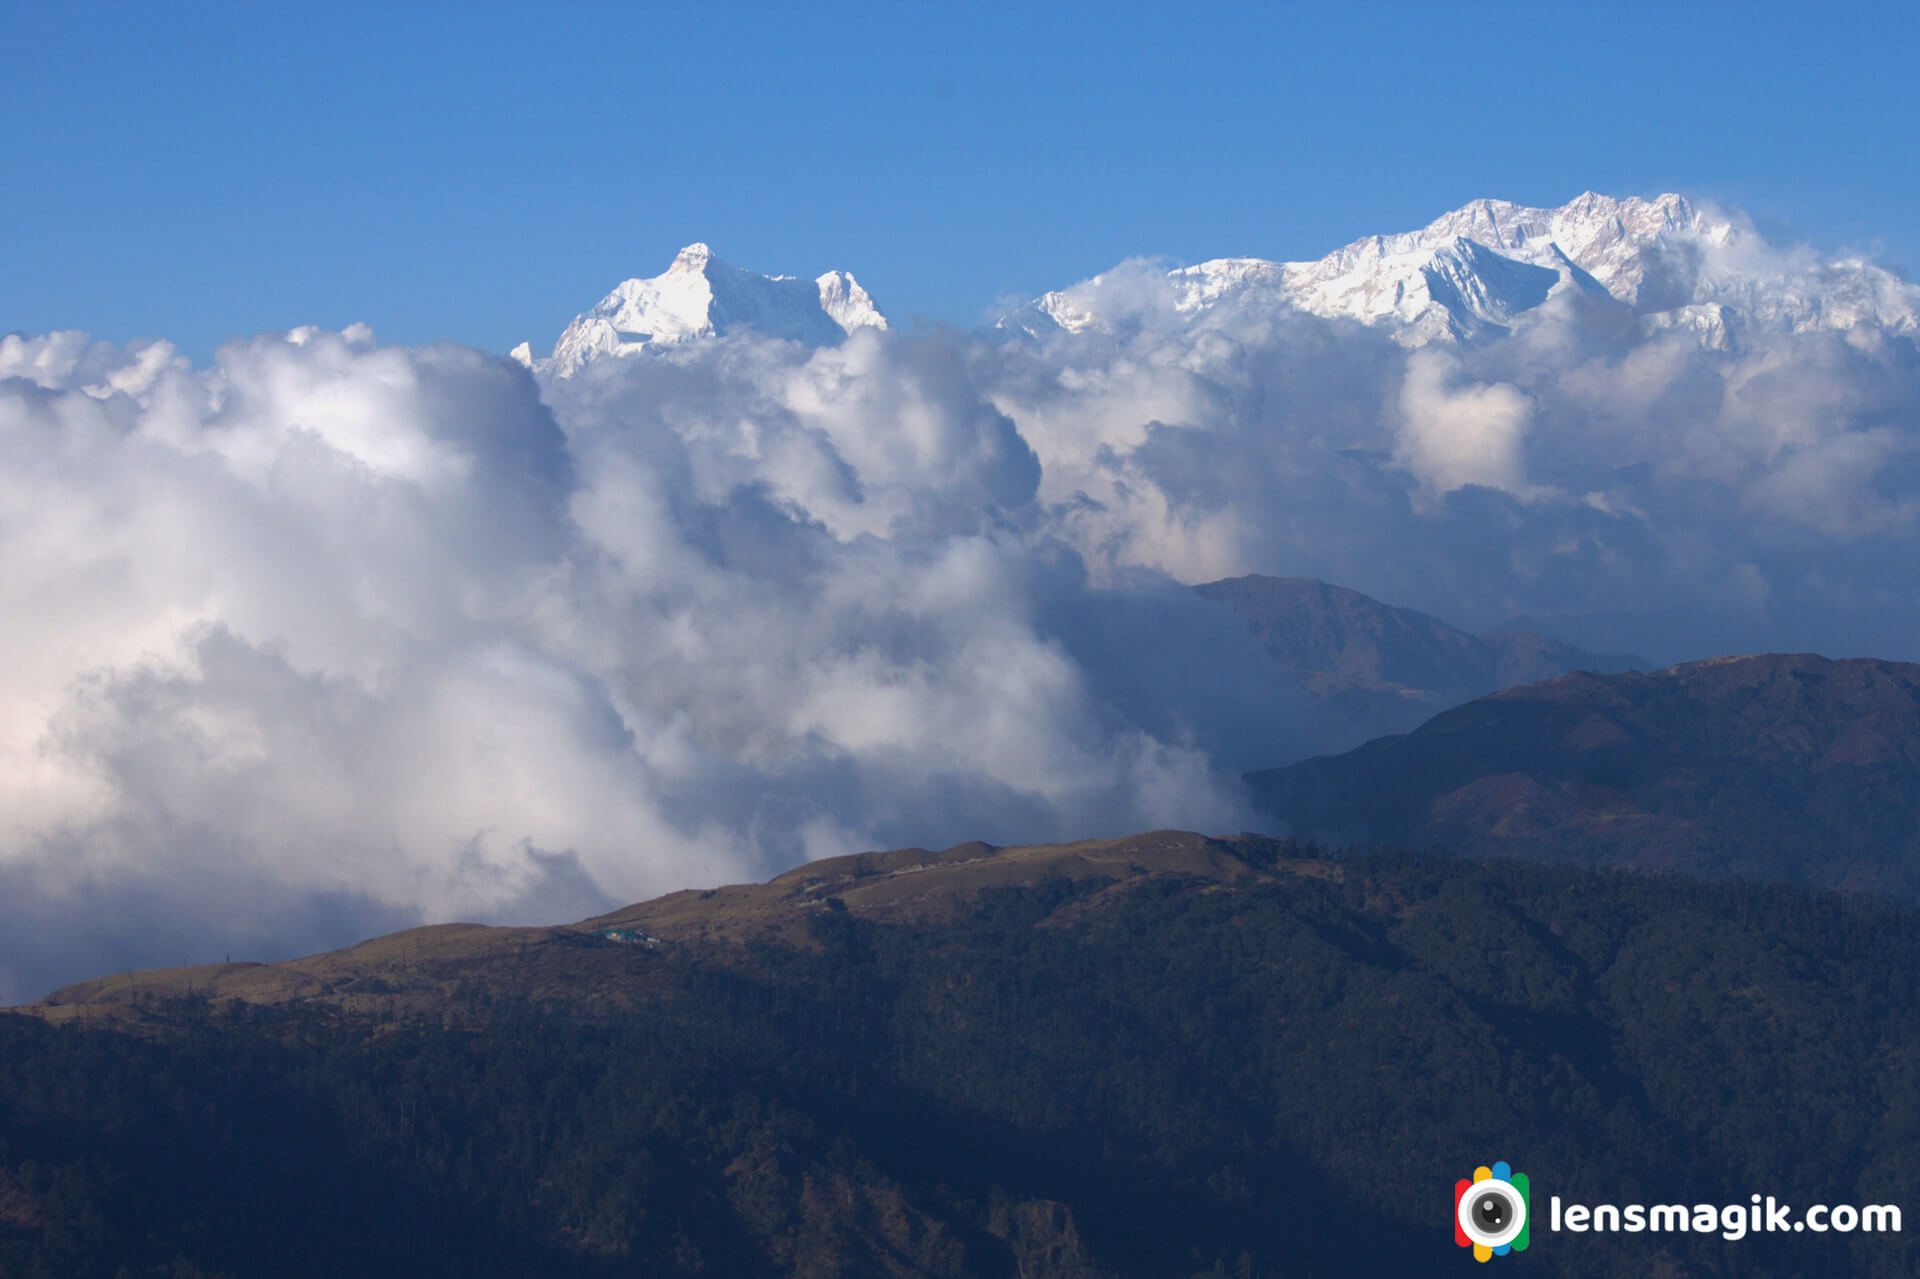
Things to know About Mt. Kanchenjunga/ Mt. Kangchenjunga :
- Kanchenjunga Mountain is about 28,169 ft height and located along the Nepal-India border in the Himalayas.
- It is the third highest mountain in the world.
- It contains 5 peaks and four of them above 27,700 ft of heights.
- Kanchenjunga is also name of surrounding section of Himalayas and means THE FIVE TREASURES OF SNOWS .
- Joe Brown and George Band was the first climber of Kanchenjunga mountain on 25 may 1955.
- Kanchenjunga mountain boundry shared by Nepal, India, China and Bhutan.
- Total 5 peaks of Kanchenjunga are Kanchenjunga Main ( 28169 ft ), Kanchenjunga West ( 27904 ft ), Kanchenjunga Central ( 27828 ft ), Kanchenjunga South ( 27867 ft ), Kangbachen ( 25928 ft ).
- Kanchenjunga Main is the highest elevation of Brahmaputra River.
- There are four climbing route for Kanchenjunga among them 3 are from Nepal and one from Sikkim India.
- It is also known as Sleeping Buddha Mountain range.
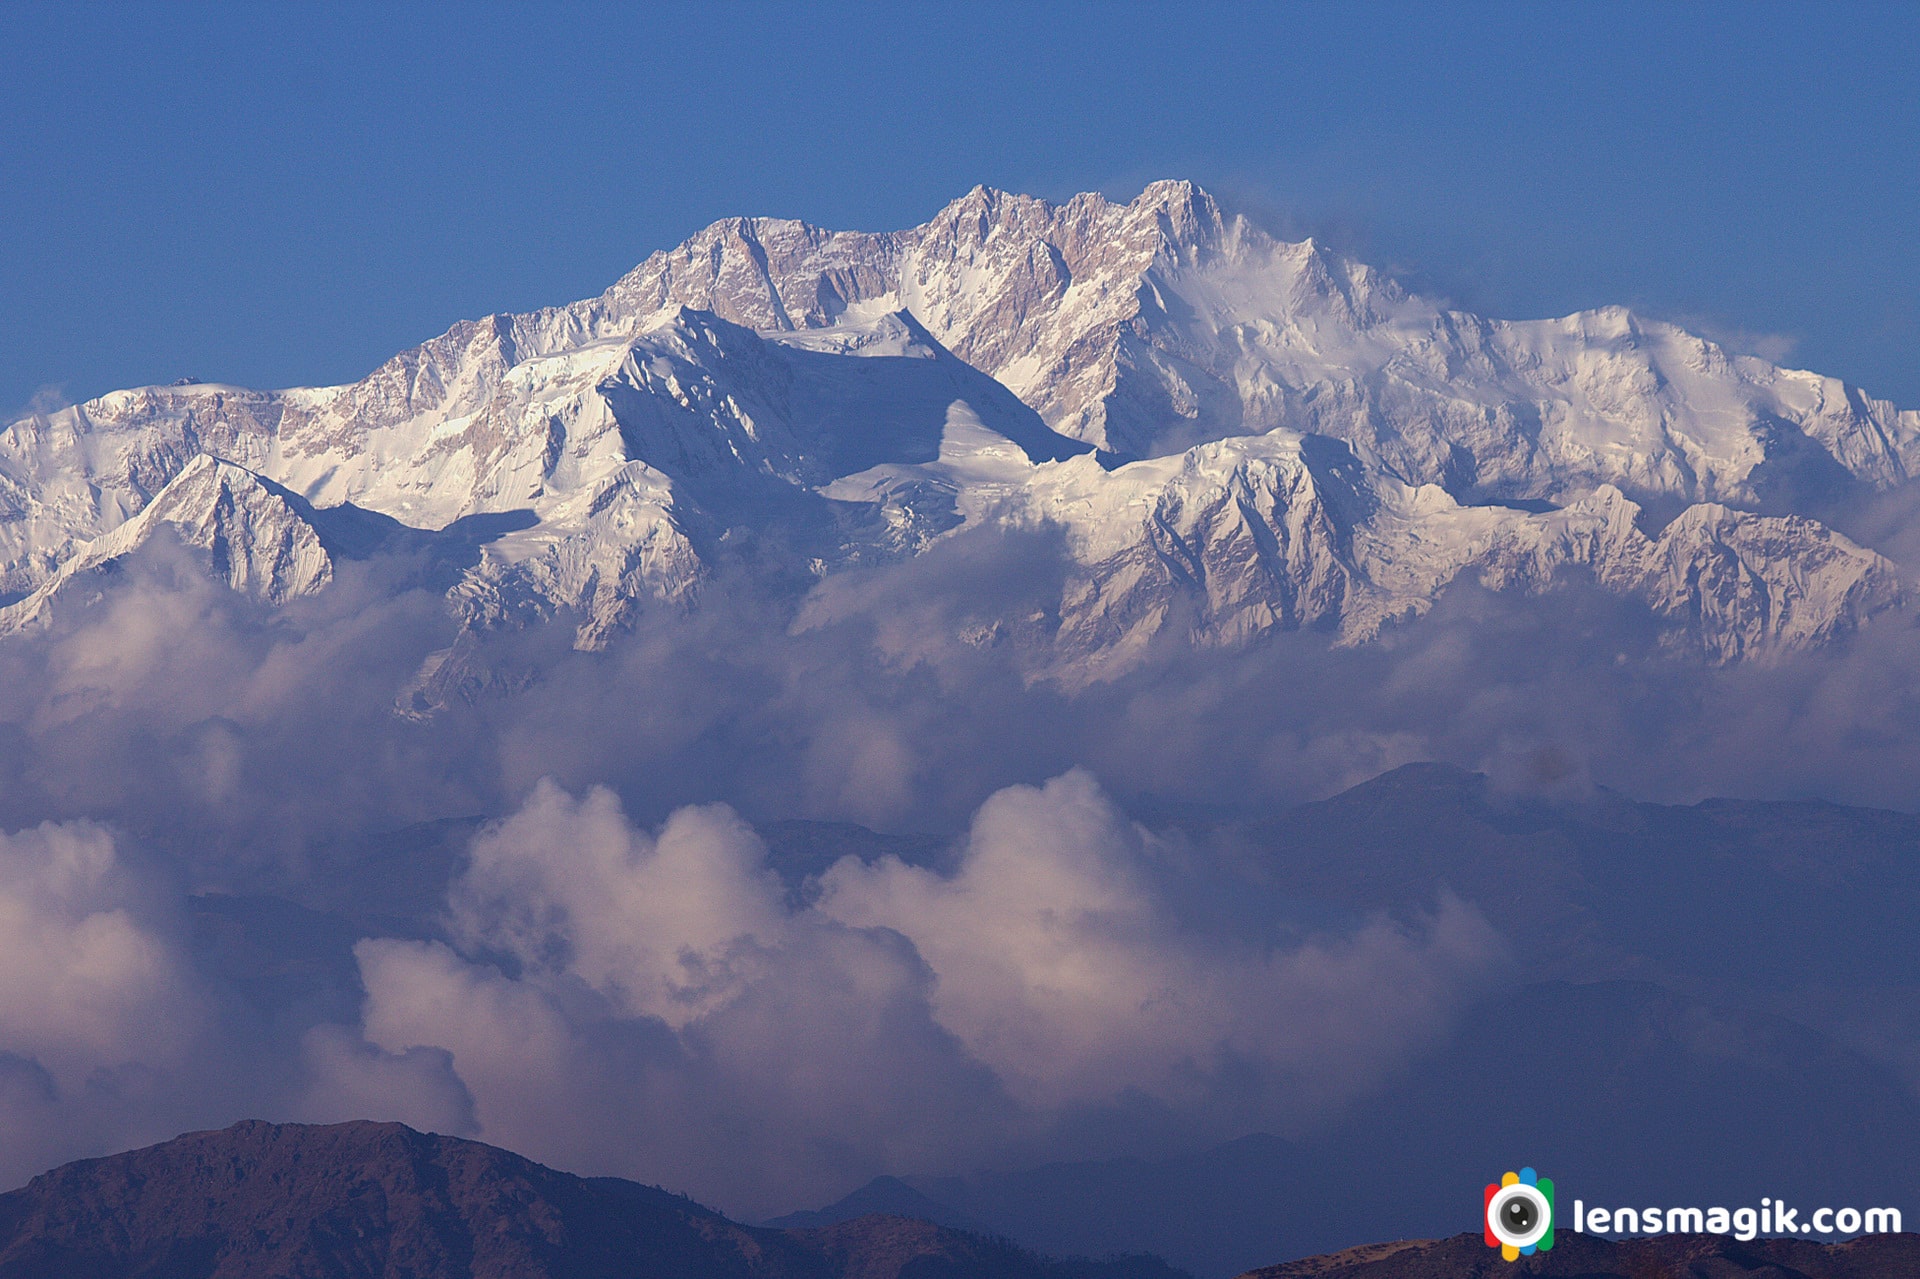
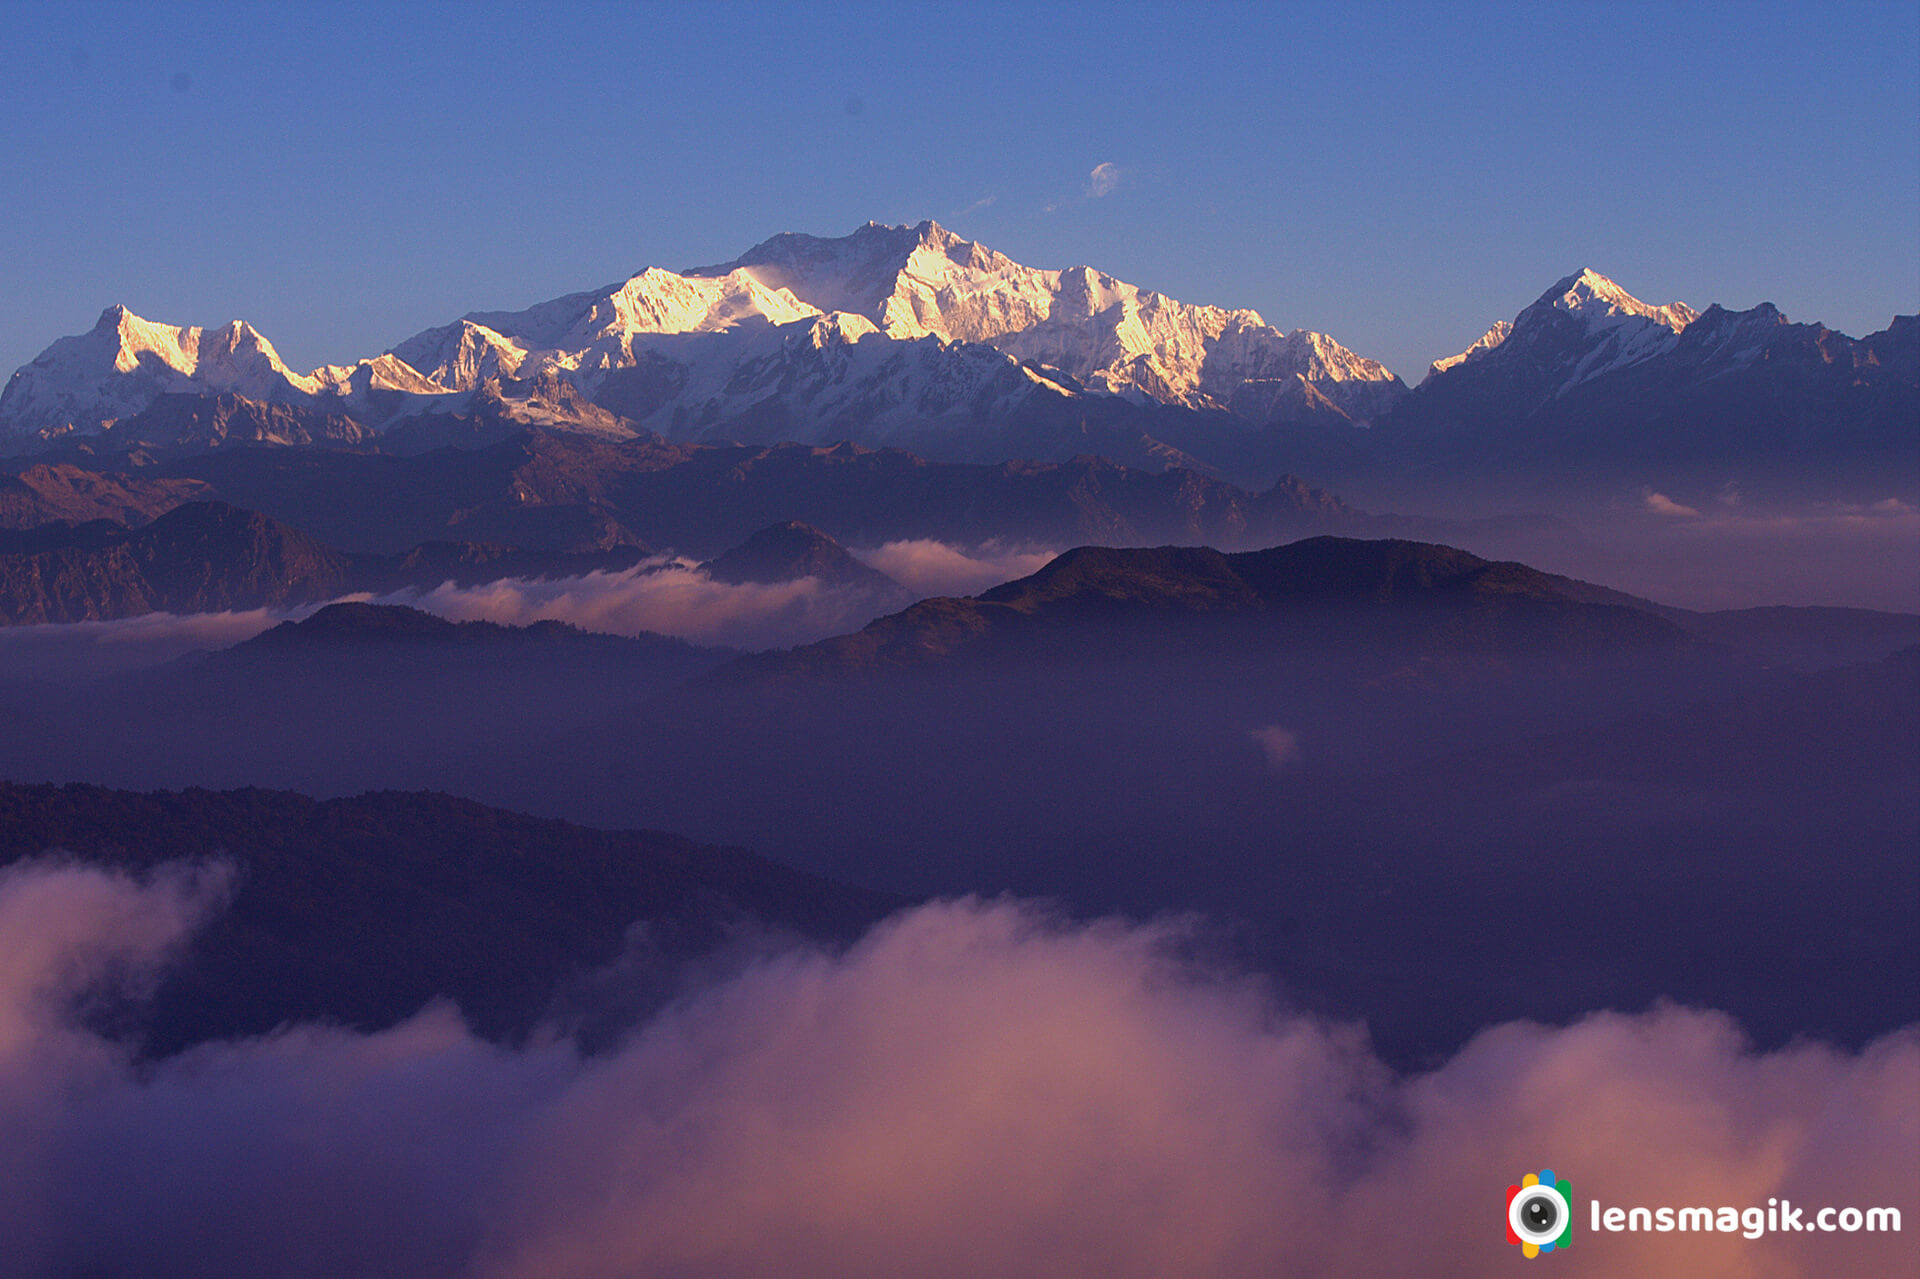
When i was on a tour to Singalila National Park we have a terrific view of Kanchenjunga mountains and also other Himalayan mountains. The best view of Kanchenjunga i saw from Sandakphu located at India-Nepal border. I also saw Mt. Everest from here. Everest is on a long distance but if weather is clear you can see it very clearly.
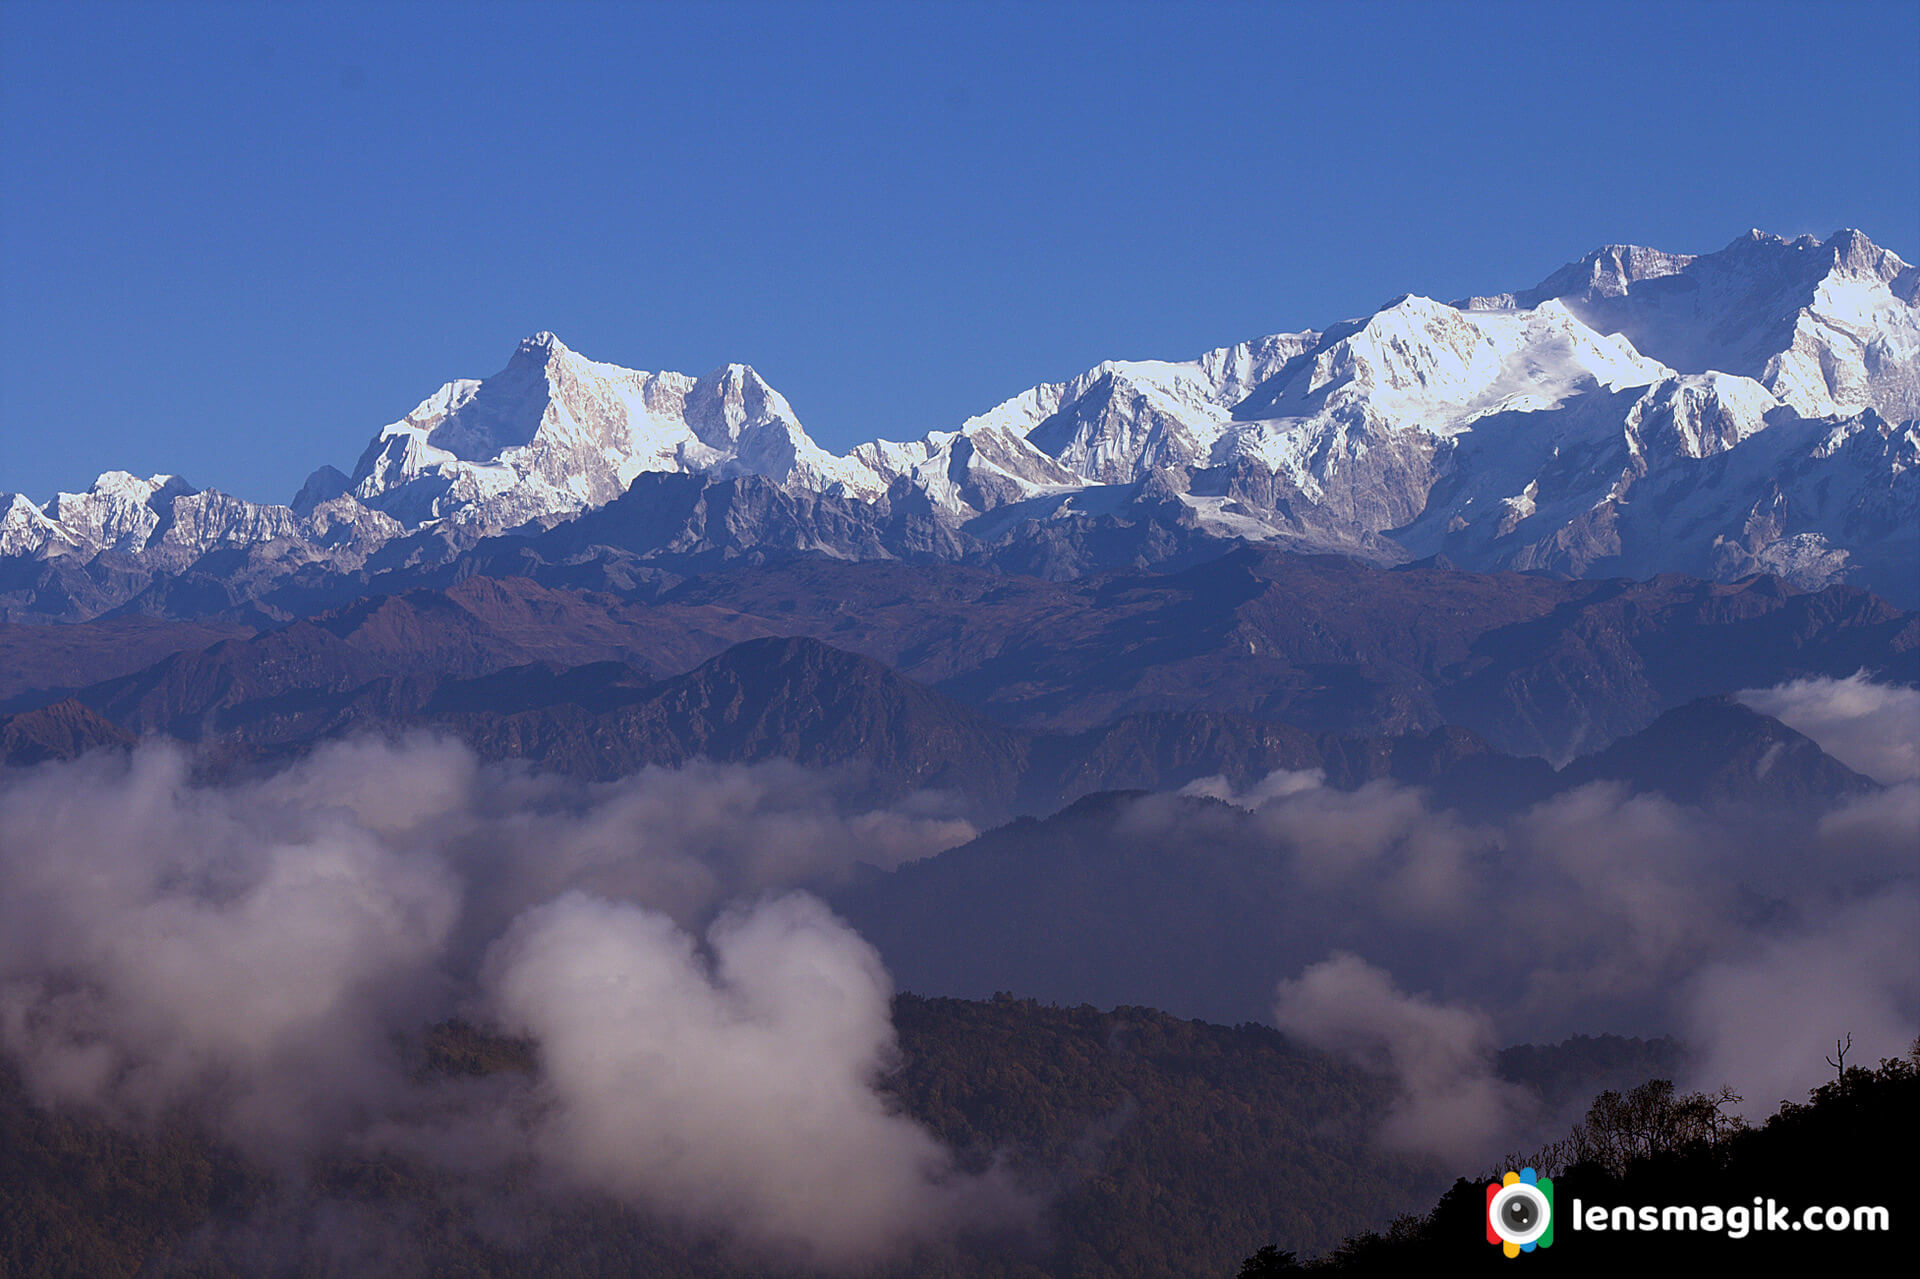
In above picture the mountain shows in left side ( Triangle 3 peaks ) of Mt Kanchenjunga is Kumbhakarna Mountain.
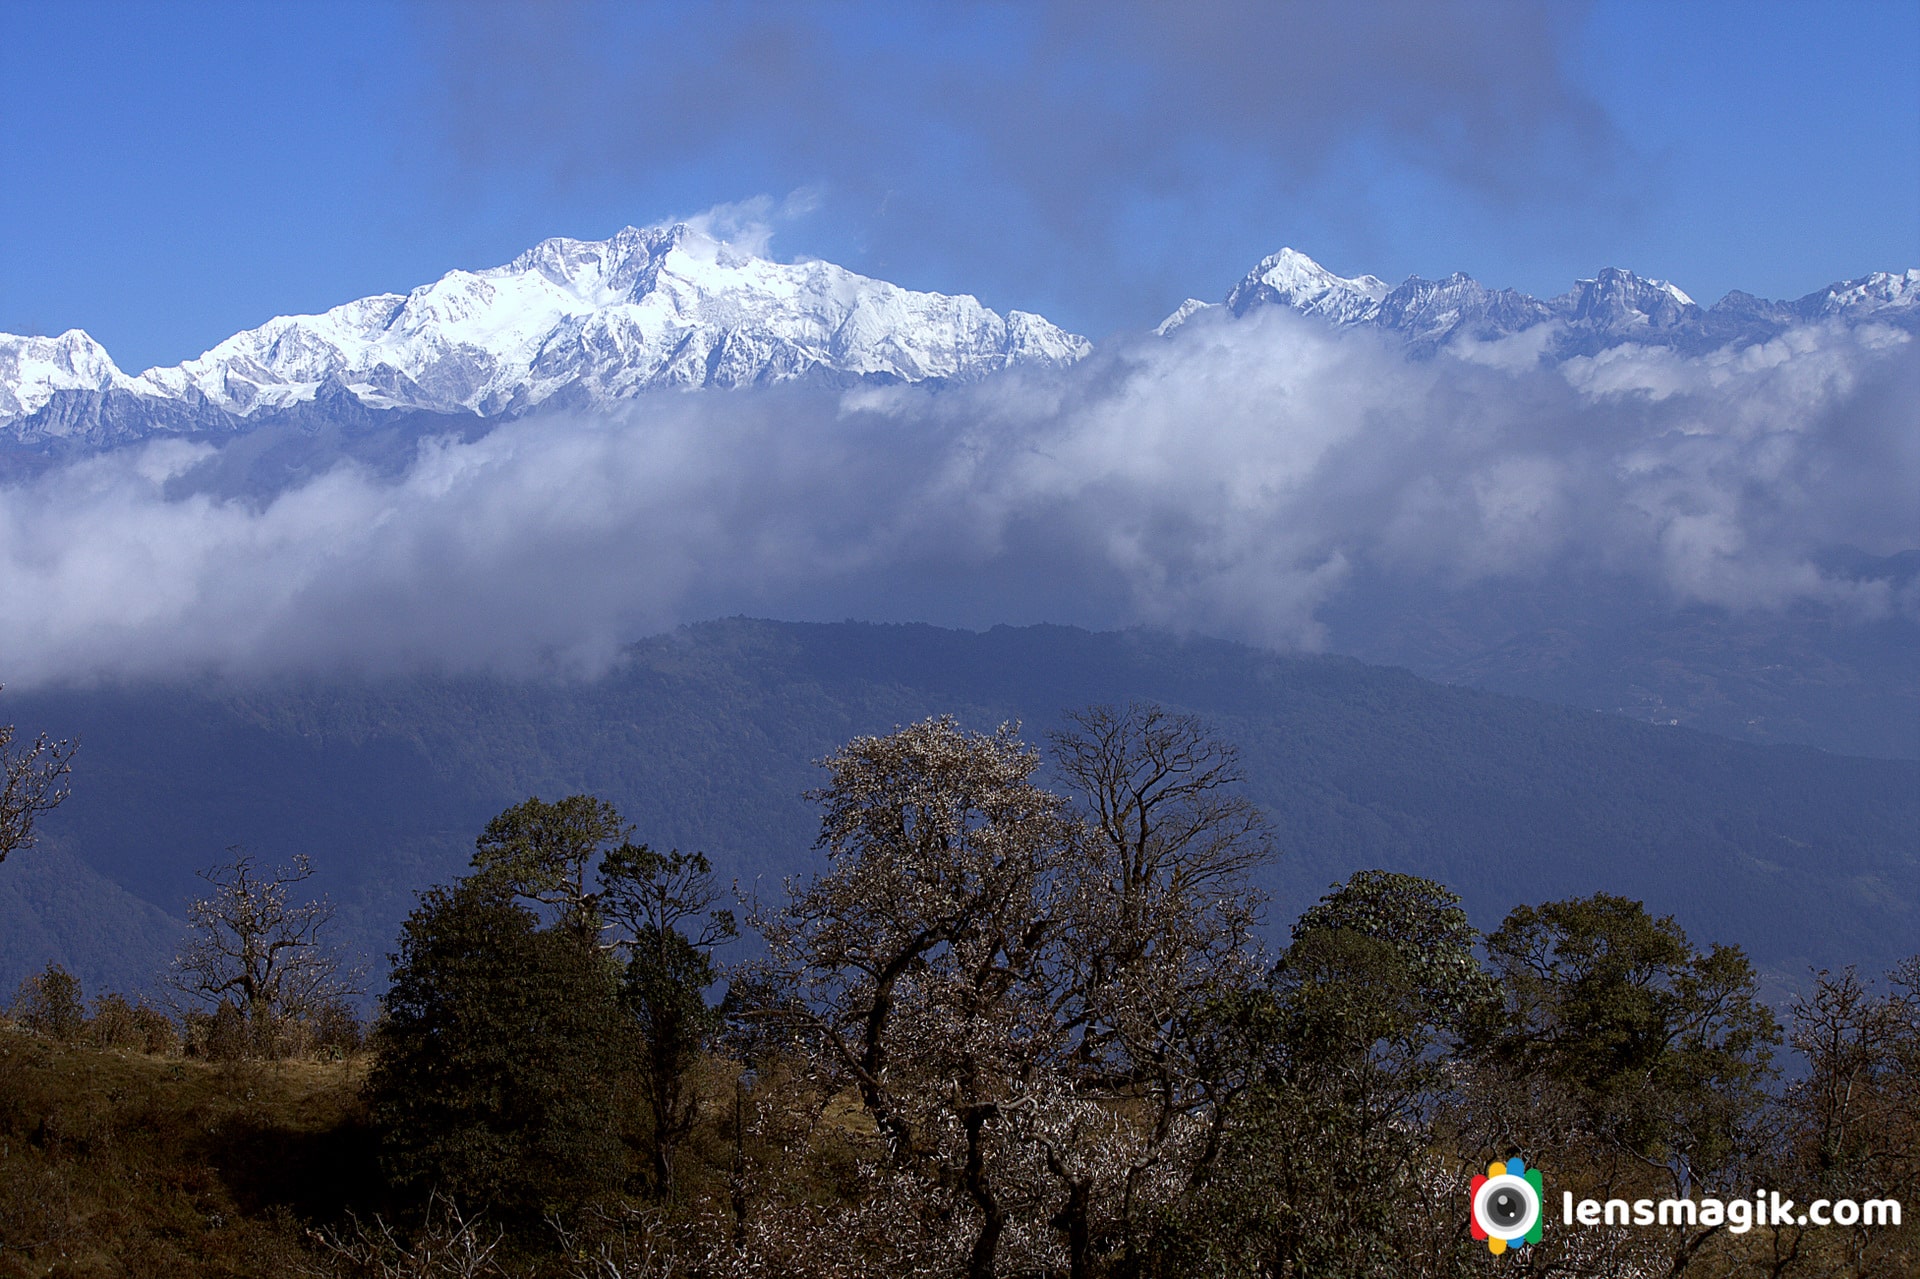
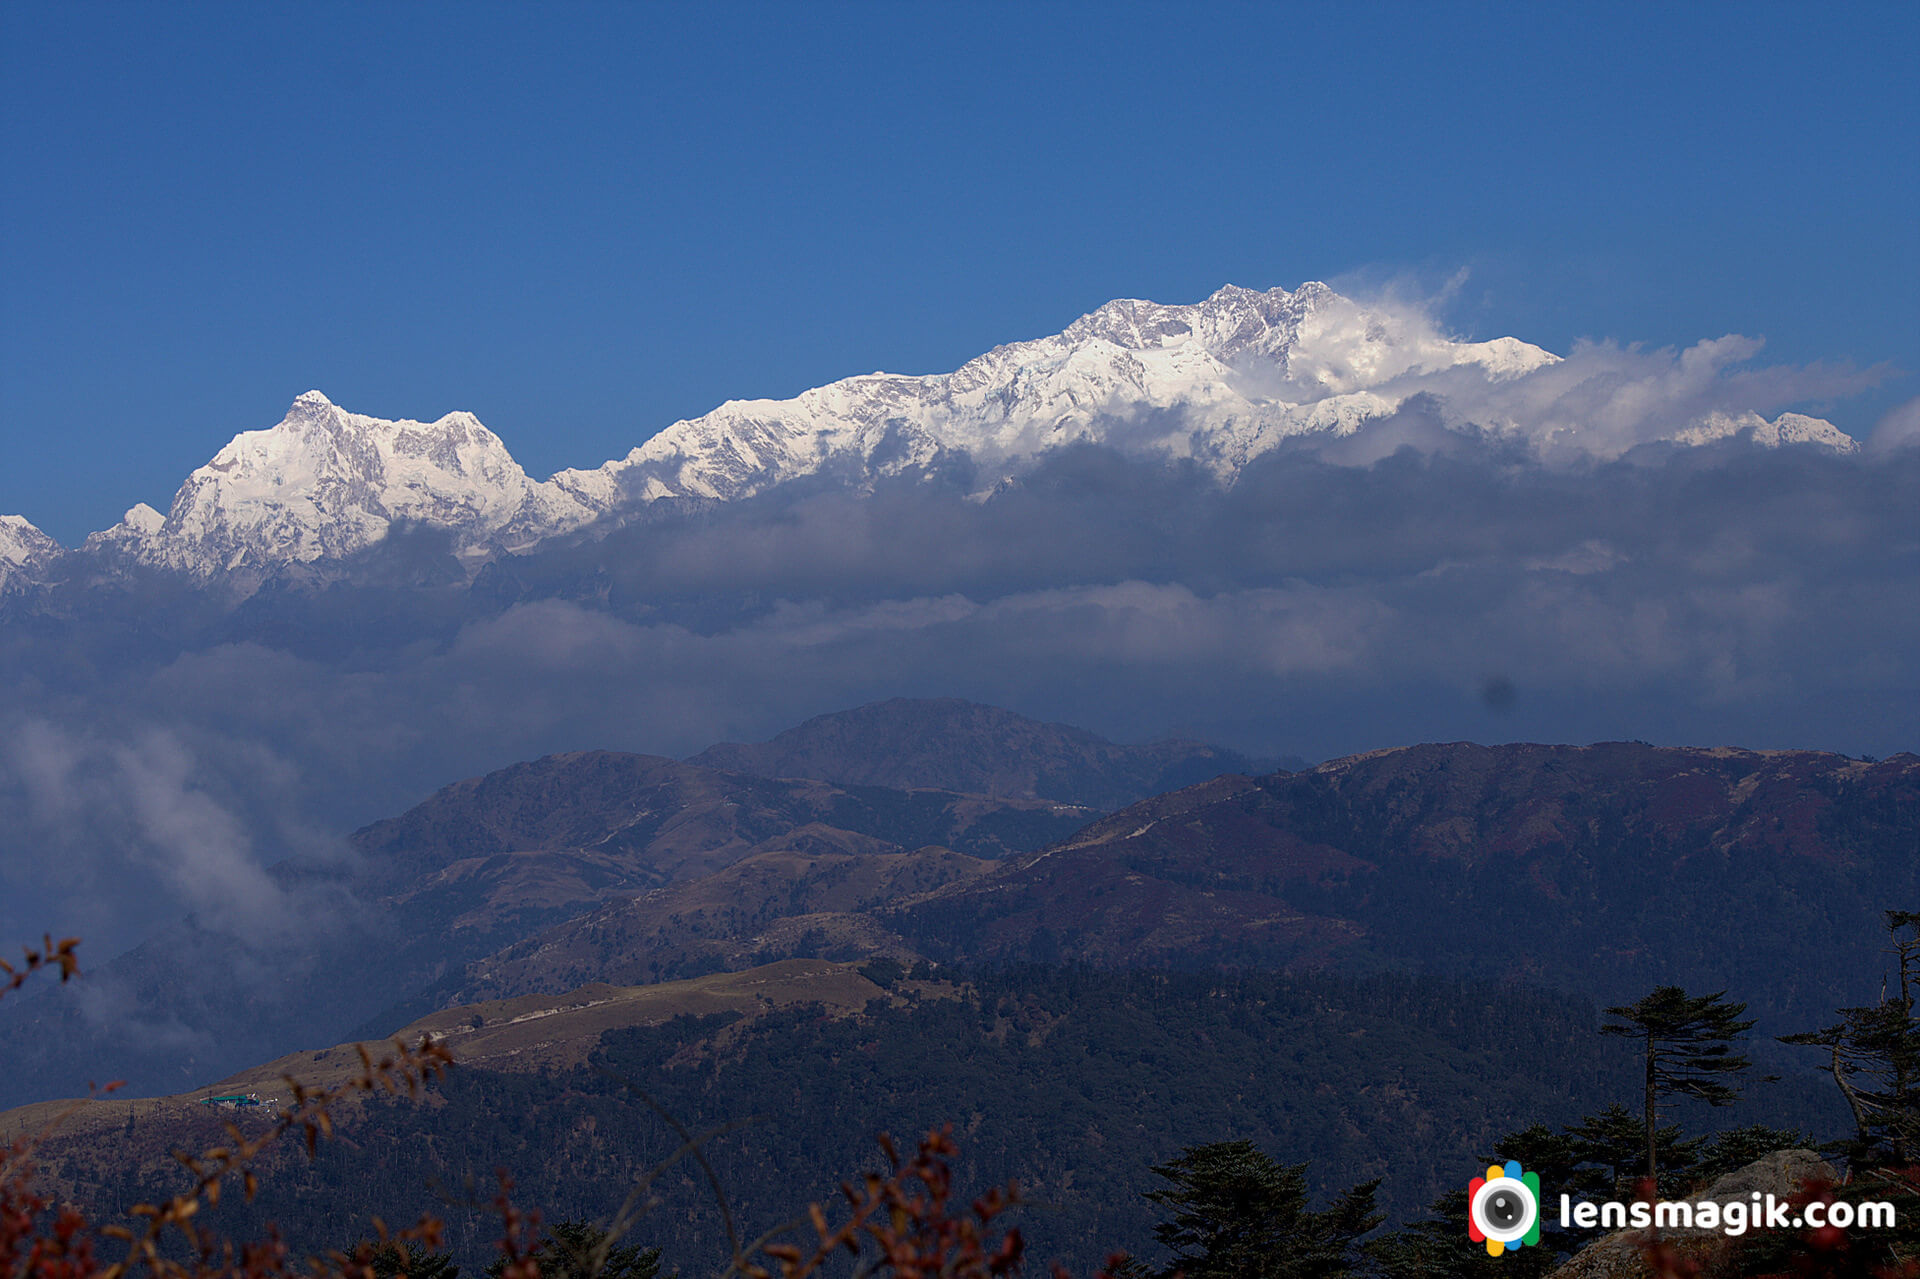
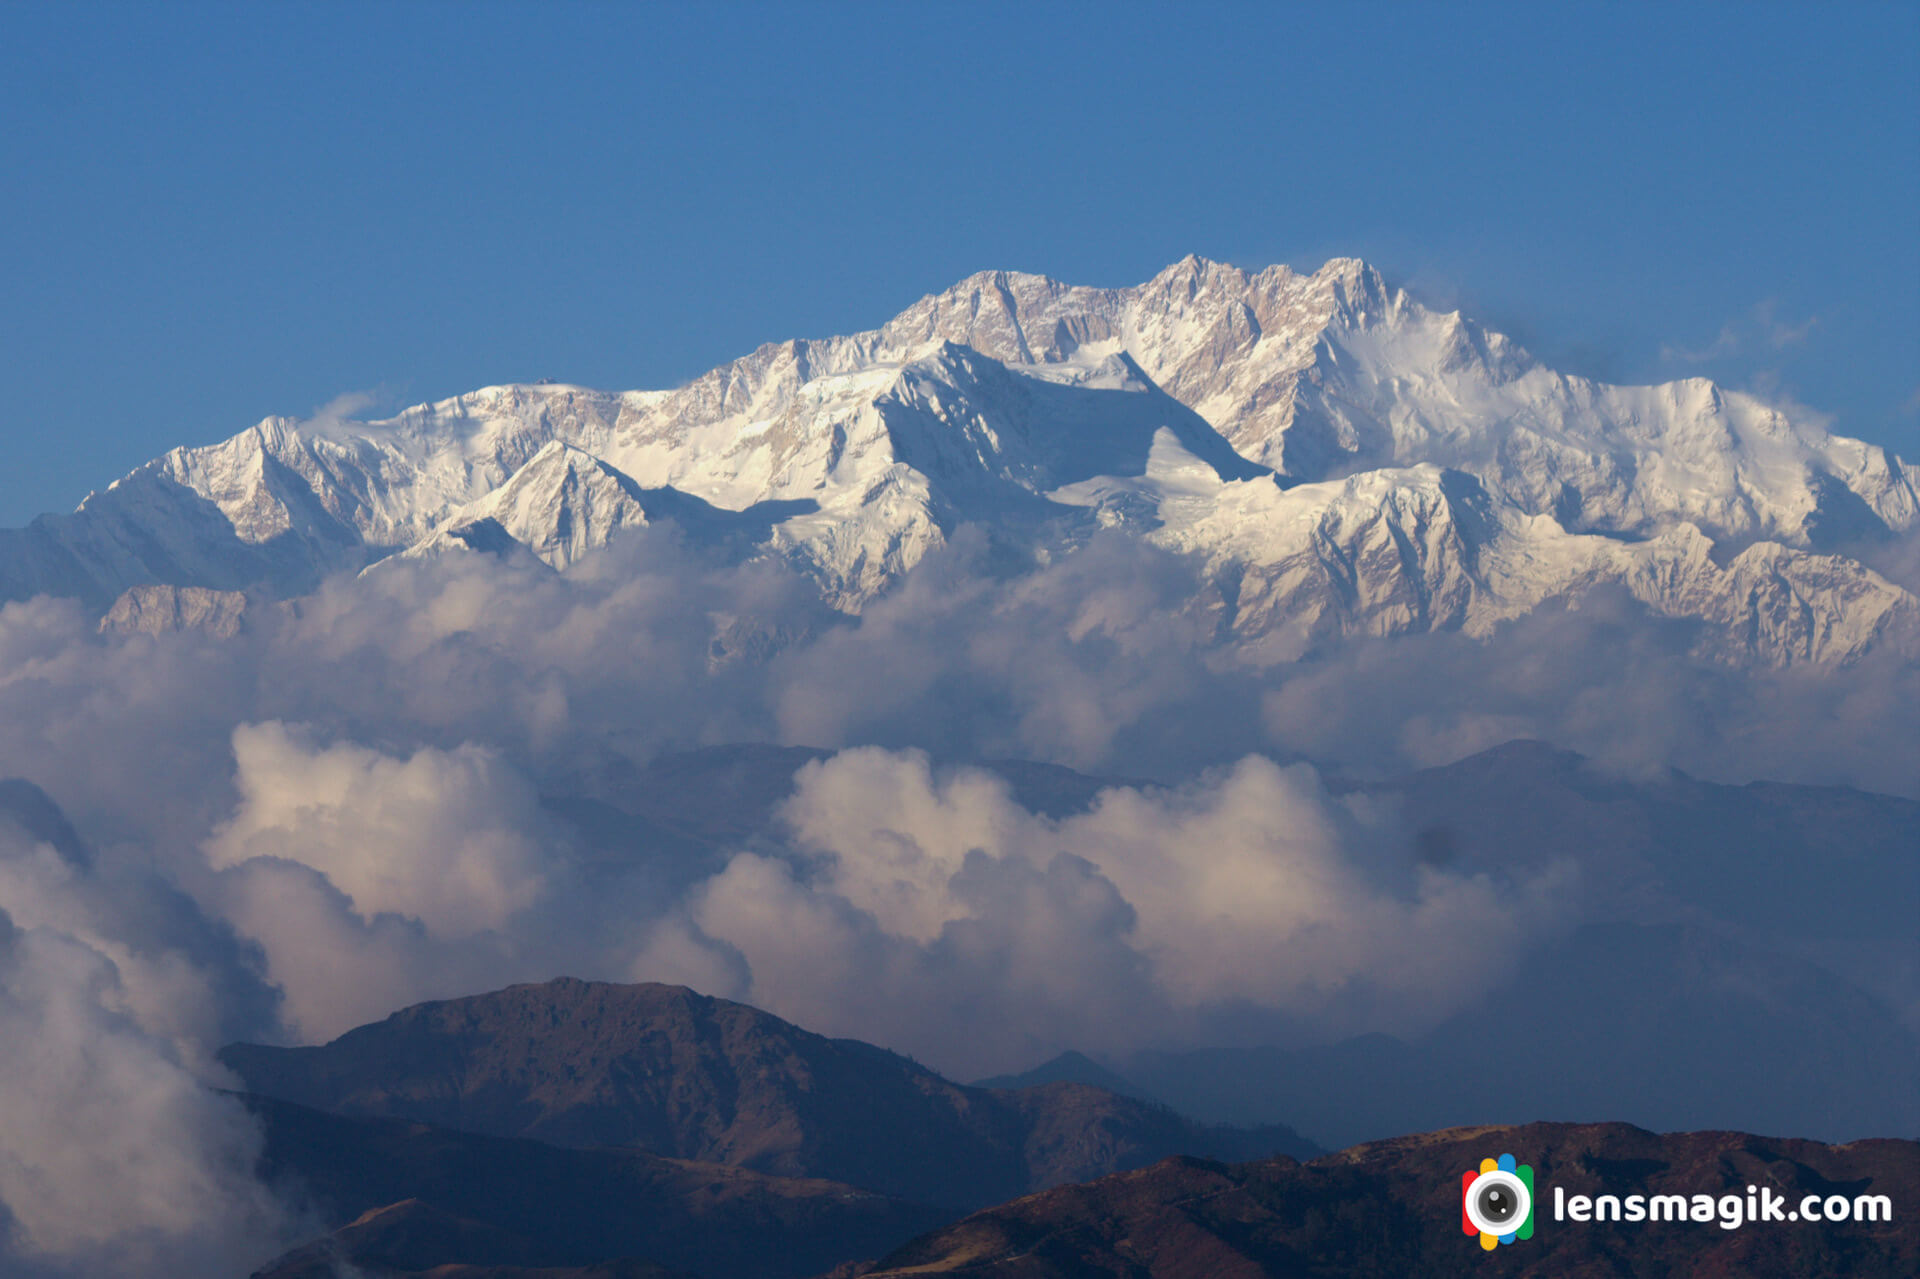
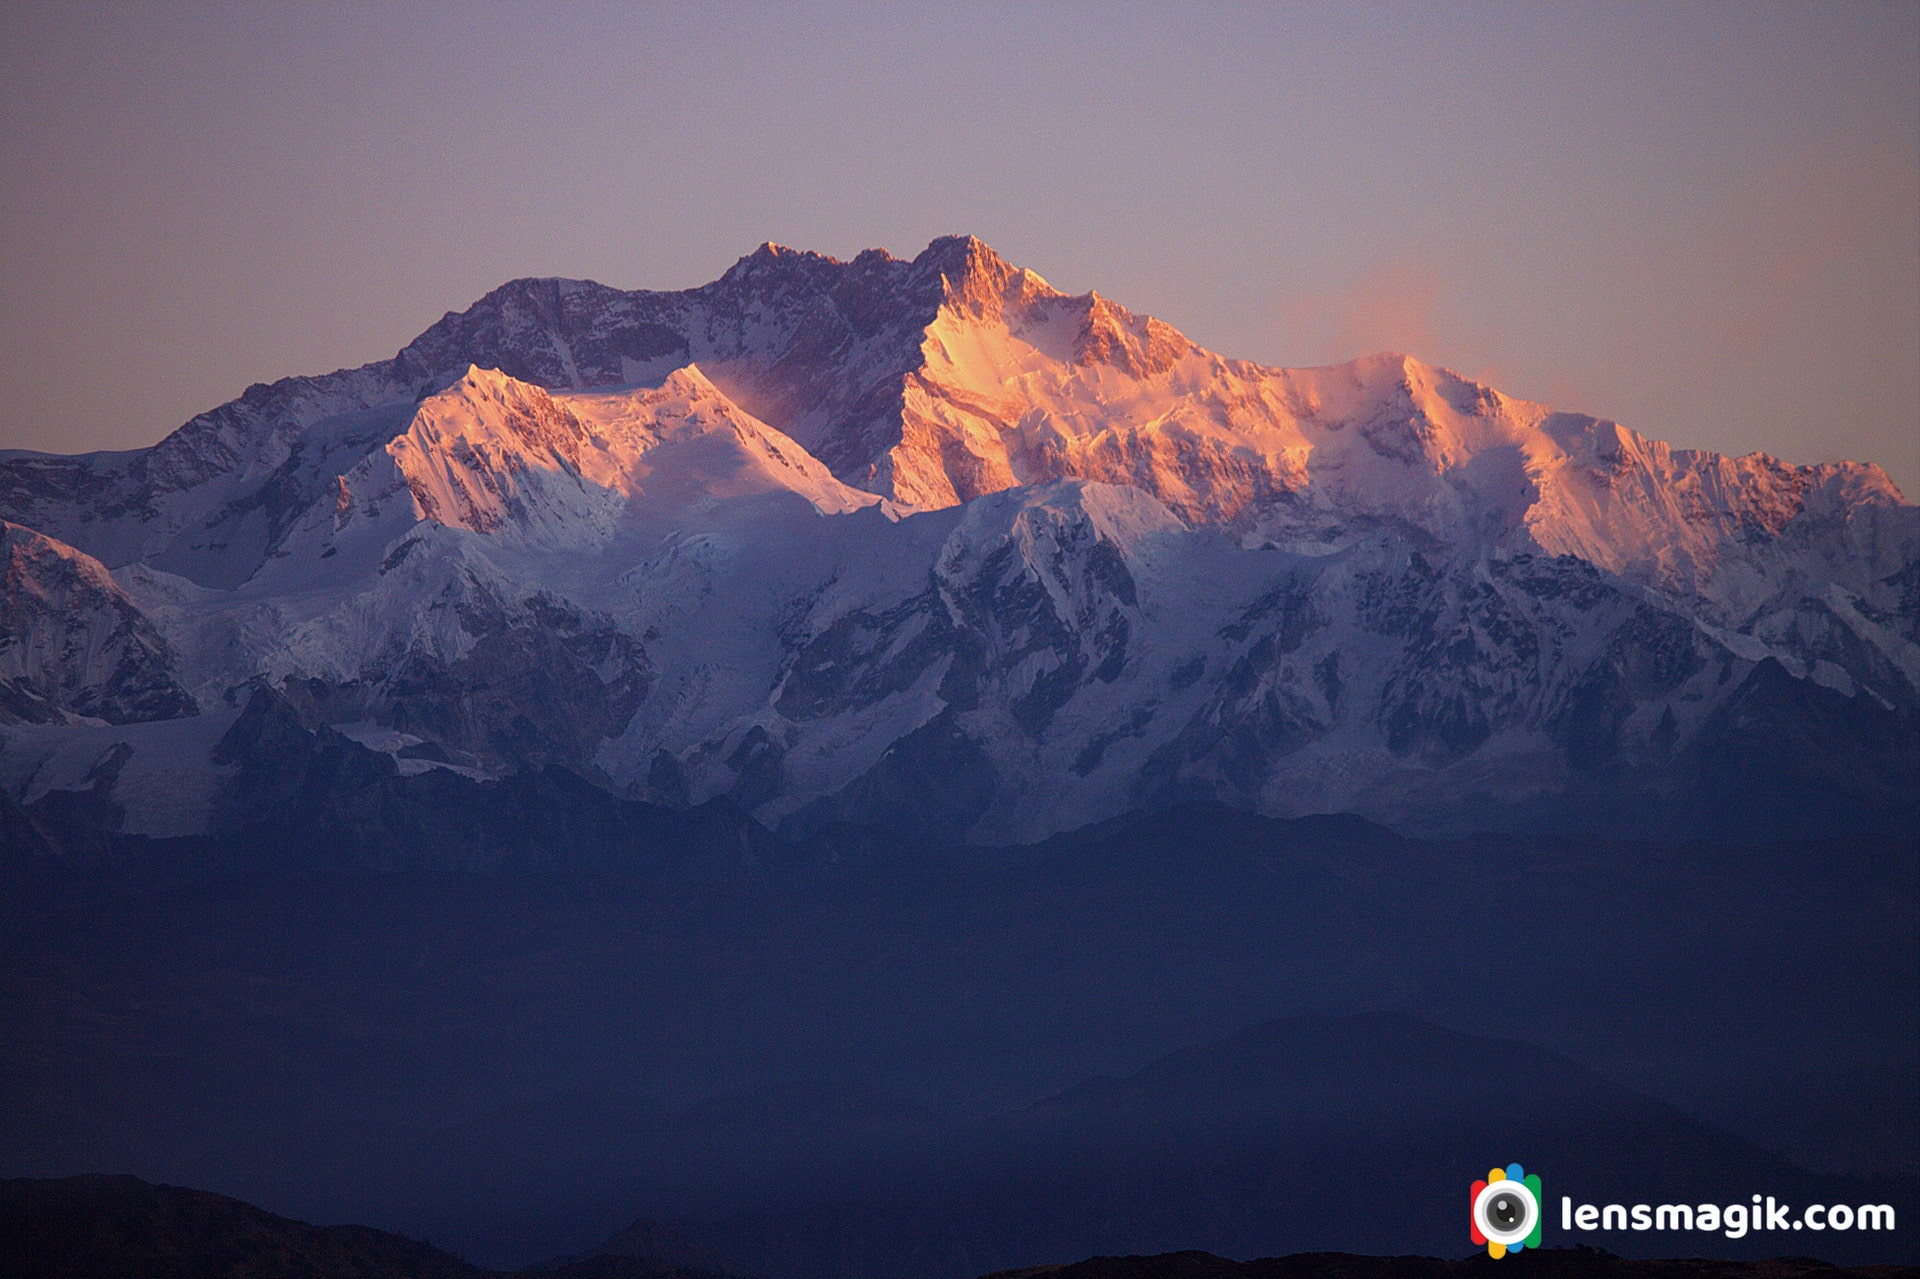
Sandakphu trek is one of the beautiful trek among India and also of Himalayas. During summer lots of trekkers go for these trek and also Phalut trek. At Sandakphu you can stay a night and just see at night the sky is full of stars. I was never seen such stars in my life. A milky way you can see and it was amazing experience of star gazing at Sandakphu. Also after dark a sunrise is beautiful as enough. At 4 or 4:30 am sunrise time and we were ready to see first light of sun rays on Himalayan mountains. The color of rays are red orange color looks beautiful on snow mountain of Kanchenjunga. Thats the beauty of Himalayas.
For climbing Mt. Kanchenjunga you can go from Nepal only because Indian Government has been closed Northeastern Sikkim route of Kanchenjunga since 2000. To See Mt. Kanchenjunga from India Sandakphu is the best place. You can go to Sandakphu via Trek or via Range Rover car hire at manebhanjan village. Nearest airport is Bagdogra or you can go to Kolkata and go for overnight train from Kolkata.
Gear used : Canon 1000 D body, Canon 18-55 mm lens, Canon 55-250 mm lens.